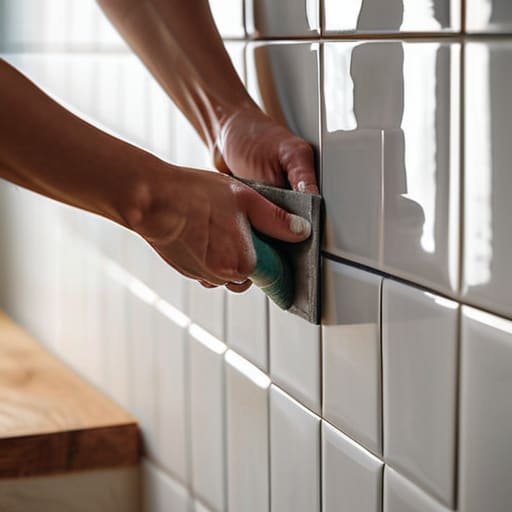

I was standing in my kitchen last Tuesday, staring at a bare, beige strip of drywall between my counter and my cabinets, feeling that familiar wave of overwhelm. Most DIY blogs make it seem like you need a professional-grade wet saw and a degree in geometry just to figure out how to tile a backsplash without it looking like a disaster. But honestly? I spent years in corporate project management, and if there’s one thing I’ve learned, it’s that complexity is usually just noise. You don’t need a massive budget or a showroom of expensive tools to transform your kitchen; you just need a steady hand and a bit of a plan.
In this guide, I’m stripping away the fluff and the intimidating jargon to show you the actual, messy, real-world process. I’ll walk you through everything from choosing tiles that won’t break the bank to the simple tricks I use to keep my lines straight and my grout clean. My goal isn’t to turn you into a master mason, but to give you the practical confidence to finish this project in a weekend. Let’s stop staring at that empty wall and actually get it done.
Guide Overview
Tools & Supplies
- Tile cutter or wet saw for precision cuts
- Notched trowel for spreading adhesive
- Rubber grout float for applying grout
- Tile spacers to maintain even lines
- Level to ensure straight rows
- Backsplash tiles (calculate area + 10% extra)
- Tile adhesive or mastic (1 gallon)
- Grout (1 bag based on joint width)
- Caulk (1 tube for corners and edges)
- Tile sealer (1 bottle for porous tiles)
Step-by-Step Instructions
- 1. First things first, you need to prep the area. I can’t stress this enough: clean that wall. Wipe it down with a degreaser or a mix of water and dish soap to get rid of any cooking grease or dust. If there are any loose bits of old paint or crumbling drywall, scrape them off. You want a surface that is completely smooth and clean so the adhesive actually has something to grab onto.
- 2. Once the wall is ready, it’s time to map everything out. Don’t just dive in and start slapping tiles onto the wall; you’ll end up with awkward, tiny slivers of tile in the corners that look terrible. Use a pencil to lightly mark your center point and dry-lay a few tiles on the counter first. This helps you visualize the pattern and ensures you aren’t left with a messy layout at the edges.
- 3. Now, grab your thin-set mortar and start applying it to the wall. I usually use a notched trowel—the size of the notches depends on the tile you bought, so check the package. Spread it in small sections so it doesn’t dry out before you’re ready. Aim for consistent ridges in the mortar; this ensures there aren’t any air pockets trapped behind your tiles once they’re set.
- 4. This is where the actual “tiling” happens. Press your tiles into the mortar with a gentle, firm pressure. Give them a tiny wiggle to help the adhesive settle into the grooves. If you’re using spacers—and you absolutely should—pop them in at the corners to keep your lines straight. I always keep a damp sponge nearby to wipe away any excess mortar that oozes up through the cracks before it hardens.
- 5. Once you’ve finished the whole wall, you’ll need to let it sit. This is the hardest part for me because I love seeing immediate results, but you have to wait at least 24 hours for the mortar to fully cure. If you try to grout too early, you’ll just end up making a muddy mess and ruining your hard work. Grab a coffee, step away from the kitchen, and let it dry completely.
- 6. Now for the finishing touch: grouting. Mix your grout to a peanut butter consistency and use a rubber grout float to push it into the gaps. Work in small sections and aim for a diagonal motion to make sure the joints are packed tight. Once it’s in, wait about 15–20 minutes, then take a slightly damp sponge and wipe the excess off the tile surface.
- 7. Finally, once the grout has dried and left a little haze on the tiles, go in with a dry microfiber cloth to buff it clean. If you want your backsplash to stay looking fresh for years, I highly recommend applying a grout sealer once everything is totally dry. It’s a small extra step, but it makes cleaning up spills so much easier down the road.
Smart Backsplash Layout Planning for Real Homes
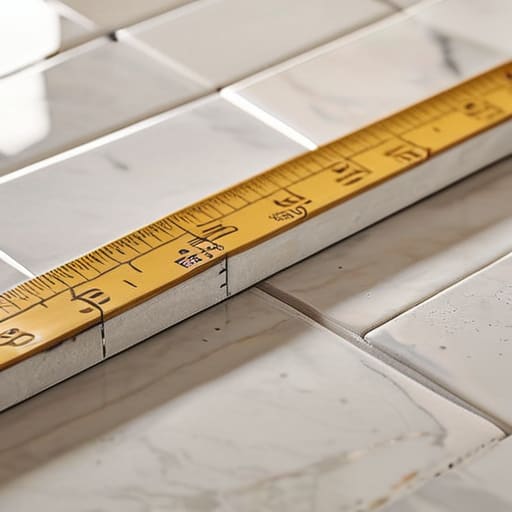
Before you even touch a bag of thin-set, you need to sit down with a pencil and a measuring tape. I’ve learned the hard way that starting from one corner and working your way across is a recipe for disaster—you’ll almost always end up with a tiny, awkward sliver of tile at the far end that looks totally amateur. Instead, prioritize backsplash layout planning by finding the center point of your main wall area. Work outward from there so your cuts are symmetrical on both sides. It makes the whole kitchen look intentional rather than accidental.
While you’re mapping things out, don’t forget to account for your outlets and switches. There’s nothing more frustrating than realizing halfway through that your beautiful pattern is being interrupted by a messy, off-center cut around a plug. I always recommend dry-laying a few pieces on the counter first to see how the light hits the surface. If you’re feeling a bit nervous about the alignment, grab a tiling spacers guide to keep your lines straight. It’s much easier to fix a spacing issue now than it is to try and shimmy a crooked tile once the adhesive has already set.
Essential Kitchen Wall Tiling Tools You Actually Need
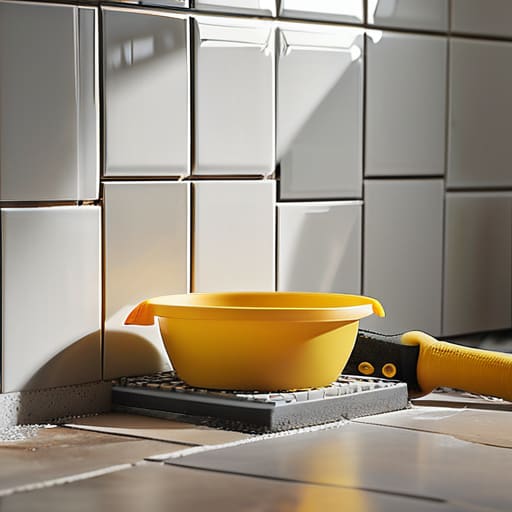
Look, you can get lost in the aisles of a big-box hardware store, staring at rows of specialized gadgets that promise a perfect finish but really just eat up your budget. You don’t need a professional contractor’s kit to get this done. For most of us, the core kitchen wall tiling tools are pretty straightforward: a notched trowel, a good pair of tile cutters, a level, and a bucket for mixing. If you’re working with smaller tiles, grab a pack of spacers—they are absolute lifesavers for keeping your lines straight without having to constantly double-check your work.
One thing I’ve learned from my own DIY mishaps is that the quality of your mixing matters as much as the tools themselves. When you move into the tile adhesive application phase, don’t just slap it on. Use your notched trowel to create consistent ridges; this ensures the tiles sit flat and stay put. Also, don’t skimp on a decent sponge for the grouting stage. A cheap, scratchy sponge can ruin a beautiful finish, so invest in a high-quality way to clean as you go. It saves so much heartache later.
Five Pro-Tips to Save Your Sanity (and Your Backsplash)
- Don’t skip the dry run. Before you even touch the mortar, lay your tiles out on the counter or tape them to the wall. You need to see exactly where those awkward, tiny slivers will land so you aren’t scrambling halfway through a wet batch of thin-set.
- Keep your spacers handy and use them religiously. It’s tempting to eyeball it to save time, but uneven grout lines are the fastest way to make a DIY job look amateur. Consistency is what makes it look professional.
- Clean as you go, but don’t overdo it. Keep a damp sponge nearby to wipe away any excess grout that oozes up between the tiles immediately. If it dries on the face of the tile, you’ll be scrubbing for hours, and you might end up scratching the finish.
- Watch your vertical lines. If you’re doing a subway tile pattern, make sure your columns stay straight from bottom to top. If your counter isn’t perfectly level (and let’s be honest, most aren’t), you’ll need to compensate early on so the error doesn’t grow as you move up the wall.
- Less is more with the grout. When you’re spreading it, aim for a full, even layer in the gaps, but don’t try to pack it in like you’re filling a hole in a wall. You want it dense enough to stay put, but not so thick that it becomes a nightmare to clean out of the joints.
My Golden Rule for Tiling
“Forget the idea that you need a professional-grade setup to get a beautiful result; tiling is less about having the most expensive tools and more about having the patience to measure twice and the discipline to not rush the grout.”
Elena Vance
Finishing Strong
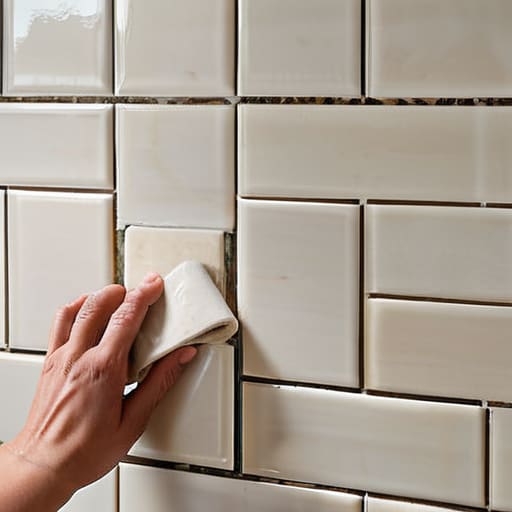
At the end of the day, tiling a backsplash is less about achieving surgical perfection and more about the process of preparation. If you took the time to plan your layout, gathered the right tools, and didn’t rush the setting process, you’ve already won half the battle. Remember, those tiny variations in grout lines or a slightly imperfect edge aren’t failures; they are just signs of a project that was actually done by hand. As long as you’ve kept your surfaces clean and your cuts precise, you’ll end up with a result that is functional, beautiful, and entirely yours.
I know that looking at a pile of tiles and a tub of thin-set can feel a bit daunting when you first start, but I promise the payoff is worth the effort. There is something incredibly grounding about looking at your kitchen and knowing you improved it with your own two hands. Don’t let the fear of a little mess or a steep learning curve stop you from making your space feel like home. Take it one tile at a time, trust your instincts, and most importantly, remember to enjoy the transformation once that grout is finally wiped clean. You’ve got this.


I believe that a well-run home shouldn't require a PhD or a massive budget. My goal is to strip away the complexity so you can focus on actually living in your space. Let's keep things practical, efficient, and genuinely useful.
View All Articles