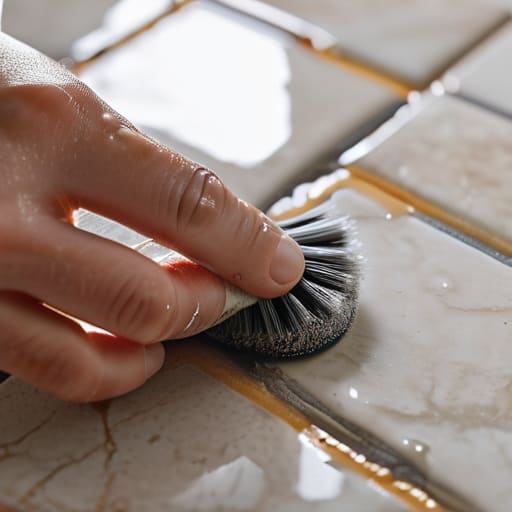

I was on my hands and knees in my kitchen last Saturday, staring at these dark, fuzzy lines between my floor tiles, feeling that familiar wave of overwhelm. I had spent twenty minutes scrubbing with a specialized, expensive-looking chemical cleaner I’d bought online, only to realize I was basically just moving the dirt around. It’s one of those common frustrations where we think we need a professional-grade solution to solve a basic problem, but the truth about how to clean grout is much simpler than the marketing makes it out to be. You don’t need a chemistry degree or a cabinet full of caustic liquids; you just need the right approach and a few staples you likely already have in your pantry.
I’m not here to sell you on a ten-step ritual that takes your entire weekend. Instead, I’m going to show you exactly how to tackle those stubborn stains using practical, budget-friendly methods that actually work. We’ll walk through the best tools to use, how to avoid damaging your tile, and my personal go-to trick for a deep clean without the headache. Let’s strip away the complexity and get your floors looking bright again so you can get back to actually living in your home.
Guide Overview
Tools & Supplies
- Stiff grout brush or old toothbrush for scrubbing
- Microfiber cloths for wiping and drying
- Baking soda (1 cup)
- White vinegar (1/2 cup)
- Warm water (2 cups)
Step-by-Step Instructions
- 1. First, clear the decks. You can’t clean effectively if you’re tripping over floor mats or cluttered with half-empty shampoo bottles. Move everything out of the way so you have a clear workspace, and give the area a quick vacuum or sweep to get rid of any loose dust or hair. If you leave that debris there, you’ll just end up turning it into a muddy paste once you add moisture.
- 2. Mix up your cleaning solution. You don’t need to run to the store for some expensive, chemical-heavy specialty cleaner that smells like a laboratory. Grab a small bowl and mix about half a cup of baking soda with a bit of water until it reaches a paste-like consistency. If you’re dealing with particularly greasy kitchen grout, a splash of dish soap in there goes a long way.
- 3. Apply the paste and let it work. Using an old toothbrush or a dedicated grout brush, spread the mixture over the dirty lines. Don’t just smear it on; really try to work it into the pores of the grout. Once it’s covered, step away for about 10 to 15 minutes. This is the “set it and forget it” part of the process—let the chemistry do the heavy lifting so you don’t have to.
- 4. Get scrubbing. Once the paste has had its time, grab that brush and start working in small sections. You don’t need to use brute force here—I’ve spent enough time restoring old furniture to know that gentle, consistent pressure is much more effective than scrubbing until your wrist aches. Focus on the spots that look the darkest.
- 5. Rinse and repeat if necessary. Take a damp microfiber cloth or a sponge and wipe away the dirty paste. If you see that the grout is still looking a bit dingy, don’t panic; just reapply a little more paste and let it sit again. It’s better to do two quick rounds than to spend an hour fighting a losing battle with one application.
- 6. Dry it out completely. This is the step most people skip, but it’s actually quite important. Take a dry towel and wipe down the tiles and grout lines to remove any excess moisture. Leaving the grout damp can actually invite more mold or mildew to settle back in, so let’s make sure everything is bone-dry before you move the furniture back in.
Finding the Best Grout Cleaner for Tile Without Overspending
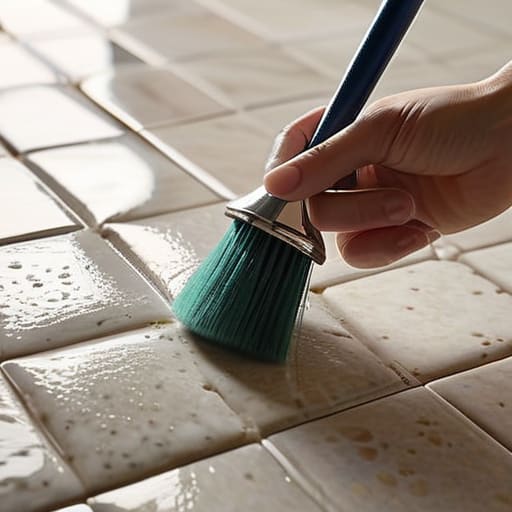
Look, I’ve spent way too much time staring at aisles of brightly colored cleaning bottles, feeling like I needed a chemistry degree just to pick one. Here’s the truth: you don’t need the most expensive chemical cocktail on the shelf to see results. While the marketing promises “miracle” results, many of those heavy-duty products can actually damage your tile if you aren’t careful. If you’re looking for the best grout cleaner for tile without breaking the bank, I usually suggest starting with the basics.
If you prefer to avoid harsh fumes, there are plenty of effective natural grout cleaning solutions sitting in your pantry right now. A simple mix of baking soda and a bit of liquid dish soap works wonders for most everyday grime. If you are dealing with something tougher, like deep discoloration in a shower, a paste of hydrogen peroxide and baking soda can be a lifesaver for removing stains from grout without the overwhelming scent of bleach. Just remember to test a small, inconspicuous corner first—it’s a habit I picked up from years of DIY projects, and it’ll save you a lot of heartache later.
Natural Grout Cleaning Solutions That Actually Work
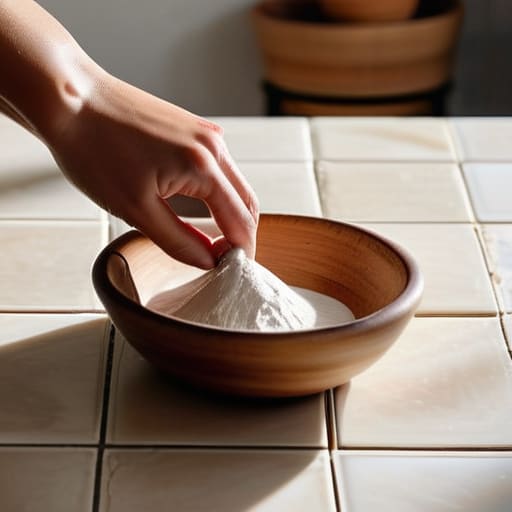
Look, I’m a big believer in keeping things simple, and that means you don’t always need to reach for those heavy-duty, caustic chemicals that make your eyes water. If you aren’t dealing with deep-set industrial grime, natural grout cleaning solutions are often more than enough to do the job. My go-to is a simple paste made from baking soda and a little water. It’s gentle on your lungs and your wallet. If you’re tackling some stubborn discoloration in the kitchen, adding a splash of white vinegar can help cut through the grease, but just be careful—don’t use vinegar on natural stone like marble, or you’ll do more harm than good.
When it comes to removing stains from grout without a struggle, the secret isn’t just the liquid you use, but the tool in your hand. I always keep an old, stiff-bristled toothbrush or a dedicated grout brush in my utility drawer. A little elbow grease paired with a homemade paste is much more effective than scrubbing wildly with a generic sponge. It’s about working smarter, not harder, so you can get back to your day.
Five Pro-Tips to Keep Your Grout Looking Fresh (Without the Headache)
- Don’t wait until it’s a disaster; a quick wipe-down once a week prevents that deep-seated grime from ever really settling in.
- Invest in a decent stiff-bristled brush—not a flimsy toothbrush—so you aren’t spending half your Saturday scrubbing.
- Always test any new solution on a small, tucked-away corner first to make sure it doesn’t mess with your tile’s finish.
- Once everything is clean and bone-dry, consider a grout sealer; it’s a small upfront effort that saves you massive amounts of scrubbing later.
- If you’re dealing with heavy buildup, let your cleaning solution sit for ten minutes before you start scrubbing; let the chemistry do the heavy lifting for you.
A Shift in Perspective
“We often treat dirty grout like a personal failure or a massive weekend-long project, but it’s really just a bit of surface buildup. Don’t let a few dark lines in your tile make you feel like your whole house is falling apart; grab a brush, use what you already have in your pantry, and remember that perfection isn’t the goal—just a clean, functional space where you can actually breathe.”
Elena Vance
Bringing It All Together
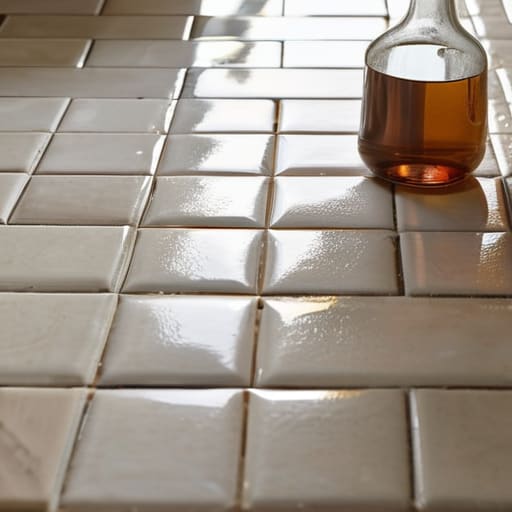
At the end of the day, cleaning your grout doesn’t have to be this monumental, soul-crushing task that takes up your entire Saturday. Whether you decided to go the route of a heavy-duty cleaner or opted for the gentle power of baking soda and vinegar, the goal was simply to reclaim a bit of your space. Remember, you don’t need a cabinet full of expensive, specialized chemicals to see a difference; often, the most effective tools are already sitting in your pantry. Just pick a method that fits your schedule, don’t overthink the process, and once those lines are bright again, you can put the scrub brush away for good.
I know how easy it is to look at a dirty floor and feel like it’s just one more thing on an endless to-do list. But my advice is to look at it differently: this isn’t just about maintenance, it’s about making your home feel like a sanctuary again. When your space looks cared for, it’s a lot easier to actually relax in it. So, take a deep breath, tackle those tiles, and then get back to the things that actually matter—like sitting down with a good book or finally finishing that furniture project you’ve been eyeing. You’ve got this.


I believe that a well-run home shouldn't require a PhD or a massive budget. My goal is to strip away the complexity so you can focus on actually living in your space. Let's keep things practical, efficient, and genuinely useful.
View All Articles