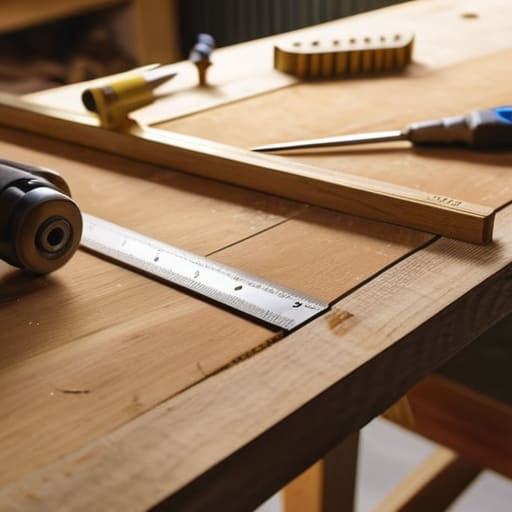

I was standing in my living room last Tuesday, staring at a stack of heavy hardcovers that had somehow migrated from my nightstand to a precarious pile on the floor, when it hit me: I don’t need a designer showroom, I just need a place to put my books. Most people think that learning how to build a bookshelf requires a workshop full of industrial machinery and a degree in carpentry, but that’s just a recipe for overwhelm. My father used to say that if you overcomplicate a project before you even pick up a hammer, you’ve already lost the battle. You don’t need fancy joinery or expensive hardwoods to create something that holds your library and looks beautiful in your home.
In this guide, I’m stripping away the jargon and the intimidating “pro-level” fluff to show you a way that actually works for real life. I’ll walk you through selecting the right materials, using the tools you likely already have in your junk drawer, and assembling a sturdy unit without losing your mind. We’re going to focus on a design that is functional, clean, and—most importantly—achievable for anyone with a little bit of patience and a desire to reclaim their space.
Guide Overview
Tools & Supplies
- Circular saw or hand saw to cut wood to size
- Power drill to drive screws and pilot holes
- Measuring tape for accurate dimensions
- Sandpaper to smooth rough edges
- 1×6 pine boards (approx. 20 feet)
- 1.25-inch wood screws (1 box)
- Wood glue for strong joints
- Wood stain or paint for finishing
Step-by-Step Instructions
- 1. First things first, let’s talk materials. You don’t need anything fancy—standard 3/4-inch plywood or even some pre-cut pine boards from your local hardware store will do just fine. Grab a measuring tape, a circular saw (or ask the folks at the store to make the big cuts for you), some wood glue, and a box of 1.5-inch screws. I always keep a small notebook handy to jot down my exact dimensions so I don’t end up with a shelf that wobbles like a jelly mold.
- 2. Once you have your wood, it’s time to measure and cut. You’ll need two long side pieces, a top piece, a bottom piece, and as many internal shelves as your heart desires. My rule of thumb is to measure twice and cut once—it’s a cliché for a reason, and it saves a lot of frustration (and wasted wood) later on. If you’re using plywood, try to keep the “pretty” side facing outward so your finished piece looks intentional.
- 3. Now, let’s get the frame together. Apply a thin, even bead of wood glue along the edges of your bottom and top pieces where they meet the side boards. This is the secret to a shelf that actually stays sturdy over time. Align everything so it’s flush, and then drive your screws through the sides and into the horizontal boards. If you’re worried about the wood splitting, drill pilot holes first; it’s a tiny extra step that makes a massive difference.
- 4. Once the outer box is solid, it’s time to add those internal shelves. Instead of just screwing them anywhere, I like to use small wooden cleats (thin strips of wood) screwed into the sides to act as “ledges” for the shelves to sit on. This makes the structure much more reliable and level. If you want a cleaner, more minimalist look, you can skip the cleats and screw directly through the sides, but the cleats are much more forgiving if your cuts aren’t perfectly surgical.
- 5. Don’t forget the back! A bookshelf without a back panel is basically just a wobbly cage. Grab a thin sheet of 1/4-inch plywood or even some heavy-duty hardboard and nail it into the back edges of your frame. This “squares up” the whole project and prevents the shelf from leaning to one side. Just keep your hammer taps light and steady so you don’t dent the wood.
- 6. Finally, give it a little TLC. If you’re feeling ambitious, you can sand down the rough edges with some medium-grit sandpaper and apply a simple stain or a coat of paint to match your room. If you’re like me and just want it done, even a quick wipe-down to remove the sawdust is enough to make it feel finished. Now, go grab those books and start filling it up—you earned it.
Simple Woodworking Tools for Beginners and Smart Plans
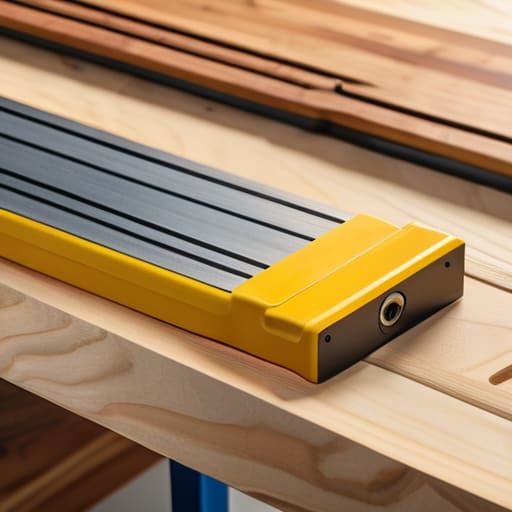
Before you head to the hardware store, let’s talk gear. You don’t need a garage full of expensive machinery to get this done, but you do need a few reliable basics. When looking for woodworking tools for beginners, I always tell people to prioritize accuracy over everything else. A decent tape measure, a speed square, and a cordless drill will get you through about 90% of this project. If you’re feeling a bit nervous about the geometry of it all, don’t sweat it—I highly recommend searching for custom shelving unit plans online that offer clear, annotated diagrams. Having a visual roadmap makes the whole process feel much less intimidating.
Once you have your materials, the real magic happens during the preparation phase. I can’t stress enough how much time you save by being meticulous with measuring and cutting wood before you ever pick up a screw. Measure twice, cut once—it’s a cliché for a reason. If your cuts are even slightly off, those small errors will compound by the time you reach the top shelf. Take your time, keep your workspace organized, and remember: precision is your best friend when you’re trying to build something that actually lasts.
Mastering Measuring and Cutting Wood for a Perfect Fit
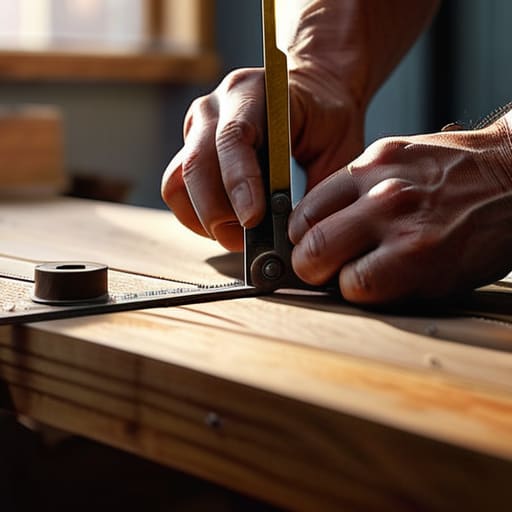
If there is one thing I learned from my dad, it’s that you can’t rush the math. I know, I know—you’re excited to see those boards come together, but measure twice and cut once isn’t just a cliché; it’s a survival tactic. When you’re measuring and cutting wood, even a sixteenth of an inch can turn your dream project into a wobbly mess. I always recommend using a sharp pencil and a high-quality tape measure. Don’t just eyeball it, and please, for the love of sanity, don’t rely on “close enough.”
Once you’ve got your measurements down, pay close attention to your cut lines. I like to mark my cuts with a small “V” rather than a single line, which helps you see exactly where the blade should land. If you’re working from custom shelving unit plans, double-check that your cuts account for the thickness of the wood itself. It sounds simple, but it’s the easiest way to ensure your pieces actually fit flush. Take a breath, steady your hands, and take your time. We’re building something meant to last, not a race against the clock.
Ensuring Shelf Stability and Support for Your Heavy Reads
Here is the reality of DIY furniture: a shelf that looks great but sags the moment you add a few hardcovers is just a beautiful piece of junk. If you’re following custom shelving unit plans, it’s easy to get caught up in the aesthetics, but you have to prioritize shelf stability and support from the start. To prevent that dreaded “smile” curve in your boards, I always recommend choosing a thicker wood or adding a solid lip along the front edge. This acts like a structural beam, providing the rigidity needed to hold up those heavy art books or encyclopedias without bowing under the pressure.
Once the structure is solid, don’t skip the most important safety step: mounting shelves to the wall. Even the sturdiest build can become a tipping hazard if it isn’t anchored properly, especially in a home with kids or pets. I usually grab a few heavy-duty L-brackets and find the studs in my wall—it’s a non-negotiable for me. It takes an extra ten minutes, but it gives you the peace of mind that your library isn’t going anywhere.
Finishing Wood Surfaces and Mounting Shelves to Wall Safely
Once the structure is solid, it’s time for the part that actually makes the piece look professional: finishing wood surfaces. Don’t feel like you need to go out and buy a high-end spray booth. For a first-timer, I always recommend starting with a simple wipe-on oil or a good quality wax. It’s much more forgiving than heavy polyurethane, which can easily leave ugly drip marks if you aren’t careful. Just grab a lint-free rag, sand everything down one last time with a fine-grit paper, and apply the finish in thin, even layers. It’s incredibly meditative, and honestly, it’s where your project finally starts to look like furniture rather than just a pile of lumber.
Now, let’s talk about the most important safety step: mounting shelves to wall securely. Even if you’ve nailed your shelf stability and support perfectly, a bookshelf is a heavy beast once it’s loaded with books. Please, do not just rely on the tiny nails that come in those cheap picture-hanging kits. You need to find your studs using a stud finder, or at the very least, use heavy-duty drywall anchors. I usually like to use a small L-bracket at the top to anchor the unit to the wall. It’s a small extra step that prevents a total disaster later on.
A Few Pro Tips to Save Your Sanity (and Your Fingers)
- Don’t skip the “dry fit” stage. Before you even think about reaching for the wood glue or the drill, put the whole thing together without any fasteners. It’s the easiest way to catch a wonky angle or a measurement error before it becomes a permanent, expensive mistake.
- Measure twice, but check a third time. I know, it sounds like a cliché, but when you’re working with expensive lumber, a quarter-inch error can turn a beautiful bookshelf into a wobbly mess. Always double-check your marks against the actual piece of wood, not just your notes.
- Sanding is where the magic happens, so don’t rush it. Start with a coarser grit to get the rough patches out, then move to a finer grit. If you skip the middle steps, you’ll end up with a surface that feels like sandpaper instead of smooth, finished wood.
- Keep your workspace organized, even if it feels chaotic. I always keep my small parts—like screws, dowels, and sandpaper—in a dedicated tray or even just a muffin tin. There is nothing more frustrating than being halfway through a project and realizing a vital screw has vanished into the carpet.
- Think about the “real world” use of your shelves. If you’re planning on storing heavy hardcover encyclopedias, don’t skimp on the thickness of the wood or the number of supports. A shelf that bows under weight isn’t just an eyesore; it’s a project that failed its primary job.
The Heart of the Project
“At the end of the day, a bookshelf isn’t just a collection of boards and screws; it’s about creating a dedicated spot for the things that actually matter to you. Don’t get paralyzed by the fear of making a mistake—just build something sturdy, keep it simple, and get back to enjoying your home.”
Elena Vance
You Did It: From Lumber to Library
We’ve covered a lot of ground, from picking out your wood and getting those measurements dead-on to making sure those shelves aren’t going to sag under the weight of your favorite hardcovers. It might have felt like a lot when we started, but remember that the secret to a successful build isn’t having a professional workshop; it’s about staying organized and being patient with the process. By focusing on solid support and a clean finish, you haven’t just built a piece of furniture—you’ve created a functional part of your home that was actually made by you.
Now that the sawdust has settled and your tools are back in their spots, take a second to actually look at what you’ve accomplished. There is a specific kind of quiet satisfaction that comes from pulling a book off a shelf you built with your own two hands. Don’t worry if there’s a tiny scratch or a slightly uneven edge; those little imperfections are just proof that this wasn’t something mass-produced in a factory. They make it yours. So, go ahead and fill those shelves, grab a coffee, and enjoy the space you’ve reclaimed. You’ve earned it.


I believe that a well-run home shouldn't require a PhD or a massive budget. My goal is to strip away the complexity so you can focus on actually living in your space. Let's keep things practical, efficient, and genuinely useful.
View All Articles