
I was standing in the middle of my guest bedroom last Saturday, staring at a half-empty gallon of “Dusty Rose” and a floor covered in more drop cloths than actual furniture, wondering where it all went wrong. My first attempt at learning how to paint a room ended in a disaster of uneven streaks and more stress than a corporate deadline. I realized then that most tutorials make this process look like a seamless, magical transformation, but they completely skip over the messy reality of prep work and the sheer frustration of choosing the wrong finish.
I’m not here to sell you on some expensive, high-tech gadgetry or a twenty-step ritual that takes up your entire weekend. Instead, I want to show you the efficient, stripped-back way to get the job done right. This guide is my personal blueprint for how to paint a room without the unnecessary headache or the wasted budget. We’re going to focus on the essential tools, the few prep steps that actually matter, and the little tricks I’ve learned from years of DIY projects to ensure your walls look professional and, more importantly, that you actually enjoy the process.
Guide Overview
Tools & Supplies
- Paint roller and tray for large surfaces
- Angled sash brush for edges and corners
- Painter's tape for protecting trim
- Drop cloths to cover floors and furniture
- Interior paint (1-2 gallons per color)
- Painter's tape (1-2 rolls)
- Sandpaper (medium grit for smoothing walls)
- Spackle (small container for filling holes)
Step-by-Step Instructions
- 1. Clear the decks. I know it’s tempting to just start painting around your furniture, but you’ll end up spending more time playing “dodge the drip” than actually working. Move everything out of the room if you can; if not, push it to the center and cover it with heavy-duty plastic. Don’t bother with those thin, flimsy drop cloths that tear the second you step on them—get the canvas ones that actually stay put.
- 2. Prep the surfaces before you even think about opening a paint can. Take a damp cloth and wipe down the walls to get rid of dust and cobwebs, because paint won’t stick to grime. If there are any small holes from old picture nails, fill them with a bit of spackle, let it dry, and sand it smooth. If you skip this, you’ll end up with bumps that look terrible once the light hits the fresh coat.
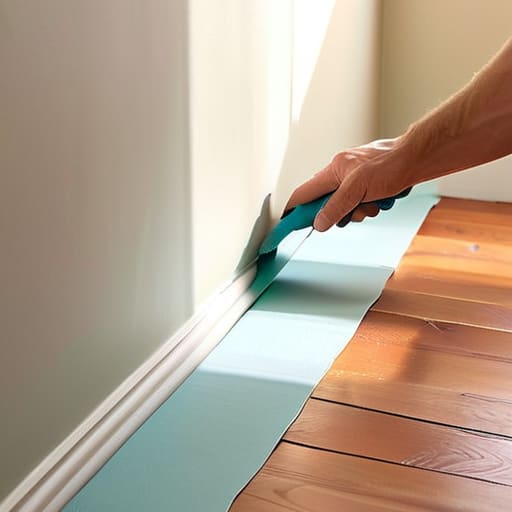
- 3. Protect your edges with painter’s tape. This is where most people get lazy, but it’s the difference between a professional look and a messy DIY job. Run tape along your baseboards, ceiling edges, and around window frames. I always give the edge of the tape a quick press with my multi-tool handle or a putty knife to make sure it’s truly sealed; this prevents that annoying bleed-through that ruins your clean lines.
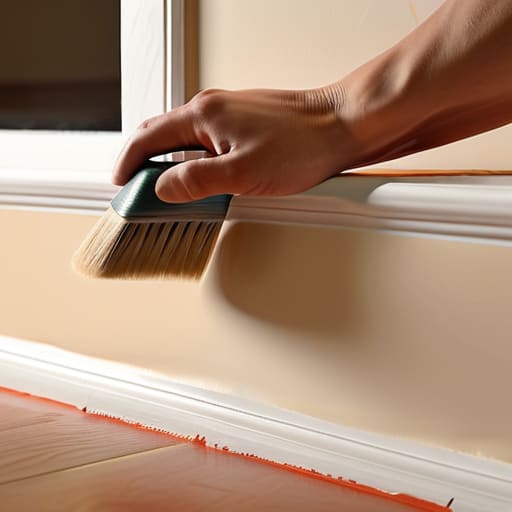
- 4. Cut in your edges first. You aren’t going to get a big roller into those tight corners or along the ceiling, so grab a high-quality angled brush. Work in small sections around the perimeter of the room—the corners, the baseboards, and above the trim. It’s a bit tedious, but getting the edges out of the way first sets you up for a much smoother rhythm once you start rolling.
- 5. Load up the roller and find your rhythm. Dip your roller into the tray and roll it back and forth on the ramp until it’s evenly coated but not dripping. When you hit the main walls, use a “W” or “M” pattern to distribute the paint, then fill in the gaps. This ensures you aren’t leaving any thin patches or heavy streaks, which is a common mistake when people just try to go straight up and down.
- 6. Let it breathe before the second coat. I’ve seen so many people rush this part, but if you apply a second coat while the first is still tacky, you’ll just pull the paint right off the wall. Check the label on your can for the exact drying time, but generally, give it a few hours. Once it’s dry to the touch, go in for that second layer to get that deep, even color you’re actually looking for.
- 7. Peel the tape while it’s still slightly damp. This is my golden rule: don’t wait until the paint is bone-dry and rock-hard to pull your tape off, or you’ll likely chip the new finish. Pull the tape away at a steady, 45-degree angle while the paint is still fresh. It’s much cleaner, much faster, and saves you from the headache of having to touch up those edges later.
The Essential Painting Supplies List You Actually Need
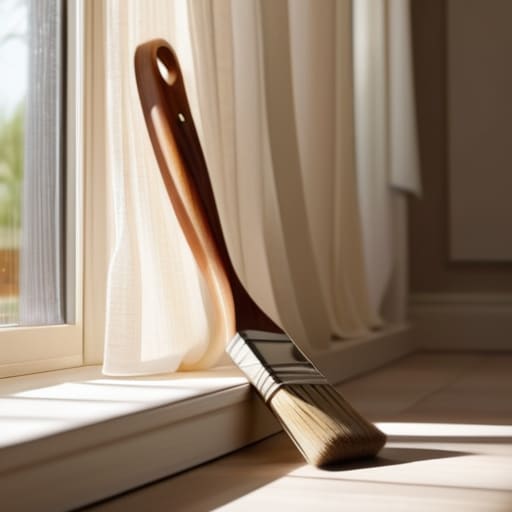
Look, I’ve seen enough “DIY disasters” to know that a project usually falls apart before the first drop of color even hits the wall. Most people think they can just grab a cheap brush and a gallon of whatever is on sale, but that’s a recipe for frustration. My essential painting supplies list is pretty lean because I hate clutter, but I won’t compromise on quality. You need a decent angled sash brush for the edges—don’t skimp here—and a high-quality roller cover. If you use a cheap, fuzzy roller, you’ll spend more time cleaning up lint than actually enjoying your new space.
Before you even crack open a can, remember that protecting furniture while painting is just as important as the painting itself. I always grab heavy-duty canvas drop cloths rather than those thin plastic sheets; they actually stay put and don’t turn into a slippery mess on your hardwood. Also, if you’re wondering about the best paint for interior walls, look for something with a washable matte or eggshell finish. It’s much more forgiving when life inevitably happens and someone bumps a chair into the wall.
Smart Ways of Protecting Furniture While Painting
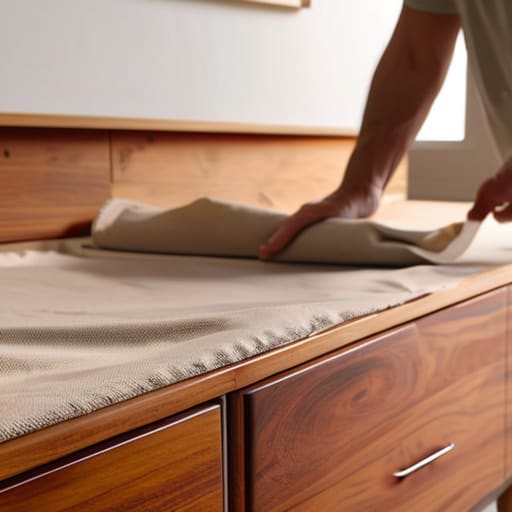
Look, I’ve been there—staring at a beautiful mid-century sideboard and praying a rogue splatter of “eggshell white” doesn’t ruin it forever. Most people think just tossing a thin sheet over everything is enough, but if you’re serious about protecting furniture while painting, you need to be a bit more strategic. I always start by moving anything small or fragile to a completely different room. If a piece is too heavy to budge, don’t just drape it; wrap it in plastic film first, then layer heavy-duty canvas drop cloths over the top.
The secret is managing the “drift.” Even if you’re careful with how to use a paint roller, tiny mist-like droplets can travel surprisingly far. I like to use painter’s tape to secure the edges of my coverings so they don’t slide around while I’m working. Also, a quick tip from my DIY days: never use thin plastic tablecloths for floor protection. They’re slippery and offer zero absorption. Stick to thick, reusable cloths that can actually catch a drip before it turns into a permanent stain on your hardwood.
Five Pro-Tips to Save Your Sanity (and Your Walls)
- Stop trying to save money by buying the cheapest paint you can find. It’ll end up being more expensive because you’ll have to apply three or four coats just to get even coverage, which means more time, more effort, and more frustration. Just buy the decent stuff once and be done with it.
- Don’t skip the “cutting in” phase. I know it’s tempting to just grab a big roller and go, but if you don’t carefully paint the edges and corners with a brush first, your finished room is going to look amateurish and messy.
- Check your lighting before you commit. I’ve learned the hard way that a color that looks perfect in the bright light of the hardware store can look completely different in your living room at 7:00 PM. Grab a few samples and test them on different walls throughout the day.
- Keep a damp rag in your back pocket. Seriously. Whether it’s a stray drip on the trim or a smudge on the ceiling, catching it while the paint is still wet is the difference between a professional finish and a weekend spent scrubbing.
- Work from the top down. It sounds obvious, but if you start with the baseboards and then realize you need to touch up the ceiling, you’re just going to end up dripping paint all over your hard work. Start at the ceiling, move to the walls, and save the trim for last.
The Secret to a Professional Finish
“A great paint job isn’t about how expensive your brushes are; it’s about the patience you put into the prep work. If you rush the cleaning and the taping, you’ll spend more time fixing mistakes than actually enjoying your new space.”
Elena Vance
The Finish Line
At the end of the day, painting a room isn’t about achieving some impossible, magazine-cover perfection; it’s about the process of taking control of your space. We’ve covered the essentials, from prepping those walls properly so you aren’t peeling them back in six months, to grabbing the right tools and actually protecting your furniture so you aren’t scrubbing paint out of your rug for weeks. If you followed the steps, cleaned your brushes, and didn’t skip the prep work, you’ve already done the hard part. Just remember that patience is your best tool here. It’s much better to take an extra hour to do it right than to spend your entire weekend fixing avoidable mistakes.
Once that last corner is rolled and the smell of fresh paint starts to settle, take a second to actually look around. You didn’t just change a color; you reclaimed a corner of your home and made it feel more like you. Don’t rush to move all the furniture back in immediately—give the walls a little breathing room to dry completely. You’ve done the work, you’ve navigated the mess, and now you get to enjoy the payoff. Now, grab a coffee, sit in your newly transformed room, and enjoy the quiet satisfaction of a job well done.


I believe that a well-run home shouldn't require a PhD or a massive budget. My goal is to strip away the complexity so you can focus on actually living in your space. Let's keep things practical, efficient, and genuinely useful.
View All Articles