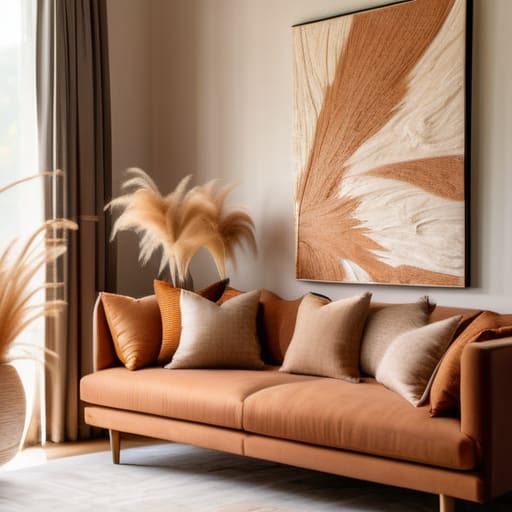

I was standing in the middle of my living room last Tuesday, staring at a massive, blank white wall that felt more like a hospital corridor than a home. I had a handful of old sketches in my notebook and a few scraps of fabric, but I felt completely paralyzed by the idea that I needed to be some kind of “artist” to fix it. We’ve been conditioned to believe that if you want something beautiful, you either have to drop a paycheck at a high-end boutique or possess a degree in fine arts, but that’s just not true. Learning how to make wall art isn’t about mastering complex techniques or buying expensive canvases; it’s really just about finding a way to express yourself without the unnecessary stress.
In this guide, I’m stripping away the fluff and the intimidating jargon to show you how to actually get things done. I’ll walk you through a few of my favorite, low-stress methods that work with what you already have lying around the house. We aren’t aiming for perfection here—we’re aiming for functional beauty that makes your space feel uniquely yours. Let’s stop overthinking it and just start creating.
Guide Overview
Tools & Supplies
- Paintbrushes (various sizes for different textures)
- Palette knife (for mixing and spreading paint)
- Painter's tape (for creating clean geometric edges)
- Canvas (1 medium size)
- Acrylic paint (set of primary colors)
- Gesso (1 small bottle for priming)
- Water container (1 for cleaning brushes)
Step-by-Step Instructions
- 1. First, let’s figure out what we’re actually working with. Before you run to the craft store, grab a piece of paper and sketch out a rough idea of what you want. Are we talking about a large, abstract canvas to fill a blank wall in the living room, or a series of small, framed botanical prints for a hallway? Knowing your scale and style upfront will save you from buying a bunch of supplies you don’t actually need.
- 2. Next, gather your supplies, but keep it simple. I’m a big fan of the “less is more” approach here. If you’re going for a minimalist look, all you really need is a decent canvas or some heavy-weight cardstock, a few tubes of acrylic paint, and some painter’s tape. If you’re feeling more adventurous with textures, maybe grab a bit of modeling paste or even some old fabric scraps. The goal is to be prepared but not overwhelmed.
- 3. Now, let’s prep your workspace. Since I spend a lot of time restoring old furniture, I know how quickly a mess can spiral out of control. Lay down some old newspapers or a cheap plastic tablecloth—I usually keep a stash of these in my utility closet—and clear off a flat surface. You want enough room to move your arms without knocking over your water jar or getting paint on your favorite rug.
- 4. Time to get creative. If you’re feeling intimidated by a blank canvas, try the “tape method.” Use your painter’s tape to create geometric shapes or lines across the surface, then paint inside those boundaries. It’s a foolproof way to get clean lines even if you don’t consider yourself an “artist.” Once the paint is dry, peel the tape away to reveal those crisp, professional-looking edges.
- 5. Layering is where the magic happens. Don’t feel like you have to get everything perfect in one go. Let your first layer dry, then go back in with a different color or a bit of texture to add some depth. I like to use a dry brush technique—just a tiny bit of paint on a nearly dry brush—to create subtle, wispy effects that make the piece look more expensive than it actually was.
- 6. Once your masterpiece is dry, it’s time for the finishing touches. If you’ve worked on paper, finding the right frame is everything. You don’t need to buy something new; I often hunt through thrift stores for unique, vintage frames that just need a quick cleaning. A good frame can turn a simple sketch into a focal point that feels intentional and polished.
- 7. Finally, let’s get it on the wall. Don’t just slap it up anywhere. Step back, look at the lighting in the room, and consider how it sits with your other furniture. I always recommend hanging art at eye level—a mistake I see people make all the time is hanging things way too high. Take your time with the placement; it’s the final step in making the piece truly belong in your home.
Simple Abstract Wall Art Tutorials for Real Life
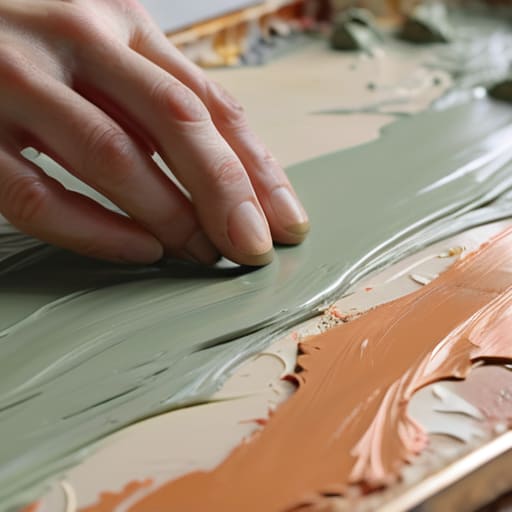
If you’re feeling a bit intimidated by a blank canvas, don’t sweat it. You don’t need to be an artist to create something that looks intentional and sophisticated. One of my favorite minimalist wall decor ideas involves using a palette knife or even an old credit card to smear thick acrylic paint across the surface. This creates a beautifully tactile, textured art DIY look that adds depth to a room without needing precise brushstrokes. It’s much more about the movement of your hand than the accuracy of the shape.
Another way to keep things low-stress is to lean into mixed media art supplies. I often grab some leftover modeling paste or even a bit of sand from the garden to mix into my paint. This adds a rugged, organic feel that works perfectly in a modern or boho-style home. The best part about these abstract wall art tutorials is that there is no “wrong” way to do it. If a color feels off, just layer something else on top. It’s about the process, not perfection.
Budget Friendly Home Decor Projects That Actually Look Good
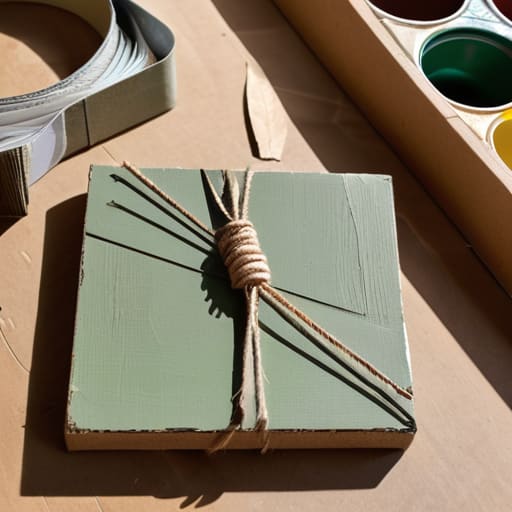
If you’re anything like me, you probably have a drawer full of “stuff” that could actually be useful for your next project. Before you head out to a high-end craft store, take a look around your junk drawer or your recycling bin. You can create some seriously sophisticated minimalist wall decor ideas using nothing more than some old cardboard, a bit of leftover house paint, and some twine. I’ve found that the most impactful pieces often come from repurposing what you already own rather than buying something pre-made that lacks soul.
The secret to making these pieces look intentional rather than “crafty” is all in the texture. I’m a big fan of textured art DIY projects because they add a layer of depth that flat prints just can’t match. You can mix some baking soda into your acrylic paint to create a stone-like finish, or even use old fabric scraps to add dimension. It’s about playing with materials to create something that feels expensive and curated, even if it only cost you a few cents in supplies.
A Few Things I’ve Learned the Hard Way
- Don’t overthink the color palette. I used to grab every paint sample that looked pretty, but I quickly learned that sticking to three cohesive tones makes even the messiest DIY look intentional rather than chaotic.
- Scale matters more than you think. A tiny piece of art on a massive wall just looks lost; if you’re working with something small, try grouping a few pieces together or using a larger frame to give it some weight.
- Texture is your best friend for adding depth. If your abstract piece feels a little flat, don’t be afraid to mix in some sand, modeling paste, or even fabric scraps to give it that tactile, high-end feel.
- Invest in decent frames. You can make a piece of paper look like a gallery masterpiece just by choosing a sturdy, well-fitted frame—it’s the quickest way to bridge the gap between “craft project” and “decor.”
- Test your lighting before you commit. Before you hammer that final nail into the wall, check how the light hits your art at different times of the day; you don’t want a glare obscuring your hard work every afternoon.
## The Heart of the Project
“At the end of the day, your walls shouldn’t look like a showroom catalog; they should look like you. Don’t get hung up on perfection or expensive supplies—just find something that makes you pause and breathe when you walk through the door.”
Elena Vance
Bringing It All Together
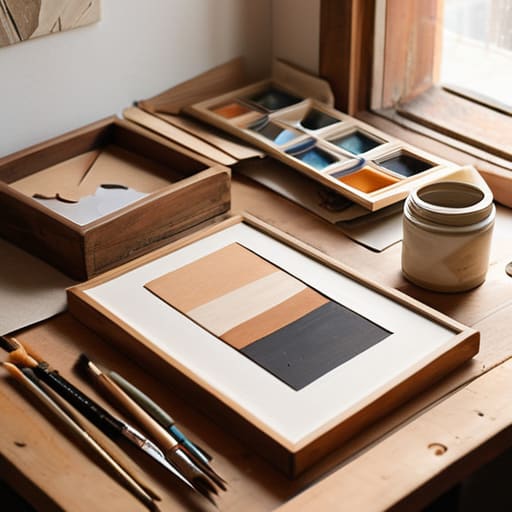
At the end of the day, making your own wall art isn’t about achieving perfection or following a strict set of professional rules. Whether you went the route of a simple abstract canvas, repurposed some vintage frames from a thrift store, or experimented with textures, the goal was to personalize your environment without breaking the bank. We’ve covered how to keep things budget-friendly and how to use basic tools to create something that actually looks intentional rather than cluttered. Remember, the most important part of any DIY project is that it works for your specific space and your specific lifestyle, not because it looks like a showroom catalog.
I know how easy it is to feel paralyzed by the sheer amount of “perfect” home decor out there, but I promise you don’t need a massive budget or a professional design degree to make a house feel like a home. Your walls should tell a story about who you are and how you live, even if that story is told through a few simple brushstrokes or a hand-painted pattern. So, grab your tools, clear off the kitchen table, and just start creating. The more you lean into the process, the more you’ll realize that a well-lived-in home is built one small, practical project at a time.


I believe that a well-run home shouldn't require a PhD or a massive budget. My goal is to strip away the complexity so you can focus on actually living in your space. Let's keep things practical, efficient, and genuinely useful.
View All Articles