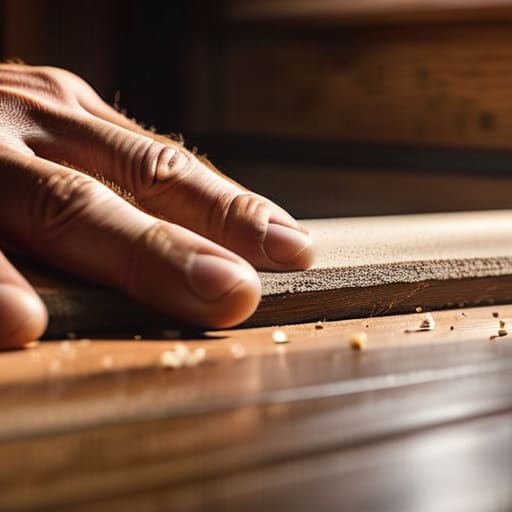

I was mid-way through sanding down a vintage teak sideboard last Tuesday when I caught sight of that dreaded, jagged gouge near the edge—the kind that makes you want to just close the lid and walk away. We’ve all been there, staring at a surface that suddenly looks completely ruined because of one clumsy move or a rogue pet claw. Most people think you need to strip the entire piece down to the raw grain or hire a professional restorer just to handle a few scuffs, but honestly? That’s a total waste of your time and money. Learning how to fix scratched wood doesn’t require a workshop full of expensive machinery; usually, it just takes a little patience and the right approach to the specific type of damage you’re facing.
I’m not here to sell you on some complicated, multi-step chemical process that leaves your house smelling like a factory. Instead, I’m going to show you how to tackle these imperfections using practical, straightforward methods that actually work. Whether it’s a light surface scratch that needs a quick buff or a deeper mark that requires a bit more elbow grease, I’ll walk you through exactly what to do. My goal is to get your furniture looking beautiful again without the unnecessary stress.
Guide Overview
Tools & Supplies
- Sandpaper (various grits for smoothing)
- Microfiber cloth (for cleaning dust)
- Wood filler or wax sticks (1-2 depending on scratch size)
- Wood stain or touch-up marker (1 to match existing color)
Step-by-Step Instructions
- 1. First things first, grab a clean, soft cloth and some mild soap to wipe down the area. You don’t want to be rubbing old dust, wax, or kitchen grease into the wood fibers while you’re trying to work; it’ll just turn your repair into a muddy mess.
- 2. Take a close look at the damage to see what we’re actually dealing with. If it’s just a light scuff, you might get away with a bit of friction, but if you can feel the indentation with your fingernail, you’ll need to grab your sandpaper. I always keep a few sheets of fine-grit sandpaper (around 220 or 320) in my toolkit for exactly this reason.
- 3. If the scratch is shallow, try the “walnut trick” before you go full DIY mode. Grab a raw walnut—not the roasted kind, just a plain one—and rub the meat of the nut directly over the scratch. The natural oils act like a temporary filler and can work wonders on minor surface marks.
- 4. For those deeper gouges that won’t budge, it’s time to get a little more intentional. You can use a wood filler or even a specialized furniture repair marker, but if you want to do it right, mix a tiny bit of wood glue with some fine sawdust from a similar wood type. Use a putty knife to press the paste into the gap, making sure you pack it in tight so there are no air pockets.
- 5. Once the filler has had enough time to dry—and please, be patient here—you’ll need to level it out. Use your fine-grit sandpaper to sand the area until it’s perfectly flush with the surface. I usually sand in the direction of the wood grain, never across it, to avoid leaving any telltale swirl marks.
- 6. Now comes the part where most people stumble: the finish. You’ll need to match the sheen of the surrounding wood, whether it’s matte, satin, or gloss. Dab a tiny bit of matching stain or wax onto the repaired spot using a Q-tip, working from the center outwards to blend the edges so the repair doesn’t look like a lonely island on your table.
- 7. Finally, give the whole area a quick buff with a clean microfiber cloth to remove any excess. It won’t be “factory new,” but it will be smooth and seamless enough that you can get back to actually using your furniture instead of staring at the flaw.
Removing Surface Scratches From Timber Without the Stress

Before you dive into the heavy-duty stuff, I want to remind you that not every mark needs a full overhaul. If you’re just dealing with light scuffs, try buffing out wood imperfections with a soft cloth and a bit of walnut oil or even a specialized furniture wax. Sometimes, the friction and the oil are enough to settle the fibers back down without you having to break out the sandpaper. It’s all about reading the wood first; if the scratch doesn’t catch your fingernail, you can usually skip the intensive repairs.
However, if the damage is a bit deeper, you’ll need to get more intentional. This is where your patience pays off. When you move into restoring wood finish on deeper gouges, don’t rush the drying process. I’ve made the mistake of layering too much product too quickly, only to end up with a gummy mess that looks worse than the original scratch. Take your time, work in small sections, and remember that a little bit of prep work now saves you a massive headache—and a lot of wasted money—later on.
Mastering Wood Filler Application Techniques for Real Results
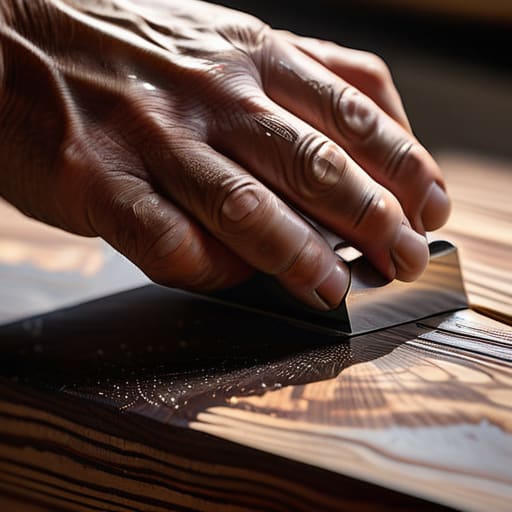
Now, if the scratches are a bit deeper than a simple surface scuff, you’re going to need to reach for the wood filler. This is where most people get nervous, but don’t let it intimidate you. The secret to successful wood filler application techniques isn’t about being perfect; it’s about being intentional. When you’re pressing the filler into the groove, use a small putty knife or even a stiff credit card to pack it in tightly. You want to leave it slightly proud of the surface—meaning a tiny bit higher than the surrounding wood—because filler tends to shrink just a hair as it dries.
Once it’s set, your next move is the sanding phase. This is the bridge between a messy patch and restoring wood finish that actually looks seamless. Use a fine-grit sandpaper to level that bump until it’s flush with the grain. If you find yourself struggling to get the texture right, don’t panic; just take a lighter touch. The goal isn’t to sand the wood away, but to gently guide the filler into becoming one with the piece. Take your time, and I promise the results will be worth the extra few minutes.
A Few Pro-Tips to Save Your Sanity (and Your Furniture)
- Don’t rush the drying time; I know it’s tempting to move on to the next thing, but if that wood filler isn’t completely set, you’re just going to end up with a messy smudge later.
- Always test your stain or touch-up marker on a hidden spot first—like the underside of a table or the back of a chair leg—to make sure the color actually matches your piece.
- Keep your sandpaper moving in the direction of the grain, not across it; sanding against the grain is a one-way ticket to making a small scratch look like a giant canyon.
- If you’re dealing with a really light scratch, sometimes a simple walnut can do the trick—just rub the nut meat over the mark and let the natural oils do the heavy lifting.
- Clean your workspace before you start; even a tiny bit of dust trapped under your finish can turn a quick fix into a frustrating texture problem.
A Perspective on Imperfect Surfaces
“Don’t let a few shallow gouges make you feel like a piece of furniture is ruined. Most of the time, it’s just a little surface character that needs a bit of attention—not a total overhaul.”
Elena Vance
Bringing It All Back Together
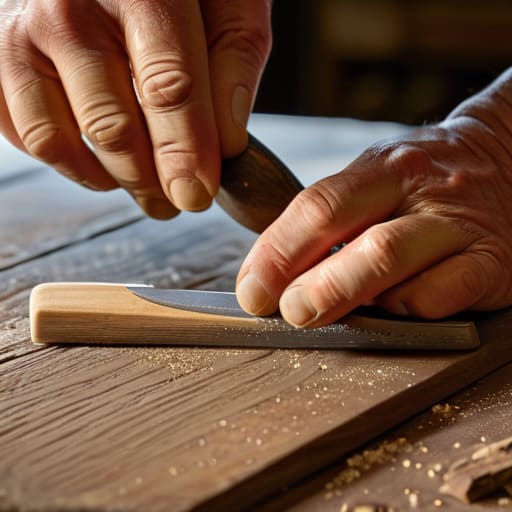
At the end of the day, fixing scratched wood isn’t about achieving some impossible, factory-perfect finish; it’s about stopping the decay before it gets worse. Whether you spent your afternoon lightly sanding away those shallow surface marks or carefully pressing wood filler into a deeper gouge, you’ve already done the hard part. Remember that the key is patience—don’t rush the drying times or try to skip the fine-grit sanding phase just to get to the finish. If you take the time to match your stain and blend the edges properly, those once-obvious eyesores will simply fade into the background, leaving your furniture looking cared for rather than repaired.
I know it can feel like just one more thing on an already overflowing to-do list, but there is something deeply satisfying about taking a piece of furniture that felt “ruined” and making it functional again. You don’t need a professional workshop or a warehouse full of expensive supplies to reclaim your home; sometimes, all you really need is a little bit of grit and the right approach. Don’t let a few scuffs make you feel like your belongings are disposable. Treat your pieces with a little bit of love, and they’ll stand the test of time right alongside you. Now, go grab a coffee and enjoy your handiwork.


I believe that a well-run home shouldn't require a PhD or a massive budget. My goal is to strip away the complexity so you can focus on actually living in your space. Let's keep things practical, efficient, and genuinely useful.
View All Articles