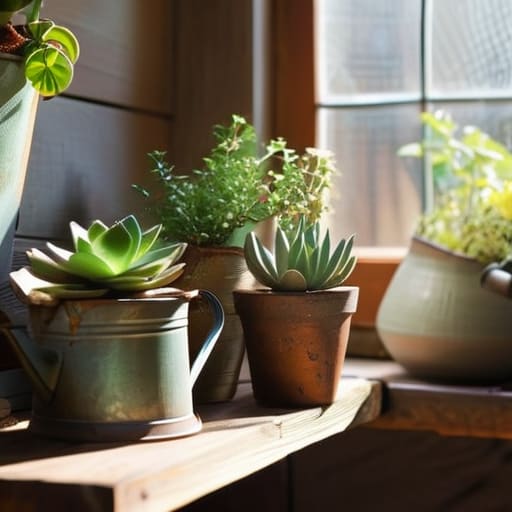

I was standing in the middle of a big-box garden center last weekend, staring at a row of overpriced, mass-produced ceramic pots, when I realized how ridiculous it had become. Why am I paying twenty dollars for a single piece of glazed clay when I have perfectly good vessels sitting in my own pantry or garage? We’ve been conditioned to think that beautiful greenery requires a matching set of expensive decor, but that’s a total myth. Making your own diy planters isn’t about following a complicated Pinterest trend; it’s about looking at the objects you already own and seeing their hidden potential.
In this guide, I’m going to show you how to skip the expensive retail markup and get growing using what you actually have on hand. I won’t be suggesting any high-maintenance projects that require a workshop full of power tools or a massive budget. Instead, we’re going to focus on practical, low-stress methods to turn old tins, wooden crates, and even upcycled kitchenware into stylish homes for your plants. My goal is to help you add some life to your space without adding any unnecessary clutter or stress to your weekend.
Guide Overview
Tools & Supplies
- Drill and drill bits for drainage holes
- Measuring tape for precise cuts
- Sandpaper to smooth rough edges
- Wooden crate or cedar planks (1 set)
- Potting soil (1 bag)
- Waterproof wood sealant (1 small can)
- Screws or nails (1 small box)
Step-by-Step Instructions
- 1. First, take a good look around your house or garage for potential candidates. I’m talking about things like old tin coffee cans, wooden crates you might have tucked away, or even those sturdy ceramic mugs that lost their partner in the dishwasher. The goal is to find something with sturdy walls that can actually hold the weight of wet soil without collapsing or leaking everywhere.
- 2. Once you’ve picked your vessels, you need to address the drainage situation. This is the part most people skip, and it’s exactly why their plants end up rotting. If you’re using metal or plastic, grab a hammer and a large nail (or a drill if you have one handy) and punch a few holes in the bottom. If you’re working with something like a wooden crate, you might want to line the inside with a piece of landscape fabric first to keep the soil from washing out the cracks.
- 3. If you’re working with metal cans, I highly recommend giving them a quick scrub with some warm soapy water to get rid of any old residue. If the edges feel a bit sharp or jagged after you’ve made your drainage holes, take a bit of sandpaper to them. I always keep a small sanding block in my kit because nobody wants a scratched knuckle while they’re trying to enjoy their new greenery.
- 4. Now comes the fun part: making them look like they actually belong in your living room. Since I love that mid-century aesthetic, I often go for matte paints or natural wood stains. You can spray paint a cluster of mismatched tins in a single, cohesive color to make them look like a curated set, or leave a wooden box raw and just apply a bit of linseed oil to bring out the grain.
- 5. Before you add the actual dirt, grab a handful of small pebbles or even some broken bits of old terracotta pots. Place a layer of these at the very bottom of your planter to create a “reservoir” for excess water. This helps ensure that even if you accidentally overwater, your plant’s roots aren’t sitting in a stagnant pool of mud.
- 6. Fill your new planter with a high-quality potting mix—and please, don’t just grab dirt from your backyard. Garden soil is often too heavy and can carry unwanted pests or diseases that will stress out your new plant. Scoop the mix in until it’s about an inch below the rim, leaving just enough breathing room so when you water it, the soil doesn’t overflow.
- 7. Finally, tuck your plant in and give it a gentle, thorough watering to help the soil settle around the roots. If you’ve used a container that isn’t waterproof, like a pretty wooden box or a decorative ceramic pot without holes, place it inside a slightly larger, plain plastic saucer or a secondary pot to catch the runoff. This keeps your furniture safe and your cleanup minimal.
Upcycled Container Gardening Turning Household Items Into Plant Homes
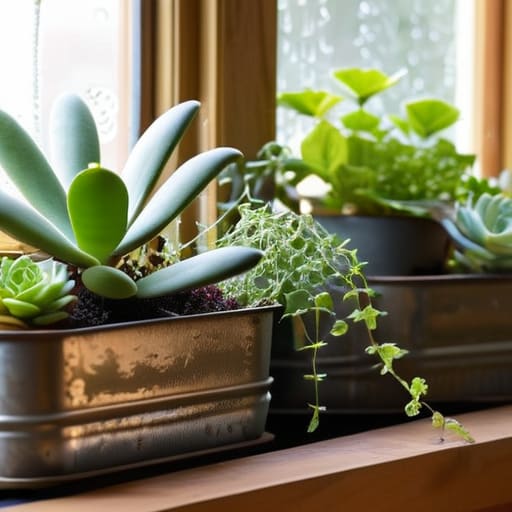
If you’re anything like me, you probably have a cupboard or a garage corner filled with things that “might be useful someday.” Honestly, that’s your goldmine for upcycled container gardening. Instead of running to a big-box store for expensive ceramic pots, look at your kitchen or utility room with fresh eyes. Old tin coffee cans, wooden crates from your last move, or even those sturdy colanders that have seen better days can become beautiful homes for greenery. I’ve found that using repurposed household items for plants adds a layer of character to a room that you just can’t buy off a shelf.
The trick to making these look intentional rather than cluttered is a quick bit of prep. If you’re using something like a vintage tin, a quick coat of matte paint can make it look high-end. Most importantly, don’t forget about drainage solutions for diy pots. If your container doesn’t have holes, grab my multi-tool or a drill and make a few. It’s a small step, but it’s the difference between a thriving indoor herb garden and a soggy mess.
Practical Drainage Solutions for Diy Pots That Actually Work
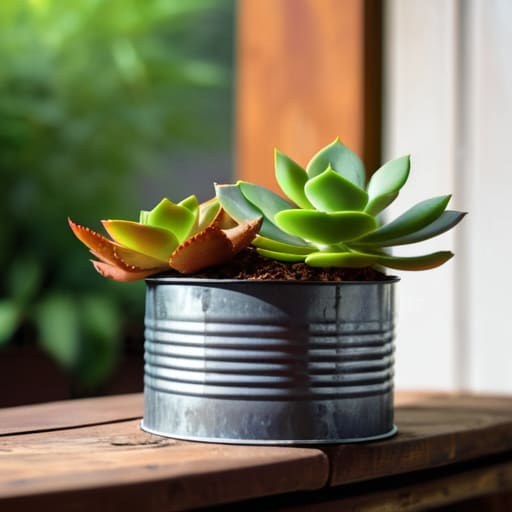
Here is the one thing I’ve learned from years of trial and error: nothing kills the joy of a new project faster than a dead plant. When you’re using repurposed household items for plants, the biggest mistake is assuming they can handle moisture on their own. Most things we find around the house—like old tins, wooden crates, or ceramic bowls—weren’t designed to let water escape. Without proper drainage solutions for diy pots, you’re essentially creating a swamp at the bottom of your container, which leads to root rot faster than you can say “oops.”
If you’re working with something that doesn’t have pre-drilled holes, don’t panic. You don’t need heavy-duty power tools for every single project; a simple hand drill or even a heated metal skewer can work for smaller items. For those of us focusing on indoor herb garden containers, I always recommend adding a layer of coarse gravel or even some broken terracotta shards at the bottom before adding soil. This creates a little “breathing room” for the water to settle before it drains away, keeping your plants happy and your hands clean.
Five Quick Rules of Thumb to Keep Your Plants Happy
- Don’t forget the drainage. Even if you love the look of a cute vintage tin, if there’s no way for excess water to escape, you’re just inviting root rot to the party.
- Think about weight before you commit. If you’re planning to hang a planter from a shelf or a hook, make sure the container and the wet soil won’t end up pulling your furniture down with them.
- Match the material to the plant. Succulents and cacti need something that breathes, like terracotta, while moisture-loving ferns are much happier in heavier, more insulating containers.
- Scale your pot to the root ball. It’s tempting to go big for a dramatic look, but a pot that’s way too large holds too much moisture, which can drown a small plant before it has a chance to grow.
- Test your “upcycled” finds first. Before you plant anything in an old bucket or crate, give it a good scrub with some mild soap to make sure there’s no leftover residue that could harm your new green friends.
A Philosophy of Growth
“A planter doesn’t need to be a designer piece to bring life into a room; it just needs to be a functional home for something green. Honestly, I’d much rather see a thriving plant in a repurposed tin can than a dying one in a hundred-dollar ceramic pot.”
Elena Vance
Bringing It All Together
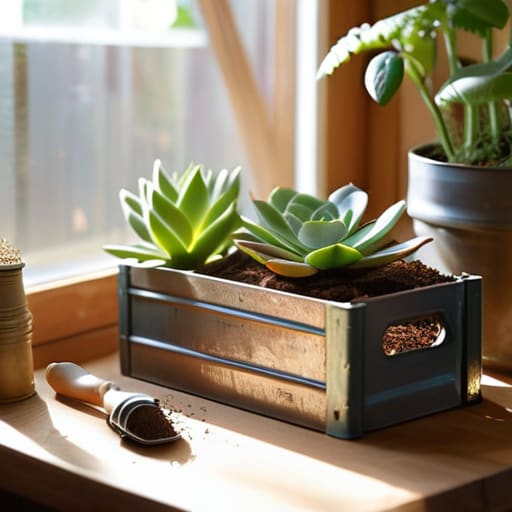
At the end of the day, making your own planters isn’t about achieving some Pinterest-perfect aesthetic; it’s about finding what works for your specific space and budget. We’ve covered how to breathe new life into old household items through upcycling and, more importantly, how to ensure your plants actually survive by mastering proper drainage. Whether you’re repurposing an old tin or drilling holes into a vintage wooden crate, the goal is to create something functional and sustainable. You don’t need a massive garden center budget to bring some greenery indoors—you just need a little bit of creativity and the right tools to get started.
I know how easy it is to feel paralyzed by the sheer amount of “expert” advice out there, but please remember that your home is allowed to be a work in progress. Don’t worry if your first DIY pot looks a little lopsided or if your drainage isn’t perfectly symmetrical; that’s just part of the charm of a lived-in home. The real magic happens when you stop overthinking the instructions and just start doing. So, grab that multi-tool, find a container that speaks to you, and just start planting. You’ve got this, and your space will thank you for it.


I believe that a well-run home shouldn't require a PhD or a massive budget. My goal is to strip away the complexity so you can focus on actually living in your space. Let's keep things practical, efficient, and genuinely useful.
View All Articles