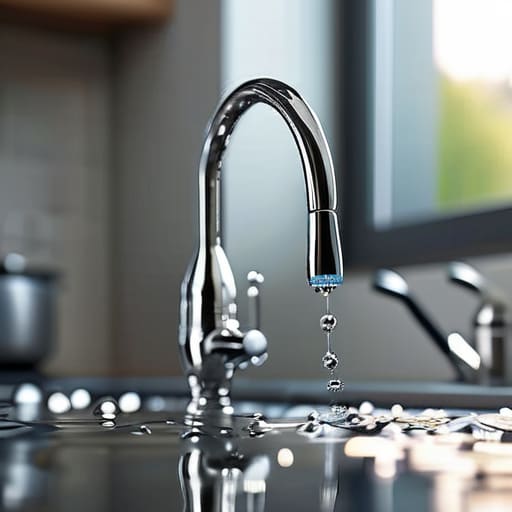

I was sitting in my kitchen last Tuesday, trying to focus on a project deadline, when that rhythmic drip… drip… drip… started echoing off the tile. It’s amazing how a tiny, repetitive sound can completely derail your mental clarity. Most people think that once a tap starts acting up, you’re looking at an expensive plumber visit or a full-scale renovation, but that’s just not true. Learning how to fix a leaky faucet is actually one of those small, manageable wins that anyone can master with a little patience and the right tools. You don’t need a specialized degree to stop the wasting of water and your sanity; you just need a clear plan.
In this guide, I’m stripping away the technical jargon and the intimidating “pro-only” advice to give you a straight-shooting walkthrough. I’ll show you exactly what tools to grab from your kit and how to identify the culprit—whether it’s a worn-out washer or a faulty O-ring—so you can get back to living in a quiet, efficient home. We’re going to tackle this step-by-step, keeping things practical and budget-friendly, so you can fix the drip and move on with your day.
Guide Overview
Tools & Supplies
- Adjustable wrench for loosening nuts
- Screwdriver (Phillips or Flathead) for removing handles
- Allen wrench for removing set screws
- Replacement washers or O-rings (set of varying sizes)
- Plumber's grease (small tube)
Step-by-Step Instructions
- 1. First things first, you need to shut off the water. Look under your sink for the oval-shaped shut-off valves and turn them clockwise until they stop. If your sink doesn’t have them, you’ll need to find the main water line for the house. I always like to double-check that the water is actually off by turning the faucet on for a second; if nothing comes out, you’re good to go.
- 2. Now, grab a towel and plug the drain. I can’t tell you how many times I’ve watched a tiny, crucial screw disappear down the pipes because I forgot this step. Use a sink stopper or even just a hand towel to cover the drain so nothing important goes for a swim.
- 3. It’s time to get to the guts of the faucet. Use your screwdriver to remove the decorative cap on the handle, then unscrew the handle itself. Once the handle is off, you’ll likely see a metal nut or a cartridge. Use your wrench to carefully loosen the packing nut. If it feels stuck, don’t force it with all your might—just give it a firm, steady pressure so you don’t strip the hardware.
- 4. Pull the cartridge or the stem straight up and out. This is usually where the culprit lives. Take a close look at the rubber O-rings and the washers. If they look cracked, flattened, or just plain worn out, that’s almost certainly why you’ve been hearing that annoying drip.
- 5. Head to your local hardware store with the old parts in hand. Don’t try to guess the size; just bring the actual pieces with you to the aisle. It’s the easiest way to ensure you’re getting an exact match, saving you a second trip and a lot of frustration.
- 6. Clean out the area where the parts sit. Use a bit of white vinegar and an old toothbrush to scrub away any mineral buildup or grit. You want a clean, smooth surface so the new seals can sit perfectly flush against the metal.
- 7. Now, we reverse the process. Drop the new cartridge or washer into place, tighten the packing nut back down, and pop the handle back on. Turn your water valves back on slowly—don’t blast them open full force—and test it out. If you don’t hear that rhythmic “drip, drip, drip” anymore, you’ve officially won the battle.
Identifying Common Causes of Leaking Taps
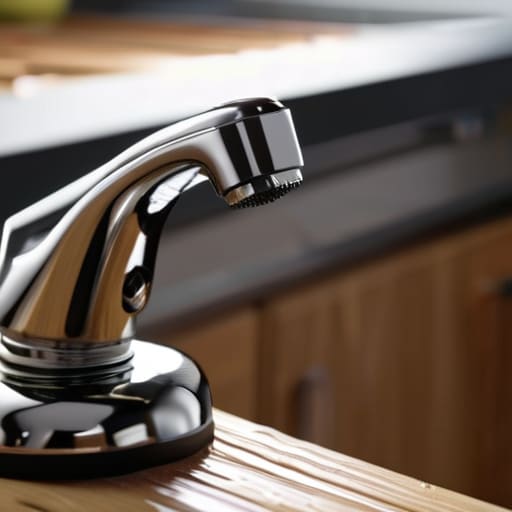
Before you dive into the actual repair, it helps to play a little detective. Most of the time, a leak isn’t some massive, catastrophic failure; it’s usually just a small part that has reached its expiration date. One of the most common causes of leaking taps is a worn-out washer. Over time, the constant turning of the handle compresses that little rubber disc until it’s cracked or flattened, letting water slip right through. If you’re dealing with a single-handle model, you’re likely looking at a faulty cartridge instead.
Sometimes, the issue is less about a specific part and more about a lack of routine faucet valve maintenance. Mineral buildup from hard water can settle inside the mechanism, preventing a tight seal. If you notice the handle feeling a bit stiff or “crunchy” when you turn it, that’s a huge red flag. Identifying whether you need to simply replace faucet washer components or go deeper into a full cartridge swap will save you from buying the wrong parts at the hardware store. Knowing the “why” before you grab your tools makes the “how” a whole lot easier.
Essential Plumbing Tools for Faucet Repair
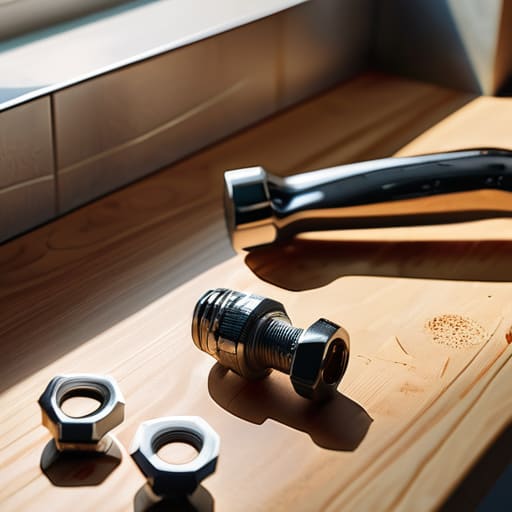
Before you dive in, let’s talk gear. You don’t need a professional-grade workshop to tackle this, but you do need a few basics to avoid making a mess. I always keep a small kit ready for these moments—it’s much easier than running to the hardware store halfway through the job. At a minimum, grab an adjustable wrench, a set of screwdrivers (both Phillips and flathead), and some needle-nose pliers. If you’re dealing with a more modern setup, you might also need a specific tool for cartridge replacement steps, as those internal components can be a bit finicky to pull out without the right grip.
One thing my dad always told me—and I’ve carried this lesson into my own home—is that the right tool makes the job feel half as difficult. If you’re planning to replace a faucet washer, having a small container to organize the tiny screws and parts is a lifesaver. There is nothing more frustrating than finishing a repair only to realize you have a leftover screw sitting on the counter. Keep it organized, keep it simple, and you’ll be back to enjoying your kitchen in no time.
A Few Pro-Tips to Save Your Sanity (and Your Sink)
- Shut the water off first. I know, it sounds obvious, but there is nothing more demoralizing than opening a faucet to fix a leak only to have a geyser erupt in your face. Find the shut-off valves under the sink and twist them tight before you touch a single screw.
- Take photos of everything as you go. When I’m mid-repair, I always snap a quick picture of how the washers and handles were sitting. It’s a lifesaver when you’re staring at a pile of small parts ten minutes later wondering where that tiny rubber ring actually belongs.
- Don’t over-tighten. This is a classic mistake. When you’re putting things back together, tighten them until they’re snug, but don’t go brute-force on them. You can actually crack a ceramic disc or strip a thread if you try to muscle it too hard.
- Check your seals while you’re in there. If you’ve already got the faucet apart, don’t just fix the one thing that’s leaking. Take a quick look at the O-rings and gaskets. If they look flattened or cracked, just swap them out now. It’s a cheap way to prevent a second headache next month.
- Keep a small towel handy. Even with the water off, there’s always a little bit of residual moisture sitting in the pipes. Having a rag right there to soak up the drips keeps your workspace dry and prevents you from slipping on a wet floor.
## A Little Perspective on the Drip
“A leaky faucet isn’t a sign that your house is falling apart; it’s just a small, annoying puzzle waiting to be solved. Don’t let a little bit of water wear down your patience before you even pick up a wrench.”
Elena Vance
You’ve Got This
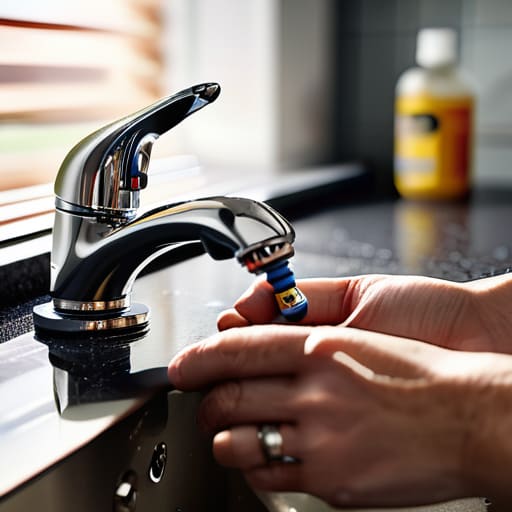
At the end of the day, fixing a leaky faucet really comes down to a few simple things: getting the right tools, identifying whether it’s a worn-out washer or a faulty cartridge, and taking your time with the disassembly. It might feel a little intimidating when you first see water trickling out of the spout, but once you realize that most of these issues are caused by simple wear and tear, the whole process becomes much more manageable. You don’t need a professional plumber on speed dial just because a seal gave out; you just need a little patience and the right approach to get things back in working order.
I know how it feels when a small household annoyance starts to feel like a mountain of stress, especially when you’re already juggling a million other things. But there is something incredibly grounding about taking a problem into your own hands and actually solving it. Every time you fix something yourself, you aren’t just saving money—you’re reclaiming a bit of your own independence and confidence. So, grab your multi-tool, take a deep breath, and remember that you are more than capable of maintaining the space you live in. You’re doing great, and your home is better for it.


I believe that a well-run home shouldn't require a PhD or a massive budget. My goal is to strip away the complexity so you can focus on actually living in your space. Let's keep things practical, efficient, and genuinely useful.
View All Articles