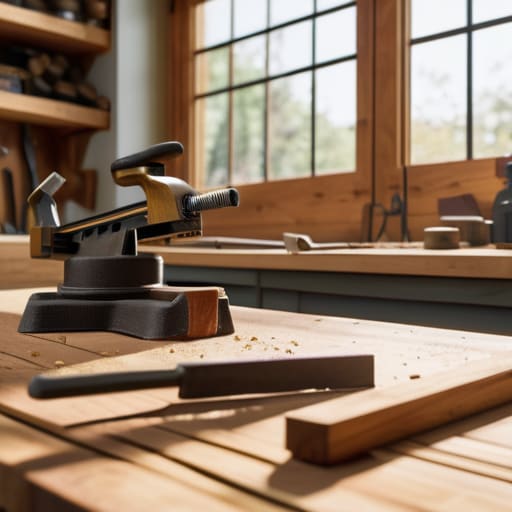

I remember staring at a pile of scrap wood in my garage last summer, feeling completely defeated by a YouTube tutorial that promised a “professional-grade station” but required a $5,000 table saw and a dedicated workshop. It felt like the DIY world was gatekeeping creativity behind a massive paywall. But here’s the truth: you don’t need a master craftsman’s budget or a sprawling studio to get started. Learning how to build a workbench is actually much simpler than those high-production videos make it out to be, and honestly, it should be about utility over vanity.
In this guide, I’m stripping away the jargon and the expensive, unnecessary gadgets. I’ll walk you through a straightforward, sturdy design that uses basic tools you probably already have tucked away in your junk drawer or shed. We aren’t aiming for perfection; we’re aiming for a solid, reliable surface where you can actually get your hands dirty without worrying about every single millimeter. By the end of this, you’ll have a functional workspace that works as hard as you do, without the headache.
Guide Overview
Tools & Supplies
- Circular saw or miter saw for cutting lumber
- Power drill for driving screws
- Tape measure for precise marking
- Speed square for ensuring 90-degree angles
- 4×4 pressure-treated posts (2 units)
- 2×4 construction lumber (8-10 units)
- 3/4 inch plywood sheet (1 unit)
- 2.5 inch wood screws (1 box)
- 3 inch wood screws (1 box)
Step-by-Step Instructions
- 1. First things first, you need to gather your supplies. Don’t let the hardware store overwhelm you; you aren’t building a custom mahogany desk here. You’re going to need some sturdy 2x4s for the frame, a thick sheet of plywood for the top, and a box of 2.5-inch wood screws. I always suggest grabbing a few extra screws because, trust me, you’ll inevitably drop a handful under the workbench or realize you miscounted.
- 2. Start by building your base frame. Lay out your 2x4s on a flat surface to create a rectangular perimeter. This is where most people get sloppy, but if your frame isn’t square from the start, the whole thing will wobble like a loose tooth. Use your speed square to check the corners, and screw the pieces together tightly. It doesn’t have to be pretty, it just has to be solid.
- 3. Now, add your support legs. I like to use doubled-up 2x4s for the legs to give them some extra weight and stability. Position them in the corners of your frame and screw them in from both the inside and the outside. If you’re feeling ambitious, you can add a bottom shelf frame about a foot off the ground—it’s a great spot to tuck away heavy bins or power tool cases so they aren’t cluttering your workspace.
- 4. Prep your work surface. Take that sheet of plywood and give it a quick sand. You don’t need a professional finish, but you do want to remove any splinters that might snag your clothes or your skin while you’re working. If you have some leftover scraps of laminate or even a piece of linoleum, laying that over the plywood can make cleanup a breeze when you’re dealing with sawdust or glue.
- 5. Secure the top to the frame. This is the most satisfying part. Lay your plywood sheet over the frame you’ve built and align it so it’s flush with the edges. Drive your screws through the plywood into the 2×4 frame every 12 inches or so. Pro tip: Make sure you pre-drill your holes slightly so you don’t split the wood, especially if you’re working near the edges.
- 6. Finally, give it a quick stability check. Give the whole bench a good shake; if it creaks or leans, find the loose joint and tighten it up. I like to add a few extra braces across the back if I’m planning on doing anything heavy, like mounting a vise. Once it feels rock solid, clear off the sawdust, grab your coffee, and get ready to actually start your project.
Smart Woodworking Workbench Plans That Actually Work
When you start digging through all the woodworking workbench plans online, it’s easy to get paralyzed by choice. You’ll see designs for massive, industrial-grade stations that look like they belong in a professional factory. But here’s the thing: unless you’re planning on milling entire logs in your garage, you don’t need that level of overkill. For most of us, the goal is simply building a sturdy work table that won’t wobble when you’re sawing or sanding. I always tell people to focus on mass and stability rather than complexity. A heavy top and solid legs will do more for your sanity than a dozen fancy built-in features you’ll never actually use.
Once you have your basic frame settled, that’s when you can start thinking about your workflow. I’m a big believer in keeping your most-used items within arm’s reach. Instead of over-engineering the bench itself, look into simple workbench tool storage ideas like pegboards or magnetic strips mounted to the wall behind it. It keeps your workspace clear and prevents that feeling of being buried under clutter. Keeping your immediate area organized is the best way to ensure your DIY projects stay fun rather than feeling like another chore on your to-do list.
Essential Woodworking Tools for Beginners to Get Started
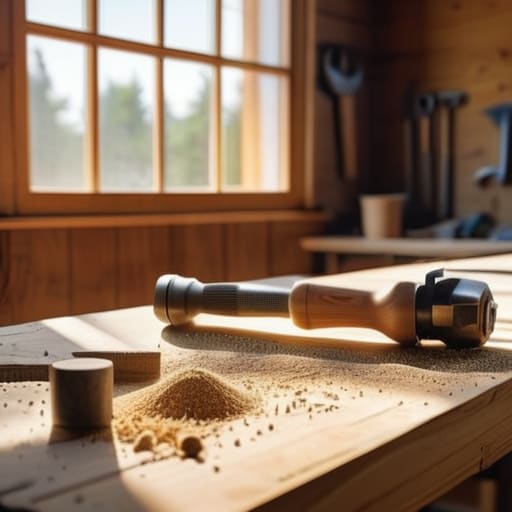
Look, I know the temptation to run to the hardware store and buy every shiny new power tool in the aisle, but let’s pause for a second. When you’re first starting out, you don’t need a professional-grade setup to succeed. For essential woodworking tools for beginners, I always tell people to focus on the basics: a reliable drill, a circular saw (or a good hand saw if you’re feeling old-school like me), a speed square, and a solid tape measure. If you have these, you have enough to turn a pile of lumber into a functional surface.
As you move from just assembling parts to actually using the bench, you’ll realize that stability is everything. If you’re aiming for a heavy duty workbench design, you want tools that help you keep things square and tight. Once the structure is up, start thinking about how you’ll actually work. I’m a big fan of integrating simple workbench tool storage ideas—like a few magnetic strips or even just some sturdy bins—right into the build. It keeps your workspace clear and prevents that “where did I put my screwdriver?” frustration that kills all momentum.
Five Little Things That Save a Massive Headache Later
- Prioritize stability over everything else. A wobbly workbench is more than just annoying; it’s frustrating and, frankly, a bit dangerous when you’re trying to make a precise cut. If it feels even slightly unsteady, beef up the bracing or add a fourth leg.
- Think about your height before you drive that first screw. I learned the hard way that building a bench too low will have my back aching after twenty minutes of work. A good rule of thumb is to have it sit about level with your wrists when you’re standing up straight.
- Don’t overlook the importance of a good vise. You can have the sturdiest table in the world, but if you don’t have a reliable way to hold your project steady, you’re going to spend more time fighting the wood than actually working on it.
- Keep your workspace organized from the jump. I always suggest building a small shelf or even just a few simple peg rails directly onto the bench frame. It keeps your most-used tools within reach so you aren’t constantly hunting through a messy garage.
- Leave some room for error (and for stuff). Your workbench isn’t just for the project you’re working on; it’s also where you’ll set your coffee, your notebook, and your phone. Give yourself a little extra surface area so you aren’t working in a cramped, stressful environment.
The Heart of the Workspace
“A workbench isn’t about having the most expensive hardwoods or a professional-grade shop; it’s about creating a steady, reliable surface that stays out of your way so you can actually focus on the project in front of you.”
Elena Vance
Getting Down to Business
At the end of the day, building your own workbench isn’t about achieving some level of professional perfection or owning every high-end tool in the catalog. It’s really just about creating a stable, reliable foundation where you can actually get things done without your projects sliding across the floor. We’ve covered how to pick a smart design, the basic tools you actually need, and how to keep the build simple enough that it doesn’t become another overwhelming chore on your to-do list. Remember, the goal is functionality over flashiness; once you have that sturdy surface under your hands, you’re officially ready to start creating.
I know that staring at a pile of lumber can feel a little daunting, especially if you aren’t used to working with your hands, but I promise you can do this. Don’t let the fear of making a mistake stop you from starting. The beauty of a DIY workbench is that it’s meant to take a beating, and it’s perfectly okay if it isn’t “Pinterest-perfect” right out of the gate. Just focus on making progress, not perfection. Once that first piece of wood is clamped down on your new bench, you’ll realize that the hardest part was simply deciding to begin. Now, go grab your multi-tool and get to work.


I believe that a well-run home shouldn't require a PhD or a massive budget. My goal is to strip away the complexity so you can focus on actually living in your space. Let's keep things practical, efficient, and genuinely useful.
View All Articles