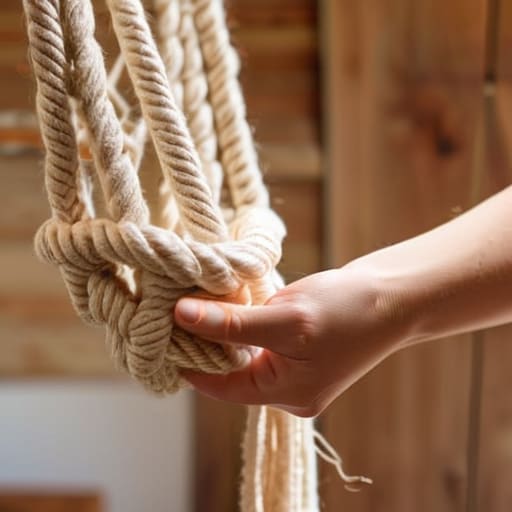

I was sitting on my living room floor last Tuesday, surrounded by a chaotic mountain of tangled cotton cord and feeling completely defeated by a YouTube tutorial that promised “five-minute results.” My hands were cramping, my knotwork looked more like a bird’s nest than a plant hanger, and I was ready to toss the whole mess into the donation bin. We’ve all been there—feeling like you need a specialized degree just to tie a decent knot. But here is the truth: macrame for beginners doesn’t have to be a high-stress, expensive hobby that leaves your house looking like a craft store exploded. It’s really just about mastering a few basic movements and learning when to stop overthinking it.
In this guide, I’m stripping away the complicated patterns and the overpriced “starter kits” that you don’t actually need. I’ll walk you through the only three knots that actually matter, how to pick cord that won’t drive you crazy, and how to make something beautiful without spending your entire weekend staring at a screen. My goal is to get you from a pile of string to a finished piece that actually looks good in your home, using simple tools you probably already have in your junk drawer.
Guide Overview
Tools & Supplies
- Scissors for cutting cord
- Measuring tape for length accuracy
- S-hooks or command hooks for hanging work
- Cotton macrame cord (3mm or 4mm) 1 roll
- Wooden dowel or ring 1 piece
- Masking tape to secure work surface
Step-by-Step Instructions
- 1. First things first, you need to get your workspace set up so you aren’t fighting against gravity the whole time. Grab a sturdy rod, a piece of driftwood, or even a heavy-duty clothes hanger, and hang it from a door frame or a command hook. I always find it helpful to secure a heavy object like a stack of books or a chair to the table underneath your workspace; this keeps your project from bouncing around every time you pull a knot tight.
- 2. Once your support is steady, it’s time to prep your cord. For your first project, I highly recommend using a 3mm or 4mm cotton macrame cord. It’s much easier to handle than the thin, slippery synthetic stuff. Cut your cords about four to five times the length you think you’ll need—it sounds like overkill, but you’ll thank me later when you aren’t constantly running out of length halfway through a pattern.
- 3. Now, we’ll start with the Lark’s Head knot, which is basically just the way you attach your cord to your rod. Fold your cord in half to create a loop, place that loop over your rod, and then pull the two loose ends through that loop. Tug it snug, and you’ve officially started your piece. It’s a simple little move, but it’s the foundation for everything else.
- 4. Next up is the Square Knot, which is the bread and butter of the macrame world. You’ll need four strands of cord: two will act as your “filler” cords in the middle, and the other two will be your “working” cords on the outside. Start by crossing the left cord over the middle ones to form a shape like a “4,” then pass the right cord over the left cord, under the middle cords, and up through the loop you just created. Flip sides and repeat to lock it in.
- 5. If you find your knots are looking a little lopsided, don’t panic; that’s just part of the learning curve. The trick is to maintain consistent tension. You don’t want to pull so hard that you deform the cord, but you don’t want them so loose that they look messy. I usually take a quick second to check my progress in a mirror or against a straight edge to make sure I’m staying even.
- 6. Once you’ve finished your pattern, you’ll likely have a bunch of loose ends hanging at the bottom. This is where you get to decide on your “fringe” style. You can leave them long for a bohemian look, or use a pair of sharp fabric shears to trim them into a clean, straight line. If you want that perfectly manicured look, use a comb to brush out the ends of the cotton cord to create a soft, feathery fringe.
- 7. Finally, give your finished piece a good shake and hang it up where you want it to live. If it feels a little wonky, you can always adjust the tension or add a few more knots to balance it out. The best part about macrame is that it’s forgiving and tactile; even if it isn’t “Pinterest-perfect,” it’s something you made with your own two hands, and that’s what counts.
Choosing the Right Cotton Rope for Macrame Success
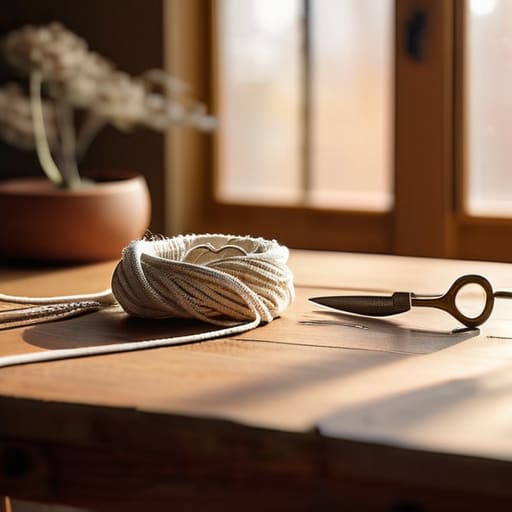
When you first head to the craft store, you’ll likely feel a bit paralyzed by the sheer amount of string hanging on the shelves. Trust me, I’ve been there. It’s tempting to just grab the prettiest colorful spool, but if you want your first few projects to actually look decent, you need to pay attention to the texture. For your first few macrame wall hanging projects, I always recommend starting with a single-strand cotton rope. It’s incredibly soft and forgiving, which makes practicing your first square knot much less frustrating than wrestling with something stiff or synthetic.
Keep in mind that different macrame cord types will change the entire “vibe” of your piece. If you want that trendy, boho look with lots of fringe, go for a twisted cotton rope; it holds its shape well. However, if you prefer something more organic and textured, a three-strand twisted cord is a fantastic choice. Just a quick tip from my own trial and error: avoid anything too thin or slippery at the start. You want a rope that has a bit of “grip” so your knots stay exactly where you put them while you’re learning the ropes.
Essential Macrame Tools You Actually Need to Own
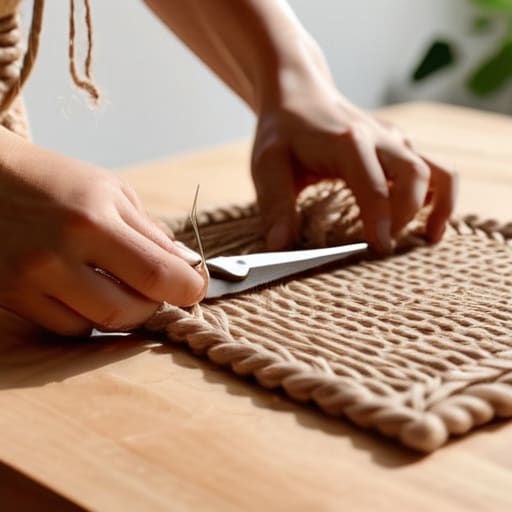
Look, I’ve seen those massive, professional craft kits online that promise everything you’ll ever need, and honestly? Most of it is just clutter. You don’t need a dedicated studio or expensive specialized equipment to get started on your first few macrame wall hanging projects. My rule of thumb is to keep your setup minimal so you don’t feel intimidated before you even tie a knot.
The absolute bare minimum involves a sturdy pair of sharp fabric scissors—don’t try to use your kitchen shears, or you’ll end up with a frayed mess—and a handful of wooden clothespins or S-hooks. You need a way to hang your work at eye level so you can actually see what you’re doing. I personally swear by a simple wooden dowel or even a found branch from the backyard to act as your base.
Lastly, grab a small measuring tape. It sounds tedious, but when you’re working through a square knot tutorial or trying to follow specific lengths, guessing is your worst enemy. Keeping your tension consistent is half the battle, and having a way to measure your cords ensures your projects don’t end up looking lopsided.
Five Little Things That Will Save Your Sanity
- Don’t aim for perfection on your first try. Your knots might look a little wonky or uneven, and honestly? That’s fine. It adds character, and more importantly, it keeps you from throwing your cord across the room in frustration.
- Work on a sturdy surface. If you’re trying to tie knots while holding the cord in mid-air, you’re going to lose your mind. Find a heavy table or use a dedicated stand so you can actually focus on your hands, not your grip strength.
- Keep a small pair of sharp scissors within arm’s reach at all times. There is nothing more annoying than getting into a rhythm only to realize you can’t find your cutting tool to trim a stray end.
- Watch your tension. It’s tempting to pull every knot as tight as humanly possible, but that usually leads to a piece that looks stiff and awkward. Try to keep a steady, relaxed hand so the pattern flows naturally.
- Take breaks when you feel the “knot fatigue” setting in. If you find yourself untying things because you’re just tired, step away. Grab a coffee, walk around, and come back with fresh eyes—it’s much easier to fix a mistake when you aren’t feeling burnt out.
## My Philosophy on Crafting
“Don’t get caught up in trying to make every knot look like a Pinterest masterpiece on your first try; the real joy of macrame isn’t in perfection, it’s in the quiet rhythm of the work and seeing something beautiful take shape with just your own two hands.”
Elena Vance
Final Thoughts Before You Start Knotting
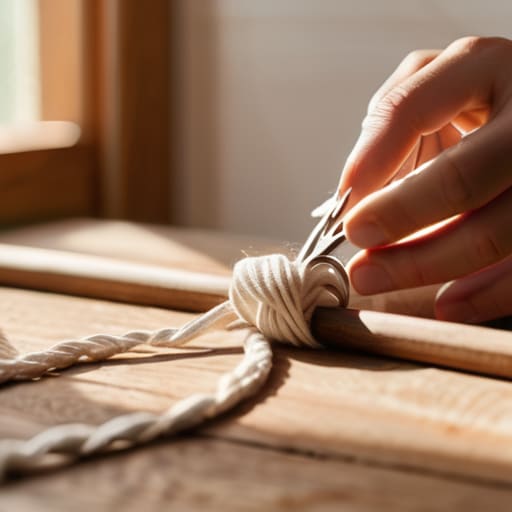
If you’ve followed along this far, you already have everything you need to get moving. Remember, you don’t need a massive studio or a collection of expensive, specialized equipment to make something beautiful. All it really takes is the right cotton cord, a few basic tools like sharp scissors and a mounting ring, and the patience to work through those first few knots. It’s easy to get caught up in the complexity of those intricate, Pinterest-perfect wall hangings, but the secret is to focus on the basics first. Once you master a few simple patterns, the rest of the techniques will start to feel like second nature.
At the end of the day, please don’t sweat the small stuff. If a knot looks a little wonky or your tension is slightly uneven, it’s okay. That’s just proof that a real human made it, not a machine. Macrame isn’t about achieving perfection; it’s about the quiet, meditative rhythm of creating something with your own two hands. I’ve found that even on my most hectic project management days, sitting down with a bit of rope helps me ground myself and find a little bit of calm. So, grab your cord, clear off a small corner of your table, and just start creating. You’ve got this.


I believe that a well-run home shouldn't require a PhD or a massive budget. My goal is to strip away the complexity so you can focus on actually living in your space. Let's keep things practical, efficient, and genuinely useful.
View All Articles