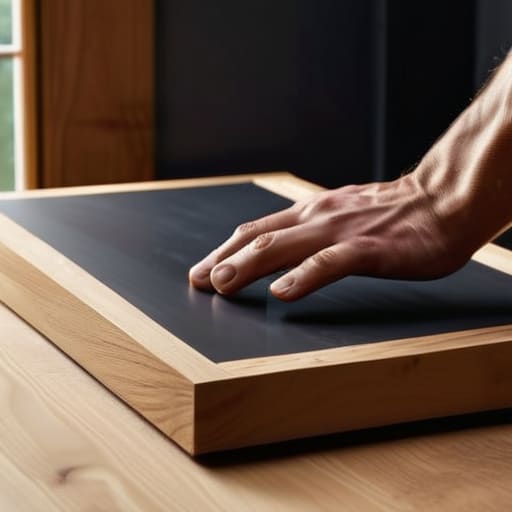

I was standing in my hallway last Tuesday, staring at a stack of half-finished projects and a growing pile of clutter, thinking about how much I hated those overpriced, pre-assembled kits you see in big-box stores. Everyone tells you that floating shelves diy projects require a master carpenter’s toolkit and a degree in structural engineering, but honestly? That’s just a myth designed to keep you spending money you don’t need to spend. I’ve spent years restoring mid-century furniture, and if there is one thing I’ve learned, it’s that you don’t need a massive workshop to create something that looks intentional and high-end.
In this guide, I’m stripping away the jargon and the complicated assembly instructions that make you want to give up before you even pick up a drill. I’ll walk you through exactly how to select the right brackets, find your studs, and execute a successful floating shelves diy project that actually holds your heavy books without sagging. No fluff, no expensive mistakes—just a straightforward, practical plan to help you reclaim your wall space and make your home feel a little more organized.
Guide Overview
Tools & Supplies
- Drill/Driver for mounting brackets and screws
- Level to ensure shelves are straight
- Stud Finder to locate wall support
- Saw for cutting wood to size
- Sandpaper for smoothing edges
- Wood planks (2-3 pieces)
- Floating shelf brackets (1 set per shelf)
- Wall anchors or heavy-duty screws
- Wood stain or paint
- Wood glue
Step-by-Step Instructions
- 1. First things first, let’s get your supplies together so you aren’t running back and forth to the hardware store mid-project. You’ll need some sturdy wood (I personally love a thick piece of pine or reclaimed oak), some heavy-duty floating shelf brackets, a level, a drill, and a stud finder. I always keep my multi-tool handy for quick adjustments, but for the heavy lifting, you’ll definitely want a real power drill.
- 2. Now, grab your stud finder and go to work on your wall. This is the part where people usually skip ahead and regret it later, but if you don’t find those studs, your shelves will eventually end up on the floor. Mark exactly where the studs are with a pencil. If your layout doesn’t line up perfectly with the studs, don’t panic—you can use heavy-duty drywall anchors, but finding the studs is always the gold standard for safety.
- 3. Once you’ve marked your spots, it’s time to level up—literally. Hold your bracket against the wall and use your level to make sure it’s perfectly straight. If it’s even a tiny bit tilted, it’ll be incredibly obvious once that shelf is loaded with books or plants. Use a pencil to mark the screw holes through the bracket, and double-check that level one last time before you start drilling.
- 4. Drill your pilot holes into the marks you just made. If you’re hitting studs, you’re in great shape. If you’re using anchors, follow the specific instructions on the package, but generally, you’ll want to drill a hole slightly smaller than the anchor itself. I like to work slowly here to avoid splintering the drywall or losing my place.
- 5. Screw the brackets firmly into the wall. You want these to feel incredibly solid; give them a little tug to make sure there’s no wobbling. If they feel loose, stop and re-evaluate your anchor or stud placement. A shelf is only as good as the hardware holding it up, and we aren’t looking for a temporary fix here.
- 6. Now for the satisfying part: sliding the wood onto the brackets. If you bought pre-drilled shelves, they should slide right on. If you’re using a solid piece of wood, you might need to notch the back or use a specific type of bracket that allows for a “sleeved” look. Once the wood is seated, I usually use a tiny bit of wood glue or a couple of small finishing screws from underneath to keep everything from sliding out of place.
- 7. Finally, give your new shelves a good wipe down to get rid of any sawdust. This is the moment where you step back, grab a coffee, and actually look at what you’ve done. Don’t feel like you have to decorate them all at once; start with a few meaningful pieces and let the space breathe as you go.
Choosing Modern Floating Shelf Design Without Overcomplicating Things
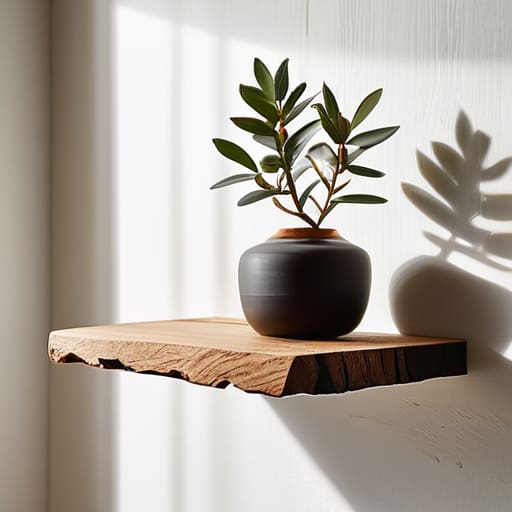
When you start looking at Pinterest, it’s easy to get overwhelmed by every possible aesthetic, from rustic farmhouse to ultra-sleek industrial. My advice? Don’t fall into the trap of trying to match a trend that will feel dated in six months. For a modern floating shelf design, I usually lean toward clean lines and natural textures. If you’re feeling a bit more adventurous, a reclaimed wood shelf project can add a lot of soul to a room without looking cluttered. Just keep the edges simple; you want the shelf to complement your space, not compete with it for attention.
Before you commit to a look, think about what’s actually going on the shelf. If you’re planning to display heavy ceramic vases or a stack of hardcover books, you need to consider your shelf weight capacity tips early on. There is nothing more frustrating than spending a Saturday afternoon on a project only to have it sag a week later. Whether you’re using heavy-duty hidden shelf brackets or opting for a more traditional mounting method, plan for the weight before you ever pick up your drill.
Essential Woodworking Tools for Shelving You Actually Need
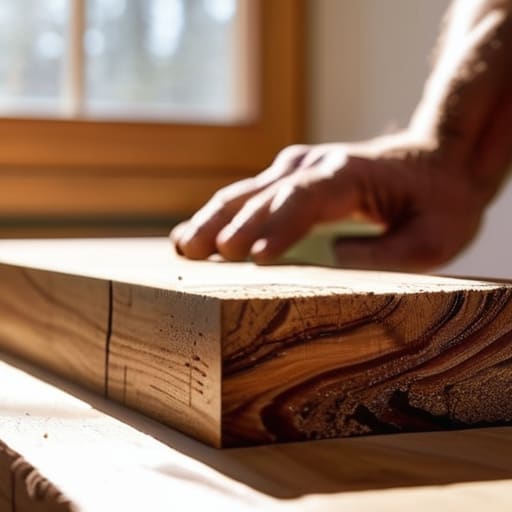
Look, I’ve seen enough “must-have” tool lists to know they’re usually designed to empty your wallet, not help your project. For this, you don’t need a workshop full of heavy machinery. If you’re working on a reclaimed wood shelf project, a solid drill, a level, and a good saw are your best friends. The most important thing is precision; if your measurements are off by even a hair, nothing is going to sit flush against the wall, and that’s when the frustration sets in.
When it comes to the actual installation, don’t skimp on the hardware. If you’re using hidden shelf brackets, you’ll need a drill with a steady hand to ensure the holes are perfectly aligned. I also highly recommend investing in a decent stud finder. There is nothing quite as demoralizing as spending an hour mounting shelves to drywall only to realize they’re sagging because they aren’t anchored into something solid. Get it right the first time so you aren’t spending your weekend fixing mistakes instead of enjoying your new space.
Five Pro-Tips to Save Your Sanity (and Your Walls)
- Don’t skip the stud finder. I know, it feels like an extra step when you’re in the zone, but if you aren’t anchoring those brackets into actual studs, your beautiful new shelves are going to end up on the floor with whatever you put on them.
- Test your weight limits before you decorate. There’s nothing more frustrating than building a gorgeous shelf only to realize it can’t handle your heavy ceramic collection. Figure out what it can hold before you start the mounting process.
- Level it twice, then level it a third time. It’s incredibly easy to think a shelf is straight when it’s actually leaning just a hair, but once you add books or decor, that slight tilt becomes a glaring eyesore.
- Sand more than you think you need to. If you’re going for that smooth, professional look, don’t just stop at a medium grit. A final pass with a fine-grit sandpaper makes all the difference, especially if you’re planning on a clear coat.
- Keep your hardware organized. I’ve learned the hard way that losing one specific screw halfway through a project is a recipe for a meltdown. Grab a small tray or even a muffin tin to keep your brackets, screws, and anchors in one spot.
A Final Thought on Making It Your Own
“At the end of the day, those shelves don’t need to be architectural masterpieces; they just need to hold your favorite books and make your home feel a little more like yours. Don’t let the fear of a crooked screw stop you from building something useful.”
Elena Vance
Final Thoughts Before You Start Sawing
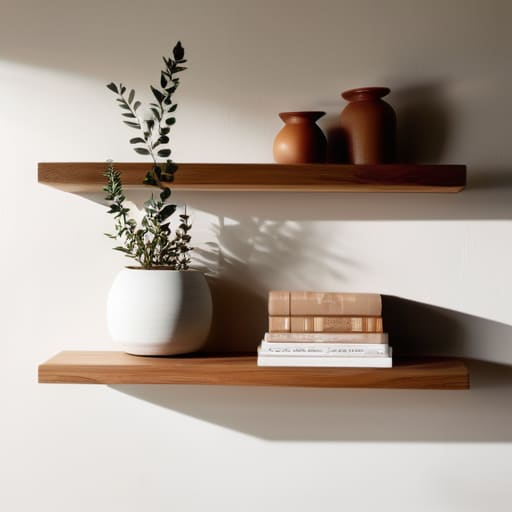
At the end of the day, building your own floating shelves doesn’t have to be a massive, weekend-ruining ordeal. We’ve covered how to pick a design that won’t clutter your visual space, the specific tools you actually need to get the job done, and the steps to ensure they stay securely on your wall. Remember, you don’t need a workshop full of expensive machinery to achieve a professional look; you just need a solid plan and the right measurements. Once you have the basics down, the rest is just a matter of staying organized and taking it one step at a time.
I know that starting a DIY project can feel a little daunting when you’re staring at a pile of lumber and a blank wall, but I promise the payoff is worth it. There is something incredibly grounding about looking at a piece of furniture or a storage solution and knowing, “I made that.” It transforms your house from just a place where you keep your things into a space that actually reflects your effort and personality. So, grab your multi-tool, clear off your workspace, and give it a shot. You’ve got this, and your walls will thank you.


I believe that a well-run home shouldn't require a PhD or a massive budget. My goal is to strip away the complexity so you can focus on actually living in your space. Let's keep things practical, efficient, and genuinely useful.
View All Articles