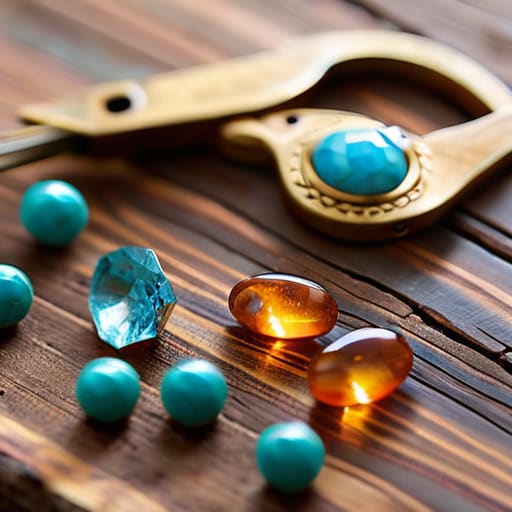

I was sitting on my living room floor last Tuesday, surrounded by a chaotic sea of tangled silver chains, tiny beads rolling under the sofa, and a set of pliers that felt more like a headache than a tool. I had just spent forty dollars on a “starter kit” that promised professional results, but all it gave me was a cluttered kitchen table and a necklace that looked like it belonged in a middle school art class. It hit me then that most people think diy jewelry making requires a dedicated studio space and a mountain of expensive, specialized equipment just to get a decent result. Honestly? That’s a total myth.
In this guide, I’m stripping away all the unnecessary fluff and the high-priced gadgets you don’t actually need. I want to show you how to build a functional toolkit that fits in a small drawer and teach you the fundamental techniques that actually matter. We’re going to focus on practical, repeatable steps so you can create pieces that look intentional and polished, not messy. My goal is to help you master the basics of diy jewelry making without the overwhelm, so you can finally start creating instead of just organizing supplies.
Guide Overview
Tools & Supplies
- Needle-nose pliers for gripping and bending wire
- Wire cutters for trimming metal and cord
- Beading mat to prevent rolling
- Assorted glass beads (1 pack)
- Jewelry wire or elastic cord (1 roll)
- Lobster clasps and jump rings (1 set)
Step-by-Step Instructions
- 1. Start by clearing off a flat, hard surface—a kitchen table or a desk works fine—and lay down a small towel or a piece of felt. This isn’t just about being tidy; it’s about preventing tiny beads and jump rings from rolling off the table and disappearing into the abyss of your floorboards.
- 2. Lay out your basic toolkit so everything is within arm’s reach. You really only need three things to start: needle-nose pliers, wire cutters, and a pair of tweezers. I always keep a small ceramic dish nearby to hold my findings, so I’m not constantly hunting for that one specific clasp.
- 3. Choose your base material, whether it’s a length of silk cord, a delicate chain, or some sturdy elastic. If you’re working with wire, make sure you have a spool of the right gauge; too thin and it’ll snap, too thick and you’ll struggle to shape it without professional tools.
- 4. Once you have your base ready, begin adding your focal points. If you’re making a simple beaded necklace, thread your beads onto the cord first, but don’t go overboard. I find that leaving a bit of “breathing room” between larger beads makes the piece look intentional rather than cluttered.
- 5. Secure your ends using the appropriate hardware. If you’re using a chain, this is where you’ll use your pliers to open a jump ring, slide it through the loop, and then carefully close it back up with a firm squeeze. Make sure the loop is tight so nothing accidentally slips off while you’re wearing it.
- 6. If you are using crimp beads for a more professional finish, slide the crimp bead onto the cord, loop the cord back through it, and use your pliers to squash the metal bead flat. This creates a secure anchor point that keeps your necklace from unravelling.
- 7. Finally, step back and look at your work from a distance. This is the moment to check for symmetry or to add one last charm if it feels a bit bare. If it looks good to you, clean up your station immediately; a clean workspace is the secret to actually enjoying your next project instead of dreading the cleanup.
Building Your Essential Jewelry Making Kit Without Breaking the Bank
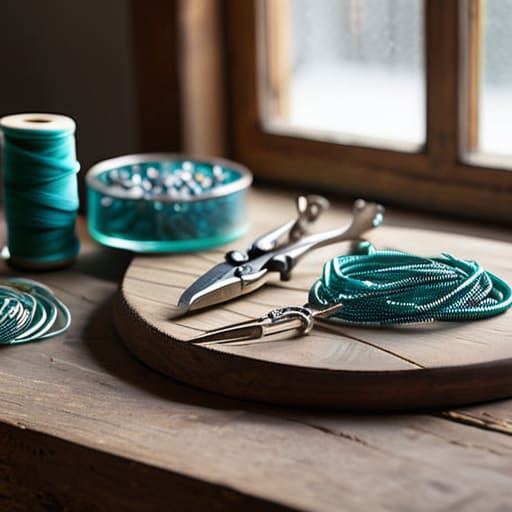
Look, I’ve been there—standing in the middle of a craft aisle, staring at a massive, overpriced starter set that promises to turn you into a professional overnight. Most of those pre-packaged kits are just a way to charge you more for low-quality pliers you’ll end up tossing in a junk drawer by next month. Instead of buying the whole store, I recommend focusing on a few high-quality jewelry making tools for beginners that actually hold up. A decent pair of needle-nose pliers, some wire cutters, and a round-nose tool are really all you need to start crafting custom necklaces and bracelets without the unnecessary fluff.
When you’re sourcing your beading supplies for handmade jewelry, try to avoid the “bulk” trap. You don’t need a thousand glass beads in every color imaginable; start with a small, curated selection of beads that actually complement each other. I always keep a small, organized tackle box or even a repurposed vintage tin to keep my bits and bobs from turning into a chaotic mess. The goal isn’t to have a massive inventory; it’s to have a functional, streamlined setup that lets you get straight to the creative part.
Smart Beading Supplies for Handmade Jewelry That Actually Lasts
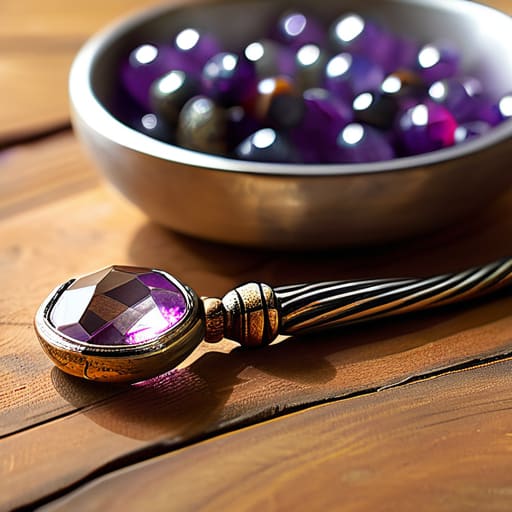
When you’re picking out beads, it’s tempting to grab the cheapest bags you find in a bulk bin, but I’ve learned the hard way that quality matters more than quantity. If you’re investing in beading supplies for handmade jewelry, look for materials that won’t lose their luster or turn your skin green after two wears. Glass, semi-precious stones, and high-quality ceramic beads are my go-tos because they have a weight and a finish that plastic just can’t mimic. It’s better to have ten beautiful, durable beads than a thousand pieces of cheap plastic that end up in a junk drawer a month later.
I also suggest paying close attention to your findings—the clasps, crimp beads, and jump rings. These are the unsung heroes of any piece. Even the most stunning design will fail if the structural components are flimsy. If you’re experimenting with crafting custom necklaces and bracelets, try to source sterling silver or gold-filled components whenever your budget allows. It makes a massive difference in how long your work lasts and, honestly, how much you’ll actually want to wear it yourself.
Five Ways to Keep Your Jewelry Projects From Turning Into a Mess
- Organize as you go. There is nothing more frustrating than being halfway through a delicate beaded pattern only to realize your crimp beads have migrated to the bottom of a junk drawer. Use small, clear containers or even a muffin tin to keep your components separated and within reach.
- Don’t skip the “wear test.” Before you call a piece finished, put it on and move around. Does the clasp feel flimsy? Does the necklace sit weirdly against your collarbone? It’s much easier to fix a structural issue now than to deal with a broken earring five minutes after you’ve left the house.
- Master one tool before buying the whole set. You don’t need a professional-grade kit on day one. Get one decent pair of needle-nose pliers and one wire cutter that actually cuts cleanly. Once you’ve mastered the basic tension and grip, then you can think about upgrading.
- Watch your lighting. I’ve lost more beads to the floor than I’d like to admit simply because I was working in a dim corner. Set yourself up near a window or grab a dedicated desk lamp. If you can’t see the tiny jump ring clearly, you’re going to end up frustrated.
- Keep a “mistake bin.” Not every bead or wire is going to end up in a masterpiece. Instead of tossing everything that goes wrong, keep a small container for usable scraps. You never know when a “failed” strand might provide the perfect accent for a future project.
My Philosophy on Making
“Don’t get caught up in the idea that you need a professional workshop to create something beautiful; at the end of the day, it’s just about having the right basic tools and the patience to let your own style take shape.”
Elena Vance
Making It Your Own
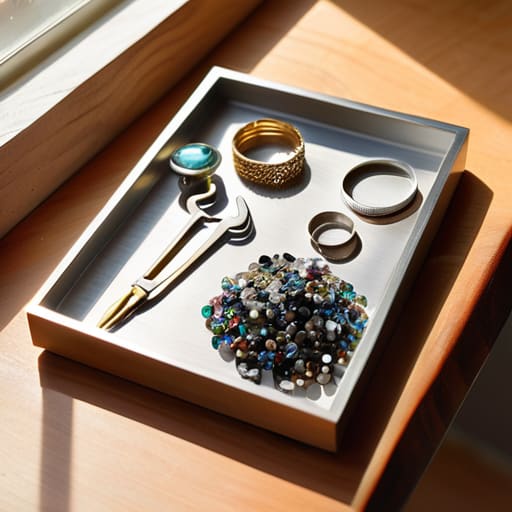
At the end of the day, jewelry making doesn’t need to be a complicated, expensive pursuit that takes over your entire dining table. We’ve covered how to build a kit that actually works, how to pick beads that won’t lose their luster after two wears, and how to keep your workspace organized without a massive investment. The goal isn’t to replicate what you see in a high-end boutique, but to master the fundamentals of quality construction so your pieces feel intentional. Remember, it’s much better to have a small, reliable set of tools and high-quality components than a drawer full of cheap trinkets that break the moment you put them on.
Once you have your supplies sorted, the real fun begins. Don’t feel like you have to follow every tutorial to the letter; use these techniques as a foundation to build something that actually reflects your personal style. Whether you’re making a simple pair of earrings for a friend or a statement necklace for yourself, the most important thing is that you’re creating something tangible with your own two hands. So, clear off a small corner of your desk, grab your multi-tool, and just start experimenting. You’ll find your rhythm much faster than you think, and I promise, the sense of accomplishment is well worth the effort.


I believe that a well-run home shouldn't require a PhD or a massive budget. My goal is to strip away the complexity so you can focus on actually living in your space. Let's keep things practical, efficient, and genuinely useful.
View All Articles