

You don’t need a high-end stone oven or a three-day fermentation process to get a decent crust in your kitchen. For the longest time, I fell for the myth that learning how to make homemade pizza required a massive investment in specialty equipment and a level of patience I simply didn’t have after a long day of managing client deadlines. I remember standing in my kitchen, staring at a pile of expensive, imported flour and a recipe that called for overnight proofing, feeling more completely overwhelmed than inspired. It turns out, the most delicious pizzas I’ve ever made came from stripping away the pretension and just using what was already in my pantry.
I’m not here to give you a culinary lecture or a list of ingredients you can only find in a boutique deli. Instead, I’m going to show you a streamlined, practical approach that prioritizes flavor over fuss. We’re going to focus on the essential mechanics—the dough, the sauce, and the heat—so you can stop stressing about the technicalities and actually enjoy the process. My goal is to get you from a messy countertop to a perfectly edible slice without the unnecessary headache.
Recipe Details
Ingredients
- 250g All-purpose flour
- 150ml Warm water
- 7g Active dry yeast
- 5g Salt
- 100ml Tomato sauce
- 150g Shredded mozzarella
- 5-6 Fresh basil leaves
Recipe Instructions
Step 1
First things first, let’s get your dough moving. In a large bowl, mix about 3 and a half cups of flour, a teaspoon of salt, and a packet of instant yeast. Slowly stir in about 1 and a quarter cups of warm water—make sure it’s not hot, or you’ll kill the yeast—and a splash of olive oil. Mix it until it forms a shaggy ball, then turn it out onto a lightly floured surface and knead it for about five to seven minutes. You’re looking for a smooth, elastic texture that feels supple to the touch, not sticky or stubborn.
Step 2
Once your dough is smooth, lightly grease a clean bowl with a little oil and pop the dough inside. Cover it with a damp kitchen towel or some plastic wrap and find a warm, draft-free spot in your kitchen. Now, this is the part where you have to practice a little patience; let it rise for about an hour or until it has roughly doubled in size. If you’re in a rush, just keep an eye on it—it doesn’t need to be perfect, just noticeably bigger.
Step 3
While the dough is doing its thing, preheat your oven as high as it will go. If you have a pizza stone, slide it in now so it gets nice and hot. If you don’t, don’t sweat it—a standard baking sheet works just fine. While the oven is heating, prep your toppings. I like to keep it simple: a basic tomato sauce, some shredded mozzarella, and maybe a few slices of pepperoni or some fresh basil. The less you pile on, the better the crust will cook.
Step 4
When the dough has risen, punch it down gently to release the air and divide it into two equal pieces (or one giant one if you’re feeling ambitious). On a piece of parchment paper, stretch the dough out into a circle. Avoid using a rolling pin if you can; using your hands helps preserve those tiny air bubbles that make the crust light instead of dense. If the dough keeps snapping back, just let it rest for five minutes to relax the gluten, then try again.
Step 5
Now for the fun part: assembly. Spread a thin layer of sauce over your dough, leaving a little room around the edges for the crust to rise. Sprinkle your cheese and add your toppings, but remember my golden rule: less is more. If you overload it, you’ll end up with a soggy middle. Slide your pizza (parchment paper and all) onto your hot stone or baking sheet and bake for about 10 to 15 minutes. You’re looking for a crust that’s golden brown and cheese that’s bubbly and slightly charred in spots.
Step 6
Once it comes out of the oven, let it sit for just two or three minutes before you go in with the cutter. I know it’s tempting to dive in immediately, but giving it a moment to settle the cheese prevents everything from sliding off in one big clump. Slice it up, grab a napkin, and enjoy your hard work.
The Best Pizza Dough Recipe Without the Drama

Look, I’ve spent way too many years following recipes that require a degree in chemistry and three days of prep time. The truth is, the best pizza dough recipe isn’t the one with twenty exotic ingredients; it’s the one that actually fits into your Tuesday night. I used to think I needed a professional stone to get results, but I’ve learned that a few simple crispy pizza crust techniques—like preheating your baking sheet or using a bit of cornmeal—can make a world of difference in a standard kitchen.
If you’re feeling a little impatient, don’t sweat it. While some purists swear by a 48-hour cold ferment, I’m a big believer in keeping things manageable. If you want to experiment, try adjusting your hydration levels or adding a touch of olive oil to the mix for a softer crumb. Once you’ve mastered the base, the fun part begins with easy pizza toppings ideas like fresh basil, sliced prosciutto, or even just a heavy hand of garlic. Just remember: keep the toppings light so your crust doesn’t get soggy under the weight of your ambitions.
Simple Homemade Pizza Sauce Ingredients for Real Flavor
Look, I’ve seen enough “gourmet” recipes that require you to hunt down rare herbs from a specialty shop just to make a basic sauce. We aren’t doing that here. When it comes to the best homemade pizza sauce ingredients, simplicity is actually your greatest ally. You really only need high-quality canned crushed tomatoes, a pinch of salt, a splash of olive oil, and maybe a dried oregano if you’re feeling fancy. If you use a good San Marzano style tomato, you don’t even need to cook the sauce on the stove beforehand; letting it cook on the pizza itself in the oven preserves that bright, fresh acidity that cuts through the heavy cheese.
If you want to switch things up, don’t feel locked into one flavor profile. For a bit of heat, stir in some red pepper flakes, or try a dollop of pesto if you’re looking for some easy pizza toppings ideas that lean Mediterranean. The goal isn’t to create a culinary masterpiece that takes an hour to prep; it’s to create a foundation that complements your crust without stealing the show. Keep it raw, keep it simple, and let the oven do the heavy lifting.
Five Ways to Level Up Your Pizza Without the Headache
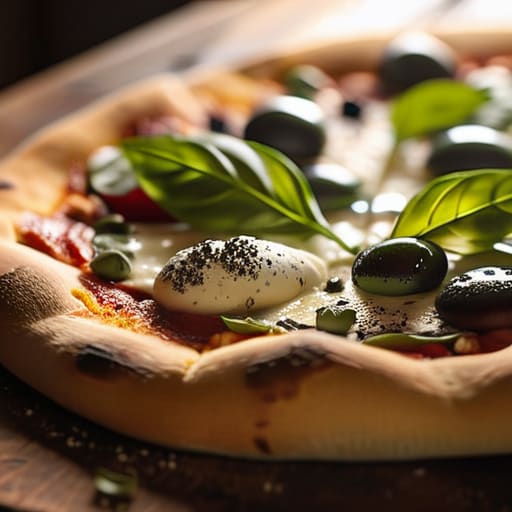
- Don’t skimp on the heat. If you’re using a home oven, crank it as high as it will go—usually around 500°F—and let it preheat for at least thirty minutes. A hot surface is the secret to that crispy bottom we’re all after.
- Give your dough some breathing room. I know it’s tempting to start stretching the second it’s ready, but let it sit at room temperature for a bit. If the dough keeps snapping back like a rubber band, it’s just too cold and needs more time to relax.
- Less is almost always more when it comes to toppings. It’s easy to go overboard, but a heavy pile of cheese and veggies will turn your crust into a soggy mess. Keep it light so the dough can actually do its job.
- Use a bit of cornmeal or semolina on your pan or pizza stone. It acts like tiny ball bearings, making it way easier to slide your pizza into the oven without it getting stuck or tearing.
- Watch your moisture levels. If you’re using fresh mozzarella, pat it dry with a paper towel first. That extra water is the fastest way to end up with a “soup” in the middle of your beautiful pizza.
Keeping It Real in the Kitchen
“At the end of the day, your pizza doesn’t need a gourmet certification or a hundred specialty ingredients to be good; it just needs a little bit of patience and the confidence to stop overthinking the process.”
Elena Vance
Making It Your Own
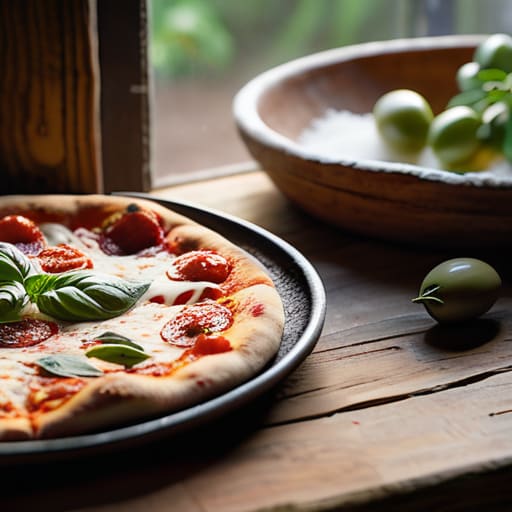
At the end of the day, making pizza at home isn’t about achieving some culinary perfection you see on a cooking show; it’s about having the right, simple components in your pantry. We’ve covered how to nail a dough that doesn’t require a massive time commitment, how to keep your sauce bright and flavorful without simmering it for hours, and how to layer your toppings without making a mess. Remember, the goal was to strip away the complexity so you could actually enjoy the process. Whether you use a high-end stone or just a well-seasoned baking sheet, the result is always going to be better than delivery because you actually know what went into it.
My best advice? Don’t be afraid to mess up. If your crust comes out a little uneven or you go a bit heavy on the cheese, it’s still going to taste incredible. Cooking should be a way to reclaim your time and nourish your space, not another item on a stressful to-do list. Once you realize that you don’t need a professional kitchen to make something delicious, the whole experience changes. So, grab your apron, clear off the counter, and just start. You’ve got this, and honestly, it’s going to be delicious.


I believe that a well-run home shouldn't require a PhD or a massive budget. My goal is to strip away the complexity so you can focus on actually living in your space. Let's keep things practical, efficient, and genuinely useful.
View All Articles