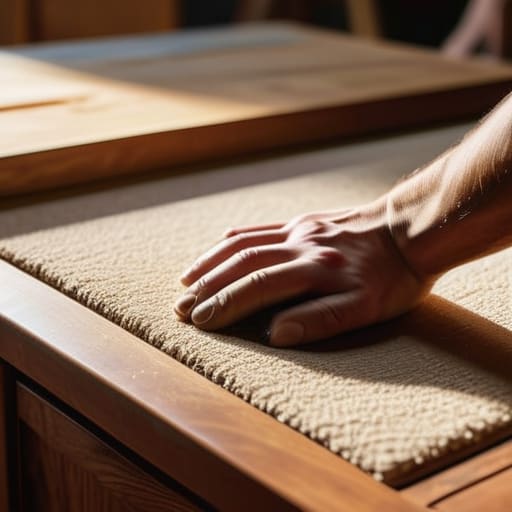

I was staring at a scratched-up, honey-oak coffee table from a thrift store last Tuesday, wondering if I had the patience to tackle it, when I realized something: most people think you need a professional workshop and a mountain of expensive chemicals to see real results. That’s just not true. I’ve spent years tinkering in my garage, and I can tell you that learning how to refinish furniture doesn’t require a specialized degree or a massive budget. You don’t need to turn your entire living room into a construction zone to breathe new life into a piece that has actual character.
In this guide, I’m stripping away the intimidating jargon and the “must-have” gadget lists that only serve to clutter your workspace. I’ll walk you through the practical, messy, and incredibly rewarding steps of sanding, staining, and sealing, focusing on the methods that actually work for busy people. My goal is to give you a clear, no-nonsense roadmap so you can stop scrolling through endless tutorials and start actually creating something beautiful. Let’s get to work and make something old feel like it was made for you.
Guide Overview
Tools & Supplies
- Sandpaper (various grits for smoothing)
- Screwdriver (to remove hardware)
- Paintbrush or foam roller (for application)
- Microfiber cloth (for dust removal)
- Wood cleaner or degreaser (1 bottle)
- Sandpaper pack (assorted grits)
- Primer (1 quart)
- Paint or stain (1 quart)
- Protective topcoat (1 quart)
Step-by-Step Instructions
- 1. First things first, you need to strip it down to the basics. Take everything apart that you can—remove the handles, the hinges, and any glass inserts. It’s tempting to try and work around them, but trust me, you’ll save yourself a massive headache later if you just get all the hardware off right at the start. Set those pieces aside in a labeled bag so you aren’t playing detective when it’s time to put it all back together.
- 2. Next, we need to deal with the old finish. Depending on what you’re working with, you’ll either be using a chemical stripper or a sander. If it’s an old, heavy lacquer, a stripper might be your best bet to avoid a mountain of fine dust, but if it’s just a light coat of paint, a good old-fashioned sanding will do the trick. Just remember to start with a coarser grit and work your way down to the finer stuff; jumping straight to the smooth finish is a one-way ticket to a bumpy surface.
- 3. Once the old finish is gone, it’s time for a deep clean. I can’t stress this enough: dust is the enemy of a smooth finish. Use a tack cloth or even just a slightly damp, lint-free rag to wipe down every nook and cranny. If there’s any lingering residue or oils from your hands, the new stain or paint simply won’t bond properly, and you’ll end up with a patchy mess that’s a pain to fix.
- 4. Now comes the part that requires a little patience: applying the stain or paint. If you’re going with a stain, apply it in the direction of the wood grain using a lint-free cloth or a foam brush. If you want a darker look, don’t try to get there in one go; it’s much better to apply multiple thin layers than one heavy, gloopy one. If you’re painting, keep your strokes light and aim for even coverage to avoid those annoying brush marks.
- 5. While you’re waiting for your color to dry, take a moment to check your hardware. Since you took it all off in step one, this is the perfect time to give those handles or pulls a quick scrub with some soapy water or a bit of metal polish. It’s a small detail, but it makes the whole piece look professionally restored rather than just “painted over.
- 6. After your stain or paint is completely dry to the touch, you need to seal the deal with a clear topcoat. This is what actually protects your hard work from spills, scratches, and daily life. I usually prefer a wipe-on polyurethane because it’s much more forgiving for beginners, but the key is to work in thin, even coats. Avoid overworking the product; once it starts to set, leave it alone so you don’t create bubbles or streaks.
- 7. Finally, once the topcoat has cured (and I mean really cured—give it at least 24 to 48 hours), reassemble your piece. Screw those handles back in, pop the hinges in place, and slide the drawers back in. Take a second to step back and look at what you’ve done. You didn’t just save a piece of furniture from a landfill; you created something unique that actually fits your home.
The Right Furniture Restoration Tools for Real Life
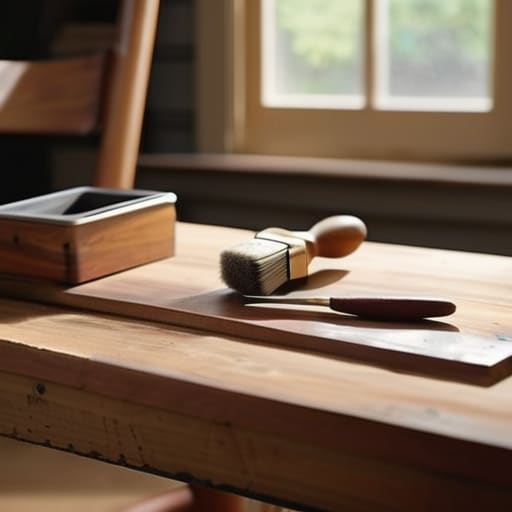
Look, I’ve learned the hard way that you don’t need a professional workshop to get decent results, but you also can’t just wing it with whatever random scraps you find in the garage. The secret to a smooth finish isn’t a fancy machine; it’s having the right basics within arm’s reach. When I’m tackling a new piece, I always start by gathering my furniture restoration tools upfront so I’m not breaking my flow to run to the hardware store mid-project.
One thing people often overlook is the importance of a solid furniture sanding grits guide. You don’t want to jump straight to the fine stuff; you need to work your way up from coarse to fine to avoid leaving deep scratches that show up once you apply your color. If you’re dealing with layers of heavy, stubborn paint, don’t exhaust yourself with just sandpaper. Invest in a decent chemical stripper for removing old varnish or thick lacquer—it saves your wrists and keeps the wood grain from getting chewed up. Just keep it simple, stay organized, and make sure you have enough clean rags on hand.
Mastering Wood Stripping Techniques Without the Mess
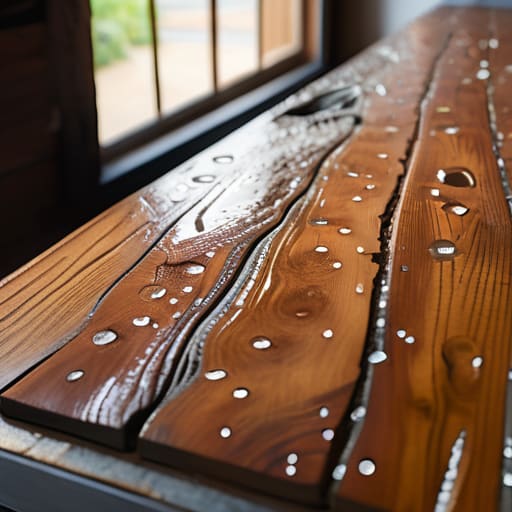
If you’ve ever tried to scrape off a layer of old finish only to end up with a sticky, gummy mess on your workbench, you know exactly why I call this the most frustrating part of the job. When it comes to removing old varnish, my biggest piece of advice is to resist the urge to rush. I used to think I could power through it with brute force, but that usually just results in gouged wood and a lot of wasted time. Instead, apply your stripper in thick, even layers and—this is the hard part—actually let it sit. Give the chemicals time to do the heavy lifting so you aren’t fighting the material.
Once the finish starts to bubble, use a dull putty knife or even an old credit card to lift the sludge away. If you’re working on intricate carvings or tight corners where a flat blade won’t reach, don’t panic. I always keep a stiff nylon brush handy for those tricky spots. Using different wood stripping techniques for different parts of the piece ensures you don’t accidentally damage the grain. Just remember: it’s much easier to strip a little more than it is to fix a mistake.
Five Pro-Tips to Save Your Sanity (and Your Furniture)
- Don’t skip the cleaning phase. Even if the piece looks clean, a quick wipe with a tack cloth or a damp rag ensures you aren’t just sanding old wax and grime directly into the fresh wood grain.
- Work in small, manageable sections. It’s tempting to try and tackle a whole dining table in one go, but you’ll end up with uneven finishes. Do one tabletop or one chair leg at a time to keep your momentum steady.
- Test your stains on a hidden spot first. Colors look completely different on a swatch than they do on an actual piece of vintage oak or walnut. Check the underside or the back of a leg before you commit.
- Patience is your best tool. If you’re applying a topcoat, let it dry completely between layers. Rushing the drying time is the fastest way to end up with a tacky, sticky mess that you’ll have to sand all over again.
- Keep a “mistake kit” handy. Always have a clean rag, a little bit of mineral spirits, and some fine-grit sandpaper within arm’s reach. When you inevitably get a drip or a smudge, you’ll want to fix it immediately rather than waiting until tomorrow.
A Mindset for the Workshop
“Don’t let a few scratches or a dated finish intimidate you; refinishing isn’t about achieving factory perfection, it’s about seeing the potential in what’s already there and having the patience to let it show.”
Elena Vance
The Finish Line
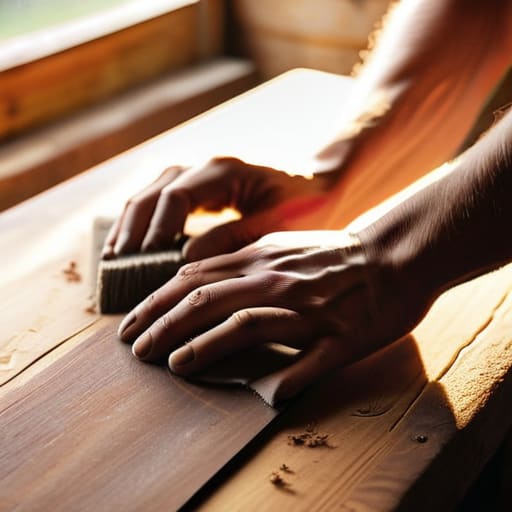
At the end of the day, refinishing a piece of furniture isn’t about achieving factory-perfect, sterile results; it’s about the process of reclaiming something that was headed for a landfill. We’ve covered a lot of ground, from gathering your essential toolkit to the messy, necessary work of stripping away old layers of grime and dated varnish. Remember, the secret isn’t in having the most expensive equipment, but in patience and preparation. If you take the time to prep your surface properly and don’t rush the drying stages, you’ll avoid ninety percent of the headaches that usually trip people up. It’s a bit of a workout, sure, but seeing that grain pop for the first time makes every minute of sanding entirely worth it.
I know it can feel a bit daunting when you’re staring at a scarred-up side table or a dull dresser, but don’t let the scale of the project stop you. Start small—maybe just a stool or a small nightstand—to get your feet wet. There is a unique kind of quiet satisfaction that comes from looking at a piece of furniture and knowing that you were the one who gave it its second wind. You aren’t just fixing wood; you’re building a home that has character and a story. So, clear off your workspace, grab your notebook, and just dive in. You’ve got this.


I believe that a well-run home shouldn't require a PhD or a massive budget. My goal is to strip away the complexity so you can focus on actually living in your space. Let's keep things practical, efficient, and genuinely useful.
View All Articles