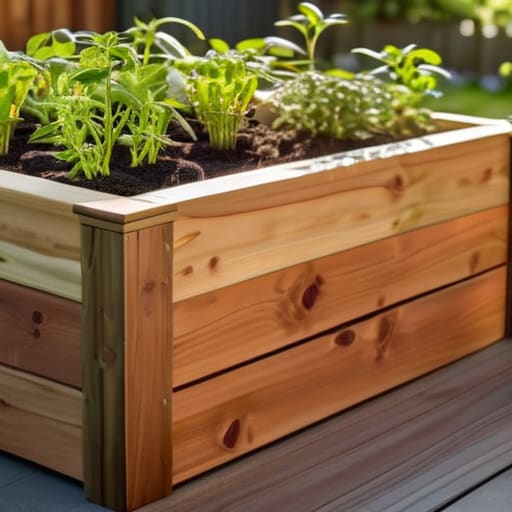

I was standing in my backyard last spring, staring at a pile of expensive, pre-cut cedar planks and a stack of instruction manuals that looked more like physics textbooks than gardening guides. I felt that familiar wave of overwhelm—the kind that makes you want to just give up and buy plastic pots from the big-box store. But here’s the truth: you don’t need a degree in carpentry or a warehouse full of specialized tools to get started. Learning how to build a raised garden bed shouldn’t feel like a massive, weekend-ruining ordeal; it really just comes down to a few basic cuts and a solid plan.
In this guide, I’m stripping away all the unnecessary fluff and the “pro-level” jargon that makes DIY feel intimidating. I’ll show you exactly how to select the right materials, keep your costs down to earth, and assemble a sturdy structure that will actually last more than one season. My goal is to give you a straightforward, repeatable process so you can spend less time wrestling with lumber and more time actually enjoying your garden. Let’s get to work.
Guide Overview
Tools & Supplies
- Drill/Driver for assembling wood
- Measuring tape for accurate cuts
- Level to ensure even ground
- Untreated cedar or pine boards (approx. 4-6 pieces)
- Wood screws (box of 2-3 inch exterior grade)
- Garden soil/compost mix (enough to fill volume)
- Hardware cloth or landscape fabric (to prevent pests/weeds)
Step-by-Step Instructions
- 1. First, let’s talk about the shopping trip. You don’t need anything fancy here, just head to your local hardware store and grab some untreated cedar or redwood if your budget allows, as these naturally resist rot. If you’re on a tighter budget, standard heat-treated pine works just fine, but please avoid anything pressure-treated with old-school chemicals that might leach into your soil. Grab a box of exterior-grade wood screws and a cordless drill; honestly, having a reliable drill is the one time I’m glad my dad taught me to value good tools.
- 2. Once you’re back in the driveway or garage, it’s time to prep your wood. Use a hand saw or a miter saw to cut your boards into the lengths you want for your bed—I usually stick to a standard 4×8 foot layout because it’s easy to reach the middle without stepping on your plants. Measure twice and cut once; it sounds like a cliché, but it saves you a massive headache when you’re trying to line everything up later.
- 3. Now, let’s get to the assembly. Lay your boards out on a flat surface to form a rectangle, and start driving your screws through the sides of the boards into the corner posts. I highly recommend using thick 4×4 posts for the corners rather than just screwing the flat boards together; it gives the whole structure much-needed stability so it doesn’t bow outward once the heavy, wet soil starts pushing against it.
- 4. Before you move the frame to its permanent home, check that everything is square and level. If your ground is uneven, don’t panic—just use a shovel to scrape away a little bit of dirt under the high spots until the frame sits flat. A level bed ensures your water distributes evenly, and it’s much easier to manage than a lopsided box that’s constantly trying to slide down a slope.
- 5. Once the frame is in place, it’s time to line the bottom. I like to lay down a layer of corrugated cardboard (just make sure you strip off any plastic tape first) directly over the grass or weeds inside the bed. This acts as a natural weed barrier that will eventually decompose, adding a bit of organic matter back into the earth while preventing hungry weeds from stealing your plants’ nutrients.
- 6. Finally, the fun part: filling it up. Don’t just grab a bag of cheap topsoil and call it a day; you want a high-quality mix of compost, peat moss, or coconut coir to ensure your veggies actually thrive. I usually follow a simple “one-third” rule: one-third compost, one-third topsoil, and one-third aeration material like perlite. It’s a bit of heavy lifting, but your future self—and your plants—will definitely thank you for the effort.
Choosing the Best Wood for Raised Beds Without Overspending
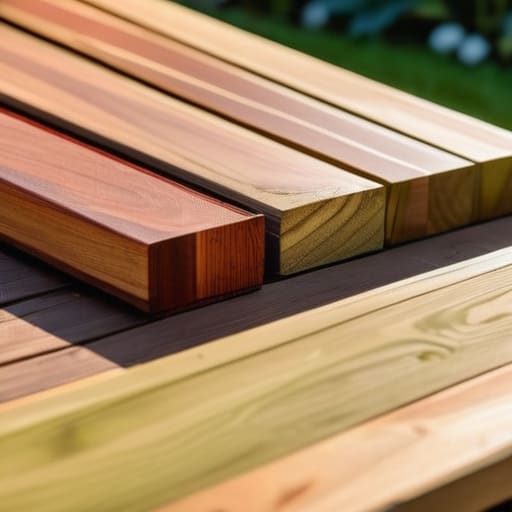
When you head to the local hardware store, the sheer amount of lumber can feel a bit paralyzing. You’ll likely find yourself staring at the price tags, wondering if you’re making a mistake. The big debate is usually cedar vs pressure treated lumber. Cedar is my personal favorite because it’s naturally rot-resistant and looks beautiful in a garden setting, but it definitely carries a premium price tag. If you’re on a tighter budget, modern pressure-treated wood is a safe, cost-effective option for edible gardens, as the chemicals used today are much more stable than they used to be.
If you want the absolute best wood for raised beds without breaking the bank, I often suggest looking for redwood or even thick juniper if it’s locally available. However, if you decide to go with a more budget-friendly pine, just keep in mind you’ll likely need to replace it in a few years. My rule of thumb? Don’t overspend on the wood if it means you have to skimp on the actual growing medium. It’s much better to have a modest frame and a high-quality soil blend than a fancy cedar box filled with dirt that lacks nutrients.
Perfecting Your Diy Raised Garden Bed Dimensions and Soil Mix Ratio
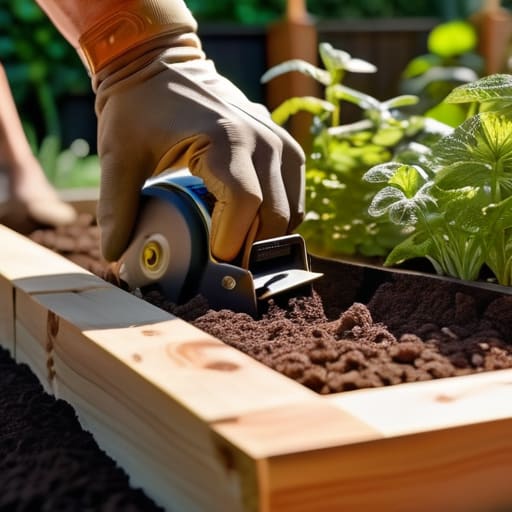
Before you start driving screws into your lumber, let’s talk about the physical footprint of your project. When planning your diy raised garden bed dimensions, the most common mistake I see is building something too wide to reach into. Unless you have access from all sides, I highly recommend keeping the width to no more than four feet. This allows you to reach the center without stepping into the bed, which prevents soil compaction and keeps your plants happy. If you’re tight on space, even a narrow 2-foot bed works wonders for herbs or greens.
Once the frame is set, the real magic happens in the dirt. Don’t just dump bags of topsoil from the hardware store into the box and call it a day; it’s often too heavy and lacks aeration. Instead, aim for a high-quality raised bed soil mix ratio—something like one part compost, one part peat moss or coconut coir, and one part vermiculite. This ensures your roots can actually breathe. If you’re preparing ground for raised beds that are sitting directly on grass, consider adding a layer of cardboard at the bottom to suppress weeds naturally while you focus on the growing.
Five Pro-Tips to Save Your Back (and Your Sanity)
- Don’t go too wide. I’ve made the mistake of building beds that were too deep, and let me tell you, leaning over to weed a garden bed that’s four feet wide is a recipe for a sore lower back. Keep it narrow enough so you can reach the middle without stepping into the bed and compacting your soil.
- Line the bottom with cardboard. Before you dump in that expensive soil mix we talked about, lay down some plain, non-glossy cardboard at the very bottom. It smothers the weeds and grass underneath, but eventually breaks down so your new soil can mingle with the earth. It’s a total game-changer.
- Level your ground first. It sounds tedious, but if your base isn’t even, your bed will look crooked and, more importantly, water will pool in one corner while the other side dries out. Use a simple level and a little shovel work to get a flat starting point.
- Think about your tool access. If you’re building these right against a fence or a wall, make sure you still have enough room to actually move around them. There’s nothing more frustrating than realizing you’ve boxed yourself into a corner where you can’t even reach your trowel.
- Secure the corners properly. Don’t just lean the boards against each other; use heavy-duty exterior screws or corner brackets. If you’re planning on growing heavy things like tomatoes or squash, that structure needs to be solid enough to handle the weight and the moisture without bowing out.
The Philosophy of the Garden Bed
“Don’t get paralyzed by the idea of perfection or the need for expensive, high-end materials; a raised bed is just a tool to get you closer to the dirt, so build something sturdy, keep it simple, and just get growing.”
Elena Vance
Getting Your Hands Dirty
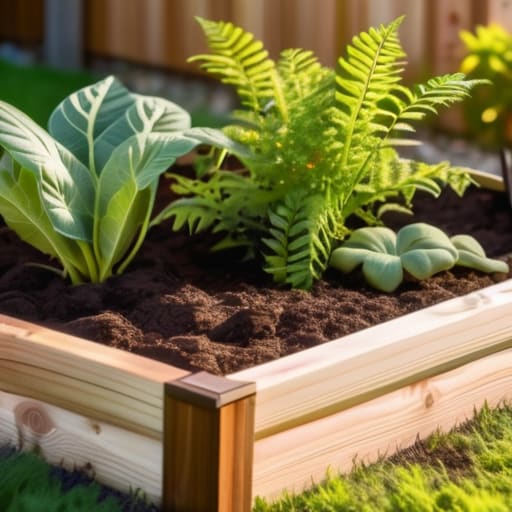
At the end of the day, building a raised bed doesn’t have to be a massive, complicated undertaking. We’ve covered the essentials: picking a wood that won’t rot on you in a year, getting your dimensions right so you can actually reach the middle without straining your back, and mixing that perfect soil ratio to give your plants a fighting chance. Remember, you don’t need a professional-grade workshop or a mountain of expensive tools to get this done. As long as you have a solid plan and the right materials, you’ve already done the hardest part. It’s all about setting a foundation that works for you, rather than working for your garden.
Once those boards are in place and the soil is leveled, take a second to actually look at what you’ve built. There is something incredibly grounding about knowing you created a space for life to grow with your own two hands. Don’t worry about making it look like something out of a high-end landscaping magazine; the goal here is functional beauty. Whether you’re growing heirloom tomatoes or just a few sprigs of basil, this little patch of earth is yours. So, grab your gloves, get outside, and start planting. You’ve got this.


I believe that a well-run home shouldn't require a PhD or a massive budget. My goal is to strip away the complexity so you can focus on actually living in your space. Let's keep things practical, efficient, and genuinely useful.
View All Articles