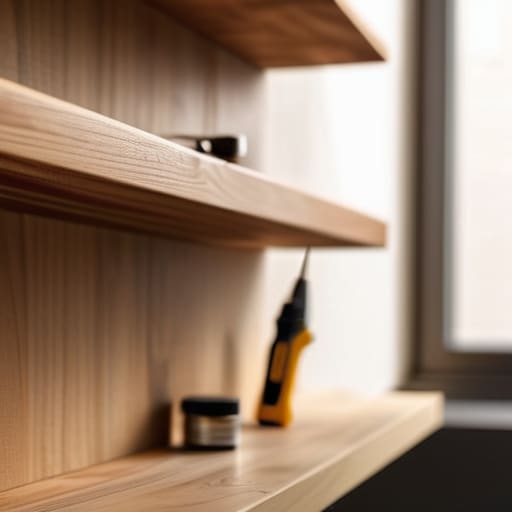

I was standing in my hallway last Tuesday, staring at a pile of beautiful reclaimed wood and a set of brackets, feeling that familiar, heavy knot of dread in my stomach. It’s that specific brand of overwhelm that hits when you realize your “quick weekend project” is actually turning into a potential disaster involving drywall dust and crooked lines. Most people think you need a professional contractor or a workshop full of specialized power tools to get things right, but that’s just a myth that keeps us from actually using our homes. Learning how to install a shelf shouldn’t feel like you’re prepping for a structural engineering exam; it should just be a straightforward task that gets your favorite books or plants off the floor and onto the wall.
In this guide, I’m stripping away the jargon and the unnecessary intimidation. I’ll walk you through exactly what you need—and more importantly, what you don’t need—to get a sturdy, level result without breaking your budget. We’re going to cover everything from finding those elusive studs to picking the right anchors, all with a no-nonsense approach that respects your time. My goal is to help you move past the hesitation so you can finally stop staring at empty walls and start actually living in your space.
Guide Overview
Tools & Supplies
- Drill/Driver for making holes and driving screws
- Level to ensure the shelf is straight
- Pencil for marking placement
- Stud finder to locate wall supports
- Shelf unit 1 unit
- Brackets 2-4 units
- Wall anchors or screws 1 set
- Wall plugs 1 set
Step-by-Step Instructions
- 1. First, let’s talk tools. You don’t need a professional contractor’s van parked in your driveway, but you do need the basics. Grab a drill with bits, a level (this is non-negotiable unless you want your books to slide off), a pencil, a stud finder, and a screwdriver. If you’re mounting into drywall without a stud, make sure you have some heavy-duty anchors ready to go.
- 2. Now, grab that stud finder and run it along the wall where you want the shelf to live. Finding a stud is the difference between a shelf that looks great and one that ends up on your floor an hour later. Once you find a solid wooden stud, mark it clearly with your pencil. If you can’t find a stud, don’t panic—we’ll just use anchors in the next step.
- 3. Hold your bracket up against the wall at your desired height. This is where I usually take a second to step back and look at the whole room to make sure it doesn’t look awkward. Once you’re happy with the placement, use your pencil to mark exactly where the screw holes will go. If you’re using a stud, mark the center; if not, mark the spots for your anchors.
- 4. It’s time to get to work with the drill. If you’re hitting a stud, drill a pilot hole first—this prevents the wood from splitting and makes the screw go in much smoother. If you’re working with drywall and anchors, drill a hole slightly larger than the anchor itself. Take your time here; steady hands make for a much cleaner finish.
- 5. Push your anchors into the holes if you aren’t hitting a stud. You might need to give them a little tap with a hammer to get them flush against the wall, but don’t force it too hard or you’ll crack the plaster. Once the anchors are snug, line up your bracket and start driving the screws in.
- 6. Before you tighten everything down completely, grab your level. Place it on top of the bracket and check both directions. If the bubble isn’t perfectly centered, adjust the bracket slightly before you commit. There is nothing more frustrating than realizing your shelf is crooked after you’ve already tightened the screws.
- 7. Finally, once everything is level and secure, slide your shelf onto the brackets. Give it a firm (but not violent) press to make sure it’s seated properly. Now, go ahead and add your decor, but start with the heaviest items near the supports to keep the weight distribution even. You’re done!
Finding Your Footing With Wall Stud Finder Tools
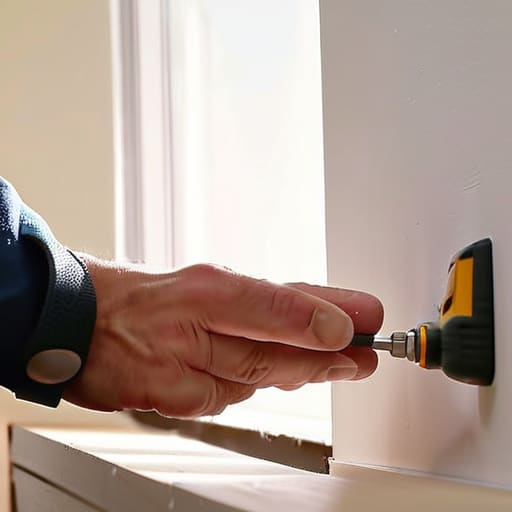
Before you even pick up a drill, you need to know what’s hiding behind your paint. I’ve seen too many beautiful projects end in disaster because someone assumed a wall was solid wood. Using wall stud finder tools is non-negotiable here. If you’re using a cheap electronic one, move it slowly; if you rush, you’ll get a false reading and end up with a shelf that’s tilting before you’ve even added a single book. If you can’t find a stud exactly where you want your decor, don’t panic—that’s what high-quality drywall anchors for heavy loads are for.
Just remember, there is a massive difference between hanging a lightweight photo and securing a heavy wooden ledge. If you’re planning on displaying a collection of ceramic vases or heavy cookbooks, you absolutely cannot rely on basic plastic plugs. Take a moment to map out your points first. It’s much easier to adjust your layout on paper now than it is to patch up a bunch of unnecessary holes in your drywall later.
Choosing the Right Drywall Anchors for Heavy Loads
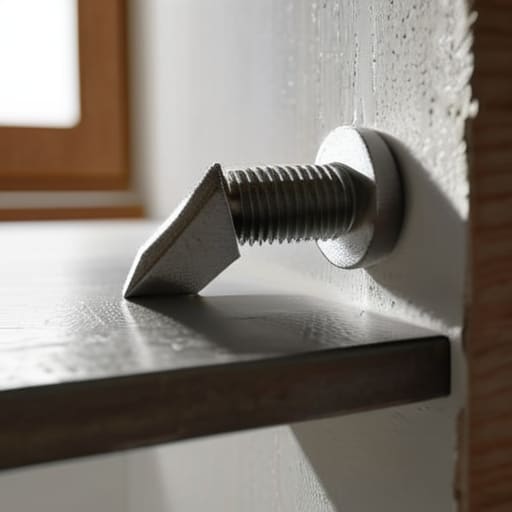
Here is the truth about those little plastic sleeves that come in most hardware kits: they are fine for a lightweight photo frame, but if you’re planning on stacking heavy cookbooks or ceramic vases, they aren’t going to cut it. If you can’t hit a stud, you need to invest in high-quality drywall anchors for heavy loads, like the metal toggle bolt variety. These work by spreading the weight behind the wall rather than just gripping the surface, which prevents that dreaded “slow sag” that ruins a perfectly good project.
I’ve learned the hard way that mismatching your hardware to your shelf weight is a recipe for a midnight cleanup of broken glass. If you are using a modern floating design, pay close attention to the specific floating shelf mounting hardware recommended by the manufacturer. Some require deep-set anchors, while others rely on the structural integrity of the wall itself. Before you drive a single screw, take a second to double-check the weight capacity listed on the package. It’s much easier to spend an extra five dollars on better anchors now than it is to patch a hole in your drywall later.
Pro-Tips to Keep Your Shelves from Becoming Floor Decor
- Double-check your level one last time right before you drill; it’s much easier to fix a slight tilt now than to realize your books are slowly sliding to one side a week from now.
- If you’re mounting on a wall that isn’t quite straight—and let’s be honest, most aren’t—don’t panic; a little bit of shimmying or even a tiny bit of wood filler can hide those awkward gaps.
- Always account for the “weight of the stuff” rather than just the shelf itself; a shelf that looks sturdy can quickly bow under the weight of a heavy ceramic collection or a stack of hardcover cookbooks.
- Keep a small vacuum or a damp rag handy while you’re working; drywall dust is incredibly fine and has a way of migrating into every single corner of your room if you aren’t careful.
- Before you commit to the final holes, hold the shelf up against the wall and mark your spots with a pencil first; it gives you a much better sense of the scale and how it actually fits your space.
The Philosophy of a Sturdy Shelf
“A shelf isn’t just a piece of wood and some hardware; it’s about reclaiming your space. Don’t let the fear of a crooked bracket or a stripped screw keep you from organizing your life—measure twice, trust your tools, and just get it on the wall.”
Elena Vance
Final Thoughts Before You Decorate
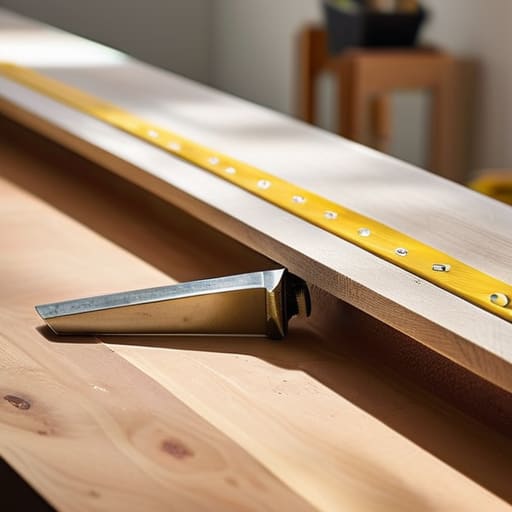
At the end of the day, installing a shelf is really just about the prep work. If you took the time to find your studs, picked out the right anchors for the weight you’re planning to hold, and double-checked your level, you’ve already done the heavy lifting. It’s easy to feel like you need a professional contractor for every little home improvement, but once you realize that success is in the details, the whole process feels a lot less intimidating. Don’t rush the measuring part; a few extra minutes of precision now prevents a lot of headache—and extra holes in your drywall—later.
Now that the hardware is secure and the dust has settled, the best part begins: making the space yours. Whether you’re displaying a collection of vintage ceramics or just clearing some clutter off your desk, remember that your home is meant to work for you, not the other way around. Don’t feel pressured to make it look like a showroom on day one. Just take it one shelf at a time, enjoy the sense of accomplishment, and keep moving forward. You’ve got this.


I believe that a well-run home shouldn't require a PhD or a massive budget. My goal is to strip away the complexity so you can focus on actually living in your space. Let's keep things practical, efficient, and genuinely useful.
View All Articles