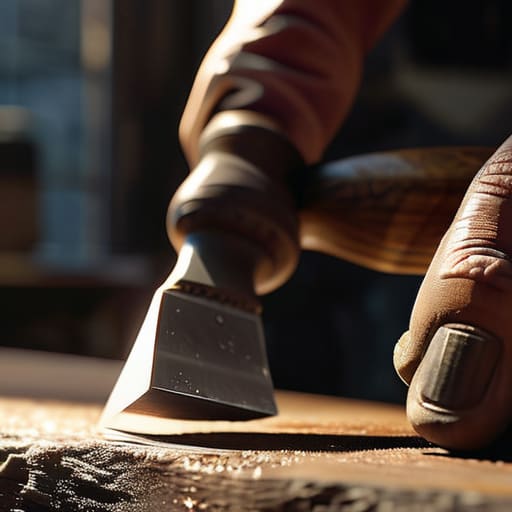

I was halfway through stripping a stubborn layer of old varnish off a mid-century sideboard last Tuesday when my chisel finally gave up the ghost. Instead of a clean slice, I got a jagged, frustrating tear that ruined a perfectly good piece of walnut. It’s one of those moments that makes you want to toss the whole toolkit in the trash, but the truth is, you don’t need expensive professional services or a workshop full of high-tech machinery. Learning how to sharpen tools is less about mastering complex engineering and more about understanding a few basic, rhythmic movements that anyone can do with a little patience.
I’m not here to sell you on a twenty-step ritual involving specialized stones you’ll only use once. My goal is to show you the straightforward, practical methods that actually work for a busy person who just wants to get the job done. We’re going to walk through the essential gear, the correct angles, and the little tricks I’ve picked up from years of DIY projects and furniture restoration. By the end of this, you’ll know exactly how to sharpen tools so they feel like an extension of your own hand, rather than a struggle against them.
Guide Overview
Tools & Supplies
- Garden shears (for pruning and trimming)
- Kitchen knives (for slicing and chopping)
- Sharpening stone/Whetstone (1 medium, 1 fine grit)
- Honing rod (1 steel rod)
- Lubricant/Water (as needed for stone)
- Microfiber cloth (1 for cleaning)
Step-by-Step Instructions
- 1. First things first, you need to gather your gear. You don’t need a professional workshop setup, but grab a whetstone (a combination coarse and fine grit one works best for beginners), a small container of water or honing oil depending on your stone type, and a clean rag. I always keep a little microfiber cloth handy to wipe away the metal filings as I go.
- 2. Before you even touch the stone, clean your tools thoroughly. If you’re working on an old garden trowel or a kitchen knife, scrub off any dried dirt, grease, or old residue. Trying to sharpen a dirty blade is a recipe for a messy workspace and, more importantly, it can actually damage the edge of your stone.
- 3. Now, let’s get the stone ready. Submerge your whetstone in water for about ten minutes until the bubbles stop rising, or apply a few drops of oil if that’s what your specific stone requires. You want a consistent layer of moisture across the surface so the metal slides smoothly without getting stuck.
- 4. Find your angle and hold steady. This is where most people get frustrated, but don’t overthink it. For most household tools, aim for about a 20-degree angle—roughly the width of two stacked quarters. Once you find that sweet spot, apply light, even pressure and begin pushing the blade across the stone in a sweeping motion, moving from the base toward the tip.
- 5. Repeat this motion on the other side of the edge. You’re looking for symmetry, not perfection. I like to do about ten strokes on one side, then ten on the other, making sure you aren’t changing that angle halfway through. If you feel like you’re wobbling, take a breath and reset your grip.
- 6. Once you feel like the edge is getting there, switch to the fine-grit side of your stone. This is the “polishing” phase. Use much lighter pressure here; you aren’t trying to move metal anymore, you’re just smoothing out the microscopic burrs. It’s a bit like sanding a piece of wood to get that final, silky finish.
- 7. Finally, give everything a good wipe down and test the edge—but please, don’t go slicing your thumb open. A quick, gentle test on a piece of scrap paper or a ripe tomato is usually enough to tell if you’ve done the job right. If it glides through without catching, you’re ready to get back to work.
Mastering Whetstone Sharpening Techniques Without the Complexity
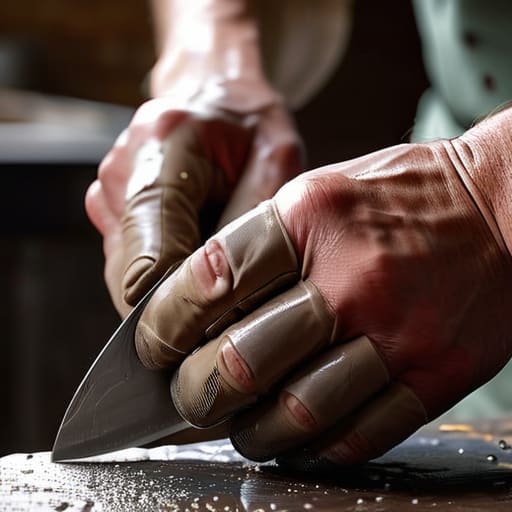
Now, if you’re feeling a bit intimidated by the idea of a whetstone, take a breath. It’s not about achieving perfection on your first try; it’s about muscle memory. One thing I’ve learned from years of tinkering is that finding the right sharpening angle for different tools is half the battle. A kitchen knife needs a much shallower angle than a heavy-duty garden trowel. If you find yourself struggling to keep that angle consistent, try using a piece of wood or a specialized guide to steady your hand. It’s much more effective than trying to “wing it” and ending up with a jagged edge.
I also get asked a lot about honing steel vs sharpening stone, and honestly, they serve two very different masters. Think of the honing steel as your daily maintenance—it realigns the edge while you’re working. The stone, however, is where the real magic happens; it actually removes metal to create a brand-new edge. To really wrap your head around these whetstone sharpening techniques, just remember: the stone is for restoration, and the steel is for preservation. Keep that distinction in mind, and your tools will stay crisp for years.
The Real Difference Between Honing Steel vs Sharpening Stone
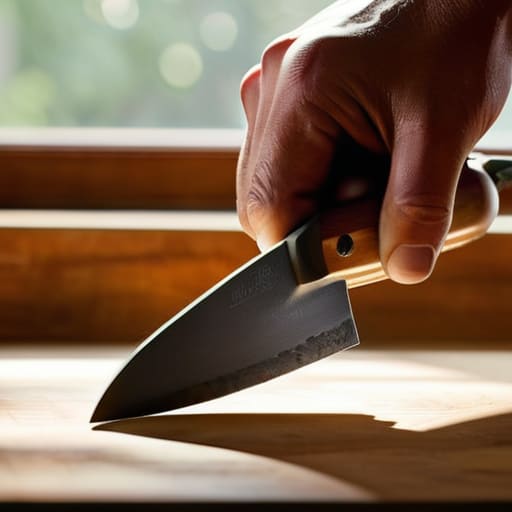
I see this confusion all the time, usually right when someone is standing in their kitchen or workshop feeling frustrated by a blade that just won’t bite. The biggest mistake I see is people treating a honing steel like it’s a magic wand for a dull knife. In reality, when we talk about honing steel vs sharpening stone, we’re talking about two completely different jobs. A honing steel doesn’t actually remove metal; it just realigns the microscopic edge that gets folded over during use. Think of it as a quick “reset” button to keep things straight between deep cleans.
If your tool is truly dull—meaning it’s actually lost its edge rather than just getting a bit crooked—you need a stone. A stone is what actually grinds away the metal to create a fresh, sharp bevel. Mastering whetstone sharpening techniques is the real secret to maintaining blade edge longevity without constantly having to buy new gear. It takes a little more patience and a bit of a learning curve, but once you get that consistent angle down, you’ll stop fighting your tools and start enjoying them again.
Five Pro-Tips to Save Your Tools (and Your Sanity)
- Stop rushing the process. I know it’s tempting to just hack away at a dull edge to get the job done, but sharpening is about patience. If you force it, you’ll end up with an uneven bevel that’s more trouble than it’s worth.
- Clean your tools before you start. It sounds basic, but trying to sharpen a blade caked in dried sap, grease, or old rust is a recipe for frustration. Give them a good scrub first so you’re actually working on the metal, not the grime.
- Listen to the sound. When you’re using a stone, there’s a specific “shhh” sound that tells you you’ve found the right angle. If it sounds scratchy or uneven, you’re likely wobbling; find that consistent rhythm and stick to it.
- Don’t forget the “burr” check. You aren’t finished just because the edge looks shiny. Run your thumb (very carefully!) or a piece of paper along the edge to feel for that tiny lip of metal. If it’s there, you’re on the right track.
- Invest in decent quality, not just expensive. You don’t need a professional workshop setup, but a cheap, low-grade stone will just frustrate you. Find a solid, mid-range grit that feels right in your hand—it makes all the difference.
## A Sharp Edge for a Simpler Life
“Keeping your tools sharp isn’t about being a perfectionist; it’s about respecting your time and your effort. There is nothing more frustrating than fighting against a blunt blade when you’re just trying to get a project done and get back to your life.”
Elena Vance
A Sharper Approach to Your Projects
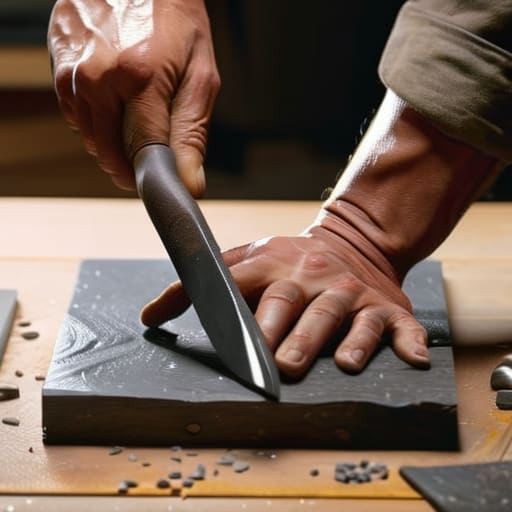
At the end of the day, sharpening your tools isn’t about achieving some impossible level of perfection; it’s about respect for the work you do. Whether you’ve decided to invest a little time in a proper whetstone session or you’re just making sure you know when to reach for the honing steel, the goal is the same: efficiency and safety. By taking these few extra minutes to maintain your blades and edges, you’re preventing the frustration of struggling with blunt equipment and ensuring that your tools actually work with you, rather than against you. Remember, a well-maintained kit is the foundation of a smooth, stress-free project.
I know it can feel like just one more thing on an already overflowing to-do list, but I promise you, the payoff is worth the effort. There is something incredibly grounding about taking care of the things we own, stripping away the chaos, and simply preparing for what comes next. Don’t let the fear of a steep learning curve keep you from trying; even a little bit of maintenance goes a long way toward making your home life feel a bit more under control. So, grab your tools, find a quiet corner, and get back to doing what you love—only this time, with an edge that actually holds up.


I believe that a well-run home shouldn't require a PhD or a massive budget. My goal is to strip away the complexity so you can focus on actually living in your space. Let's keep things practical, efficient, and genuinely useful.
View All Articles