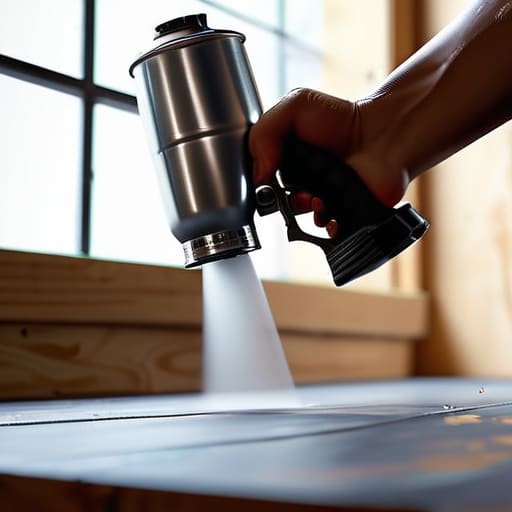

I was standing in my garage last Tuesday, staring at a drip-covered side table that looked more like a melted crayon than a piece of furniture, wondering why I’d even bothered. Most people will tell you that spray painting is a “quick and easy” weekend project, but let’s be honest: if you don’t know what you’re doing, it’s a fast track to a sticky, uneven disaster. I spent years watching my dad tackle DIY projects with a sort of effortless grace, only to realize through my own trial and error that learning how to spray paint isn’t about having the fanciest equipment—it’s about mastering the rhythm.
I’m not here to sell you on some complicated, multi-step professional system that requires a ventilated studio and a massive budget. Instead, I want to show you the actual way to get a smooth, factory-like finish using basic tools you can find at any local hardware store. We’re going to skip the fluff and get straight to the prep work, the motion, and the timing. By the time we’re done, you’ll have the confidence to breathe new life into your old decor without the constant frustration of drips and runs.
Guide Overview
Tools & Supplies
- Spray paint cans (various colors needed)
- Masking tape (for protecting edges)
- Drop cloth (to protect surfaces)
- Sandpaper (for surface preparation)
- Surface cleaner or degreaser (1 bottle)
- Painter's tape (1 roll)
- Protective mask (1 unit)
Step-by-Step Instructions
- 1. First things first: clear a workspace and protect everything that isn’t being painted. I can’t tell you how many times I’ve seen a beautiful DIY project ruined because someone forgot to cover their driveway or a nearby window. Grab some old drop cloths or even just some thick cardboard, and lay them down thick. If you’re working on a small piece, a piece of cardboard works fine, but for anything bigger, you want to really commit to the coverage so you aren’t spending your weekend scrubbing overspray off the patio.
- 2. Clean your item like your life depends on it. This is the step most people try to rush, but if there’s even a hint of grease, dust, or old wax on that mid-century chair, your paint is going to bead up and peel off in a week. I usually grab a damp cloth with a little bit of mild dish soap to get the grime off, then I let it dry completely. If you skip the cleaning, you’re basically just painting over a mess, and that’s a waste of good spray paint.
- 3. Prep the surface with a light sanding. You don’t need to strip it down to the bare wood unless it’s in terrible shape, but you do need to “scuff” it so the new layer has something to grab onto. I use a fine-grit sandpaper—around 220 grit—and just go over the surface until it feels smooth but slightly matte. After you’re done sanding, wipe it down again with a tack cloth or a microfiber towel to catch every single stray grain of dust.
- 4. Set up your spray can and do a test blast. Before you even think about touching your project, take the can outside (or to a very well-ventilated area) and spray it against a piece of scrap cardboard. This lets you check the spray pattern and see how heavy the flow is. You want to find that “sweet spot” where the mist is even and consistent. It’s much better to find out your nozzle is acting finicky on a piece of trash than on your favorite vintage lamp.
- 5. Apply thin, even coats. This is where the real patience comes in. Do not—and I mean do not—try to cover the whole thing in one thick, heavy layer. That is a one-way ticket to a dripping, runny disaster. Instead, hold the can about 8 to 12 inches away and use a steady, sweeping motion, starting the spray just before you hit the object and stopping just after you pass it. It’s better to do four light, translucent coats than one thick one that looks like it’s melting.
- 6. Let it dry (and then let it cure). I know it’s tempting to touch it after twenty minutes to see if it’s dry, but please, just walk away. Most spray paints are “dry to the touch” fairly quickly, but they take much longer to actually harden. If you handle it too soon, you’ll leave permanent fingerprints in the finish. Give it at least a few hours between coats, and if you can, let the final piece sit undisturbed for at least 24 hours before you try to use it or move it.
Smart Surface Preparation Without the Extra Stress
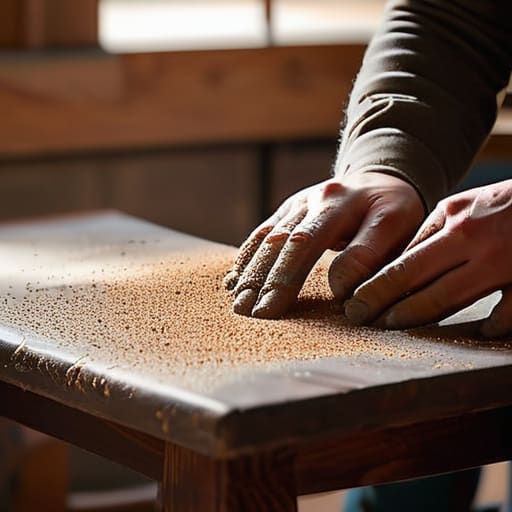
Look, I know the idea of prep work feels like a chore, but if you want to avoid that heartbreaking moment where you realize your finish looks like orange peel, you can’t cut corners here. Proper spray paint surface preparation is really just about removing the obstacles between your paint and the material. If you’re working on an old wooden chair or a metal lamp, grab some fine-grit sandpaper and give it a good once-over. You aren’t trying to sand it down to the bone; you just want to scuff the surface so the new layer actually has something to grip onto.
While you’re at it, pay close attention to the edges and corners. This is where most people run into trouble with preventing spray paint drips. I’ve spent way too many afternoons cleaning up heavy globs of paint because I tried to rush the coverage. Instead of trying to hide the surface with one thick coat, aim for several ultra-thin, misty layers. It takes a little more patience, but it’s the difference between a professional-looking finish and a sticky, uneven mess that you’ll regret later.
Choosing the Best Spray Paint for Diy Projects
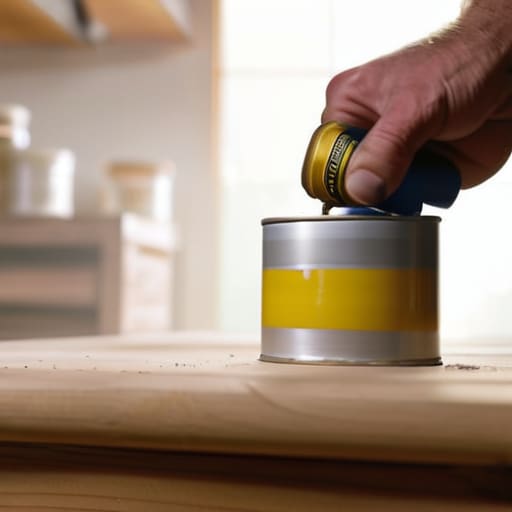
Walking into the hardware aisle can feel like a total sensory overload. You’ve got rows upon rows of cans, all promising “professional results,” but most of them are just marketing fluff. When I’m looking for the best spray paint for DIY projects, I don’t look for the fanciest label; I look for the one that actually covers well without needing ten coats. If you’re working on something metal or a piece of vintage furniture I might have rescued, I generally stick to high-quality enamel. It’s much more forgiving and tends to result in a smoother finish that won’t chip the moment you move it.
One thing I’ve learned the hard way is that the type of paint you choose directly impacts your spray paint drying time. If you grab a cheap, low-grade can, you might find yourself waiting forever for it to tack up, or worse, you’ll end up with those annoying runs. I always check the back of the can for the specific dry times before I even get my workspace set up. It’s much better to plan your afternoon around the drying process than to realize halfway through that you’re stuck waiting three hours for a single layer to set.
Five Pro Tips to Save Your Sanity (and Your Project)
- Don’t try to cover everything in one go. It’s tempting to blast it with a thick layer to get instant color, but that’s a one-way ticket to a drip-city nightmare. Think light, misty coats. You want to build the color up gradually, not drown the piece.
- Check the wind, even if you’re working in a garage. If you’re outdoors, even a tiny breeze can carry your expensive paint halfway down the street or, worse, blow dust and debris right into your wet finish. If it’s breezy, just wait for a calmer day.
- Keep that can moving. This is the golden rule. If you hold the nozzle in one spot for even a second too long, you’ll get a heavy glob. Always start your spray pattern off the object, sweep across, and stop the spray after you’ve passed the other side.
- Test your spray distance before you touch your project. Grab a piece of scrap cardboard and give it a few test sprays. It helps you figure out exactly how far you need to hold the can to get an even mist rather than a heavy stream, and it lets you see if the color is what you actually expected.
- Give it more drying time than you think it needs. I’ve learned the hard way that “dry to the touch” doesn’t mean “ready to handle.” If you move a piece too soon, you’ll leave fingerprints in the finish. Be patient—let it cure fully before you call it done.
## My Golden Rule for Spray Painting
“The secret isn’t in the brand of paint you buy; it’s in the patience you have during the prep work. If you rush the cleaning or get impatient with the drying times, you’re just setting yourself up for a headache you’ll have to sand down later.”
Elena Vance
Final Thoughts Before You Start Spraying
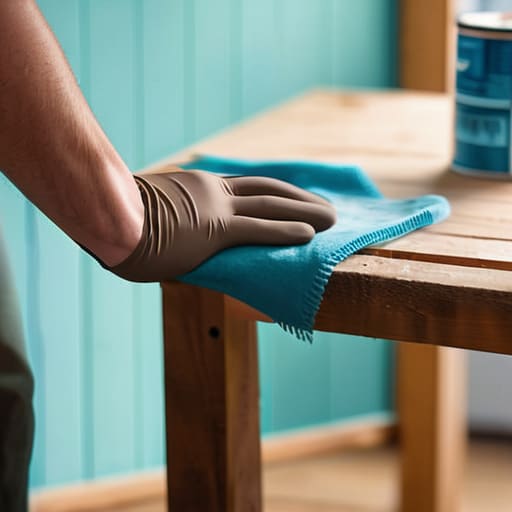
At the end of the day, successful spray painting really just comes down to two things: patience and prep. If you take the time to clean your surfaces thoroughly and don’t rush those initial light coats, you’re going to save yourself a massive amount of frustration later on. Remember, it’s much easier to add another thin layer than it is to sand down a thick, runny mess. Keep your cans moving, watch your distance, and don’t be afraid to step back and inspect your progress every few minutes. If you follow these basics, you’ll find that the process is much more manageable than the instruction manuals make it out to be.
I know that staring at a pile of old, mismatched furniture or a dull metal lamp can feel a little daunting, but don’t let it stop you. You don’t need a professional studio setup to make something look high-end; you just need the willingness to try. My best advice? Don’t aim for perfection on your first go. Even if there’s a tiny drip or a missed spot, it’s just part of the learning curve. The goal isn’t to create a museum piece; it’s to make your home feel a little more like you. So, grab your mask, head outside, and just get started. You’ve got this.


I believe that a well-run home shouldn't require a PhD or a massive budget. My goal is to strip away the complexity so you can focus on actually living in your space. Let's keep things practical, efficient, and genuinely useful.
View All Articles