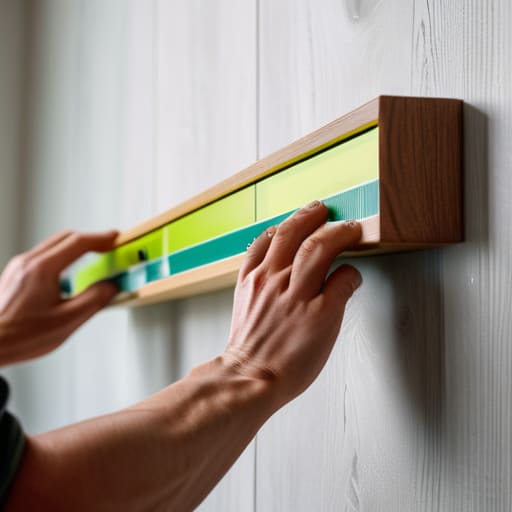

I was standing in my hallway last Tuesday, staring at a beautiful vintage print I’d rescued from a flea market, feeling that familiar, paralyzing dread. I had the art, I had the wall, but I was stuck in a loop of “what if I hit a pipe?” and “what if it’s crooked?” Most people think you need a specialized toolkit or a degree in interior design to do this right, but honestly, the biggest hurdle to learning how to hang a picture is usually just the mental clutter we build up around the task. You don’t need a workshop full of expensive gadgets; you just need a bit of confidence and a plan that doesn’t involve staring at a blank wall for three hours.
In this guide, I’m stripping away the intimidation factor to show you the most efficient ways to get your art up and looking professional. I’ll walk you through the exact tools I keep in my bag, how to avoid those annoying little holes in the drywall, and how to eye a level without losing your mind. No fluff, no expensive mistakes—just the straightforward steps you need to finally finish that room and actually start living in it.
Guide Overview
Tools & Supplies
- Hammer for driving nails or hooks
- Pencil for marking the wall position
- Measuring tape for accurate placement
- Level to ensure the picture is straight
- Picture frame or hanging hardware (1 unit)
- Nails or picture hooks (1 pack)
- Wall anchors if hanging on drywall (1 pack)
Step-by-Step Instructions
- 1. First things first, grab your supplies. You don’t need a professional toolkit, but you should have a hammer, a pencil, a level (or a leveling app on your phone), a measuring tape, and some sturdy hardware. I always keep a small multi-tool in my bag just in case, but for this, a standard hammer and some reliable nails or screws will do the trick.
- 2. Before you even touch a nail, decide where the art is actually going. Don’t just aim for the middle of the wall; look at the furniture below it. A good rule of thumb is to hang your piece so the center is at eye level—roughly 57 to 60 inches from the floor. If you’re hanging it above a sofa or a sideboard, aim for about 6 to 10 inches above the top of the furniture so it feels connected to the room rather than floating aimlessly.
- 3. Here is the part that saves everyone a headache: measure the hanging hardware on the back of the frame. Most people make the mistake of marking the wall exactly where they want the top of the frame to be, only to realize the wire or bracket is much lower. Use your pencil to mark the exact spot where the nail needs to go by measuring the distance from the top of the frame to the hanging point.
- 4. Now, grab that pencil and make your mark. If you’re working with a heavy mirror or a large piece of framed art, I highly recommend using a stud finder first. If you can hit a stud, you’re golden. If not, don’t sweat it—just grab some high-quality drywall anchors. It’s much easier to drill a small hole for an anchor now than it is to patch a massive crater in your drywall later because a heavy frame slipped.
- 5. Once your mark is set, it’s time to commit. Position your nail or anchor at the mark and tap it in steadily. If you’re using a nail, don’t swing the hammer like you’re building a deck; just use controlled, firm taps to avoid bending the nail or cracking the plaster.
- 6. Hold the frame up to the wall and check your work. This is where that level comes in. Place it on the top edge of the frame and make sure the bubble is centered. If it’s crooked, don’t panic—just adjust the hardware or the nail slightly. I usually take a second to step back a few feet to see how it looks from across the room before I call it finished.
- 7. Finally, give it a gentle nudge to make sure it’s secure. If the frame feels a bit wobbly or sits unevenly against the wall, you can add small felt bumpers to the bottom corners of the frame. This keeps them from scuffing your paint and helps them stay perfectly straight over time. Now, put the tools away and go enjoy your newly decorated space.
The Simple Picture Hanging Hardware Guide You Actually Need
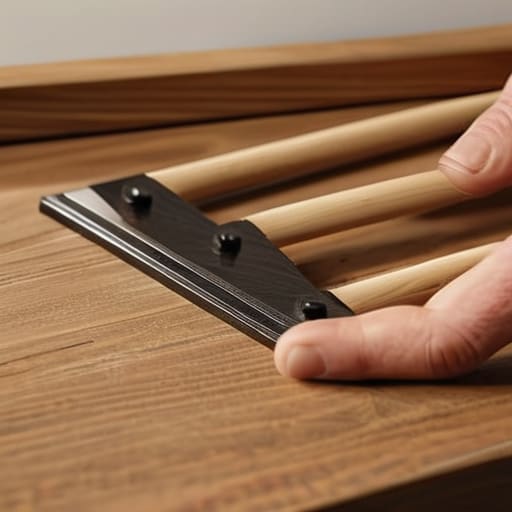
Look, when you walk into a hardware store, the sheer amount of tiny metal bits and plastic packets can feel a little overwhelming. You don’t need a specialized toolkit for every single piece of art; you just need to know what works for your specific wall. If you’re working with a lightweight print or a small frame, Command strips vs nails is the eternal debate. I personally love the strips for renters because they’re foolproof, but if you’re dealing with something a bit more substantial, a simple nail or a screw is your best friend.
The real game-changer, though, is knowing when to step up your game. If you find yourself hanging heavy frames on drywall, please don’t just rely on a tiny finishing nail—that’s a recipe for a midnight trip to the floor. For those heavier pieces, you’ll want to use a toggle bolt or, even better, spend a minute finding studs for wall art to ensure everything stays exactly where you put it. It takes an extra minute of effort, but it saves you the headache of a crooked or falling masterpiece later.
Command Strips vs Nails Choosing the Practical Path
Now, let’s settle the age-old debate: command strips vs nails. I’ll be honest—I used to reach for the adhesive strips for everything because I hated the thought of tiny holes in my walls. They are a lifesaver for lightweight prints or those seasonal decor pieces that don’t need much muscle. But here is the reality check: if you are hanging heavy frames on drywall, don’t trust a strip to do the heavy lifting. There is nothing more frustrating than waking up to a shattered frame and a ruined wall because the adhesive gave up the ghost.
If you’re working with something substantial, go with a nail or a screw. It’s old-school, but it’s reliable. If you’re feeling particularly ambitious and want to avoid any risk of the wall crumbling, you might want to try finding studs for wall art to give that frame a truly solid foundation. My rule of thumb? If it feels heavy in your hands, skip the adhesive and reach for the hammer. It’s better to have one tiny hole to patch later than a massive cleanup job today.
Pro Tips to Save Your Walls (and Your Sanity)
- Use painter’s tape to map it out. Instead of driving a nail into the wall every time you change your mind, put a little piece of tape where the corner of the frame will sit. It’s much easier to move a piece of tape than it is to patch a hole in the drywall.
- Trust your eyes, not just the level. A spirit level is great, but sometimes a frame looks crooked even when the bubble says it’s straight. If it looks “off” to your eye, trust your gut and nudge it. We’re decorating a home, not a laboratory.
- Mind the “Eye Level” rule. A common mistake is hanging art too high. Aim for the center of the image to be about 57 to 60 inches from the floor. Think of it as keeping the art at eye level so you’re actually engaging with it, not looking up at it.
- Check your hardware twice. Before you start hammering, make sure the nail or hook you’ve chosen can actually handle the weight of the frame. There is nothing more frustrating than a heavy piece of art slowly sliding down the wall while you’re trying to enjoy your coffee.
- Grouping isn’t about perfection. If you’re doing a gallery wall, don’t stress about making every frame identical. Vary the sizes and let them breathe. The goal is a cohesive look that feels lived-in, not a sterile museum display.
My Philosophy on Home Decor
“At the end of the day, a perfectly level frame isn’t nearly as important as the feeling you get when you walk into a room and actually feel at home. Don’t let a little bit of hardware stress keep you from enjoying your space.”
Elena Vance
Final Thoughts Before You Grab the Hammer
At the end of the day, hanging art doesn’t have to be a high-stakes operation. Whether you decided to go the route of heavy-duty anchors for that oversized mirror or opted for the no-damage ease of Command strips for a lightweight print, the goal was the same: getting it off the floor and onto the wall. Just remember to double-check your level, keep your hardware choice matched to your wall type, and don’t be afraid to make a few tiny holes if it means getting the placement exactly right. It’s much easier to patch a small nail hole than it is to live with a crooked frame that bugs you every time you walk past it.
My best advice? Don’t let the fear of a little dust or a misplaced mark keep you from making your space feel like yours. Your home is meant to be lived in, not kept in a state of perpetual perfection. If a frame ends up a little off-center or you have to try a second spot, it’s not a failure—it’s just part of the process. Once that piece is finally up, take a second to step back, grab a coffee, and actually enjoy the view. You did the work, you solved the problem, and now you can finally get back to the best part: simply enjoying your home.


I believe that a well-run home shouldn't require a PhD or a massive budget. My goal is to strip away the complexity so you can focus on actually living in your space. Let's keep things practical, efficient, and genuinely useful.
View All Articles