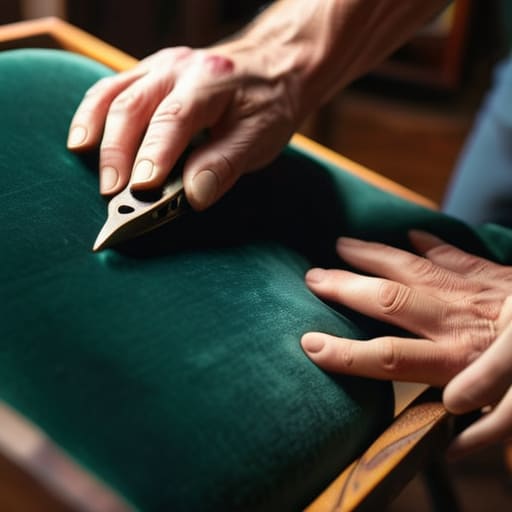

I was staring at a gorgeous, mid-century teak armchair last weekend, its frame perfect but its fabric looking like something out of a dusty thrift store nightmare. Most people would see a piece of junk destined for the curb, or worse, they’d assume they need a professional studio and a thousand dollars in supplies to fix it. But here’s the truth: you don’t need a design degree or a massive budget to breathe life back into your furniture. Learning how to reupholster a chair is actually much more about steady hands and patience than it is about expensive machinery.
I’ve spent years tinkering with vintage finds in my living room, and I’ve learned exactly where people usually trip up and waste money. In this guide, I’m stripping away the complicated jargon to show you the most efficient way to get the job done. I’ll walk you through the essential tools you actually need, how to pick a fabric that won’t fail you, and the simple techniques to get a professional-looking finish without the headache. Let’s stop letting good bones go to waste and actually get to work.
Guide Overview
Tools & Supplies
- Staple gun and staples for securing fabric
- Pliers for pulling old staples and tacking fabric
- Fabric shears for precise cutting
- Measuring tape for dimensioning fabric
- Upholstery fabric (2-3 yards depending on chair size)
- High-density foam or batting (1 sheet/roll)
- Upholstery thread (1 spool of heavy-duty polyester)
- Dust cover fabric (1 yard of black cambric)
Step-by-Step Instructions
- 1. First things first, you need to strip the chair down to its bones. Grab a staple remover or a flathead screwdriver and carefully pull off the old fabric, the foam, and any old webbing. I know it looks like a mess of debris at this stage, but don’t panic. Keep the old fabric pieces in a neat pile; they act as your original template so you know exactly where everything used to sit.
- 2. Once the frame is bare, take a good look at the structure. This is the perfect time to check for any wobbles or loose joints. If it’s a wooden chair, give it a quick tighten or a bit of wood glue if it feels shaky. You want to make sure the foundation is solid and stable before you even think about picking out a new fabric.
- 3. Next, it’s time to address the padding. If the old foam is crumbling into dust (which it usually is), toss it. You can buy high-density foam at most craft stores, and I highly recommend adding a layer of polyester batting over the foam. This extra layer smooths out the edges and gives the chair that professional, soft finish that makes it look expensive rather than DIY.
- 4. Now, let’s get into the actual upholstery. Lay your new fabric face down on a clean floor and place the chair seat on top of it. Center it as best as you can, then start pulling the fabric taut—but not too tight. You want it firm, but if you pull with too much force, you’ll end up with unsightly puckers or even warped wood. Start by stapling the center of each side to anchor your work.
- 5. Work your way from the center out toward the corners, pulling the fabric steady as you go. When you hit the corners, this is where most people get frustrated, but don’t let it get to you. You’ll need to fold the excess fabric into neat, clean pleats so it doesn’t bunch up awkwardly under the seat. Think of it like wrapping a gift; it’s all about the precision of the folds.
- 6. Once the fabric is pulled tight and stapled around all four sides, take a pair of sharp scissors and trim away the excess. I usually leave about an inch of “wiggle room” before the final trim just to be safe. If you’re working on a chair with a decorative trim or piping, this is when you’d tuck it in, but for a standard seat, a clean, straight cut is all you need.
- 7. Finally, give the whole thing a once-over. Run your hand over the surface to feel for any lumps or loose staples that might be hiding under the fabric. If everything feels smooth, you’re done! Take a moment to step back and admire what you’ve done. You didn’t just fix a piece of furniture; you saved it from a landfill.
Smart Fabric Selection for Upholstery and Essential Tools
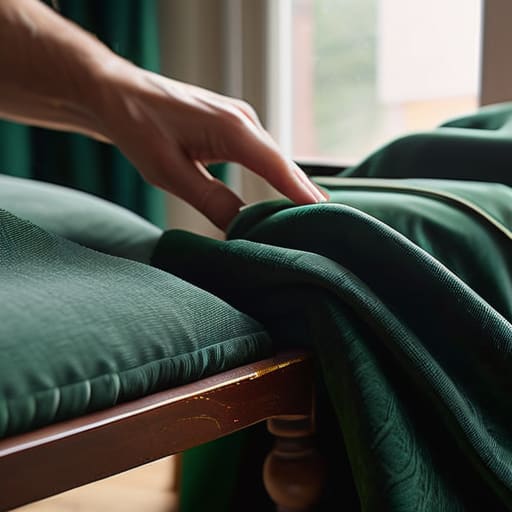
Before you even pick up a staple gun, you need to talk about the fabric. I’ve learned the hard way that what looks pretty in a swatch book doesn’t always hold up to real life. If this chair is going in a high-traffic spot, like a dining nook or a living room, skip the delicate linens and go for something with a bit more grit—think heavy cotton blends or performance velvets. When you’re navigating fabric selection for upholstery, always check the “rub count” if it’s listed; you want something that can handle a bit of wear and tear without looking tired after a month.
As for your kit, don’t feel like you need to raid a professional workshop. Most of what you actually need can be found at a local hardware store. Beyond a decent pair of heavy-duty shears, I highly recommend investing in a reliable manual staple gun. While electric ones are tempting, mastering a few basic staple gun techniques for furniture with a manual one gives you much better control over tension, especially when you’re working around tight corners or curved edges. It’s all about that steady, even pressure.
Mastering Removing Old Fabric and Replacing Chair Foam Padding
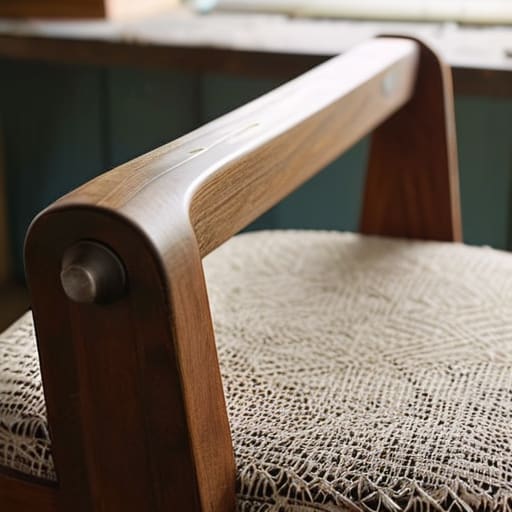
Before you even think about reaching for that new, beautiful fabric, you have to deal with the mess. Removing old fabric from chairs can feel a bit like a demolition project, but don’t rush it. I usually grab my pliers and a flat-head screwdriver to pry up those old staples. My best piece of advice? Keep the old fabric for a few minutes. It serves as a perfect template for how the original pieces were cut, which makes your life much easier when you’re mapping out your new material. If you find the old webbing is sagging or snapped, now is the time for upholstery webbing installation to ensure the seat has a solid foundation before you move forward.
Once the old layers are stripped back, you’ll likely see some tired, crumbling foam. This is the perfect moment for replacing chair foam padding to give the piece that “just bought it” bounce. Don’t just slap a new piece of foam on top; if the padding feels thin, consider adding a layer of polyester batting first. It softens the edges and prevents your new fabric from looking boxy or stiff. Treat the foundation with respect, and the rest of the project will fall into place much more smoothly.
Pro Tips to Save Your Sanity (and Your Fabric)
- Don’t toss the old fabric right away. Before you start cutting into your brand-new material, use the old scraps as a template to trace your shapes. It’s the easiest way to ensure your new fabric actually fits the frame without a bunch of guesswork.
- Keep a staple gun loaded and a pair of heavy-duty shears within arm’s reach at all times. There is nothing more frustrating than getting into a rhythm only to realize you’re running on empty or struggling to cut through a thick weave.
- Work from the center outward. When you’re pulling the fabric tight, start with one staple in the middle of each side to create a “cross.” This keeps the tension even and prevents those annoying, unsightly wrinkles from bunching up in the corners.
- Check your tension constantly. You want the fabric to be “drum tight,” but don’t go so overboard that you’re straining the fibers or pulling the wooden frame out of alignment. A little bit of “give” is actually your friend.
- Don’t fear the mistakes. If you misalign a staple or a seam looks a little wonky, don’t panic and scrap the whole project. Most upholstery mistakes can be fixed by carefully pulling the fabric back and repositioning—just take a breath and try again.
The Heart of the Project
“Reupholstery isn’t about achieving some flawless, showroom perfection; it’s about the satisfaction of taking something forgotten and making it functional for your life again. Don’t let a few crooked staples stop you—the goal is a chair that feels like home, not a museum piece.”
Elena Vance
The Final Result
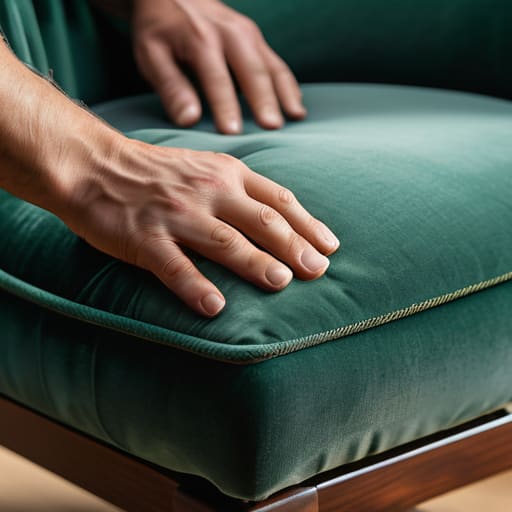
Once you’ve pulled that last staple and smoothed out the corners, take a second to step back and look at what you’ve actually achieved. We’ve covered a lot of ground here—from picking a fabric that can actually handle real life to the messy, necessary work of stripping down the old foam and padding. It isn’t always pretty while you’re in the middle of it, and your hands might be a little sore, but the core of this process is all about intentionality. By choosing the right tools and not cutting corners on the prep work, you’ve ensured that this piece isn’t just a quick fix, but a long-lasting addition to your home that won’t fall apart in six months.
At the end of the day, I don’t want you to worry about whether your staples are perfectly straight or if your tension is professional-grade. The goal isn’t perfection; it’s about reclaiming something that was headed for a landfill and making it yours again. There is a specific kind of quiet satisfaction that comes from sitting in a chair you repaired with your own two hands. So, grab a coffee, sit down, and enjoy the view. You’ve proven that you don’t need a massive budget or a specialized workshop to make your space feel complete. You’ve got this.


I believe that a well-run home shouldn't require a PhD or a massive budget. My goal is to strip away the complexity so you can focus on actually living in your space. Let's keep things practical, efficient, and genuinely useful.
View All Articles