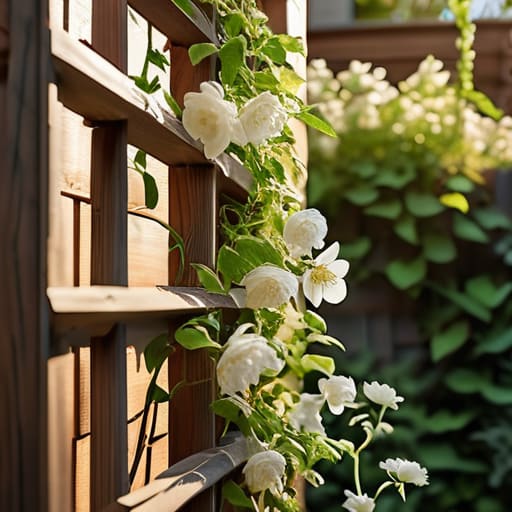

I was standing in my backyard last Saturday, staring at a tangled, sad-looking mess of jasmine vines that were practically suffocating themselves on the ground, when it hit me: I’ve spent way too much money on “decorative” garden structures that fall apart after one season. Most people think you need a workshop full of power tools or a massive budget to give your climbing plants some support, but that’s just not true. Learning how to build a garden trellis shouldn’t feel like a high-stakes engineering project. Honestly, if you can handle a screwdriver and a trip to the local hardware store, you’re already halfway there.
In this guide, I’m going to show you how to create something sturdy and beautiful without the unnecessary fluff. We’re skipping the complicated blueprints and focusing on practical, budget-friendly methods that actually work in a real garden. I’ll walk you through selecting the right materials, keeping things simple, and ensuring your new structure lasts longer than a single summer. Let’s get your garden looking organized and intentional so you can spend less time worrying about your plants and more time actually enjoying your outdoor space.
Guide Overview
Tools & Supplies
- Measuring tape for accurate cuts
- Handsaw or miter saw for wood processing
- Drill with bits for making holes
- Screwdriver or drill driver for fastening
- Wooden stakes or garden bamboo 4-6 pieces
- Garden twine or jute string 1 roll
- Wood screws or staples 1 small pack
- Wooden slats or thin strips 3-5 pieces
Step-by-Step Instructions
- 1. First, let’s gather our supplies. You don’t need a trip to a high-end specialty lumber yard for this; a quick run to the local hardware store will do just fine. Grab four sturdy wooden stakes (about 5 or 6 feet tall depending on your plants), some thin cedar slats or even some heavy-duty bamboo poles, and a box of exterior-grade screws or galvanized nails. I always keep a multi-tool handy for quick adjustments, but a basic screwdriver or hammer is your real MVP here.
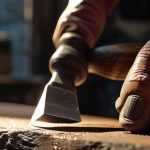
- 2. Once you have your materials, it’s time to prep the wood. If you’re using cedar or pressure-treated wood, you’re already halfway there because they handle moisture much better than standard pine. I like to take a quick moment to sand down any rough edges on the slats so I don’t end up with a splinter while I’m working in the dirt later.
- 3. Now, let’s set the foundation. Drive your four main stakes into the ground in a rectangle shape that matches the footprint of the area you want to cover. Make sure they are sturdy and upright; if they wobble now, they’ll definitely lean once those heavy climbing roses or beans start taking over. If the soil is particularly dry or hard, give it a quick soak first to make the job a little easier on your back.
- 4. This is where the actual “trellis” part happens. Take your thinner slats or bamboo poles and begin attaching them horizontally across the four vertical stakes. I find that spacing them about 6 to 10 inches apart works best for most climbers. Use your screws or nails to secure them, but don’t go overboard—you want to keep the structure flexible enough to handle a bit of wind without snapping.
- 5. For extra stability, I recommend adding a few diagonal braces in the corners. It might feel like a bit of extra work, but it prevents that annoying “leaning tower” effect that happens after a heavy rainstorm. Just grab a small scrap piece of wood, cut it at an angle, and screw it into the corner where the vertical stake meets the horizontal slat. It makes the whole thing feel solid and professional.
- 6. Before you call it a day, take a step back and check the level. If one side looks a little wonky, adjust the stakes slightly before the wood is fully set. Once you’re happy with the shape, give the whole structure a gentle shake to make sure nothing is loose. If it holds firm, you’re ready to start planting and watching your garden grow upward.
Smart Wooden Trellis Design Ideas That Actually Work
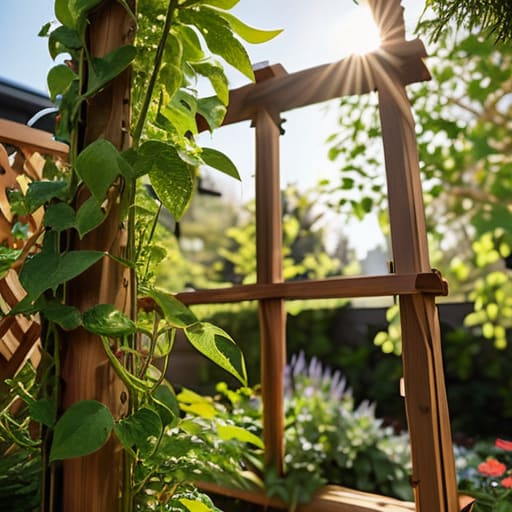
When you’re looking at different wooden trellis design ideas, try to think about the specific “personality” of your plants. If you’re growing something heavy like runner beans or squash, you’ll want something beefy—think thicker cedar posts and a sturdy lattice. For lighter stuff like sweet peas or clematis, you can get a bit more whimsical. I personally love a simple A-frame setup; it’s one of those easy DIY garden structures that provides massive surface area for growth without taking up your entire yard.
If you’re working with a smaller patio or a balcony, don’t feel like you need a massive freestanding unit. You can lean into vertical gardening solutions by attaching smaller, lighter frames directly to your fence or even a wall. This keeps your footprint small but your greenery high. Just remember to check your garden trellis materials list before you start; even a “simple” design needs the right screws and weather-resistant wood to ensure it doesn’t sag or rot after the first big rain. It’s all about building for the long haul so you aren’t rebuilding every single spring.
Essential Garden Trellis Materials List Without the Fluff
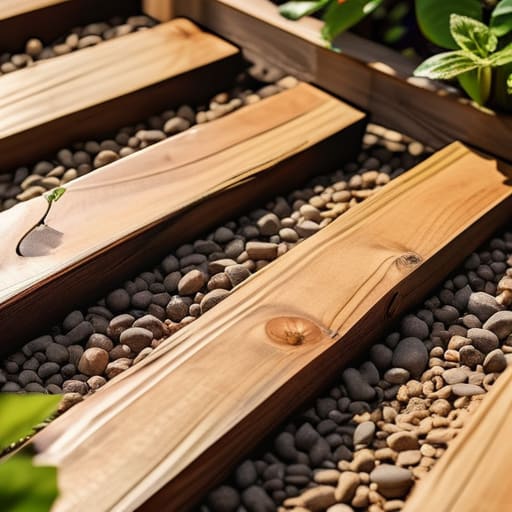
Before you head to the hardware store, let’s get one thing straight: you don’t need a shopping cart full of expensive, specialized lumber to make this work. I’ve learned the hard way that overcomplicating your garden trellis materials list usually just leads to a pile of wasted wood in the garage. For most of my projects, I stick to pressure-treated pine or cedar if the budget allows, as they handle the moisture of a garden much better than standard untreated wood. If you’re looking for something even simpler, even some heavy-duty bamboo stakes can serve as excellent climbing plant support structures without the heavy lifting.
The real secret to a long-lasting build isn’t just the wood; it’s the hardware. Don’t bother with those tiny, flimsy nails that pop out the first time the wind blows. Grab a box of galvanized screws—they won’t rust out after one heavy rain. I also always keep a small stash of heavy-duty zip ties or soft garden twine on hand. These are lifesavers when you’re securing your vertical gardening solutions to an existing fence or post. Keep it simple, keep it sturdy, and you’ll save yourself a massive headache later.
Five Pro-Tips to Save You Time (and a Headache)
- Don’t skip the weatherproofing. Since this thing is going to be sitting in the dirt and rain, give your wood a good coat of sealant before you even think about putting it in the ground. It’s much easier to do it on your kitchen table than when you’re hunched over in the garden.
- Mind the plant’s weight. If you’re planning on growing something heavy like climbing roses or even some chunky squash, you can’t just use flimsy twine. Make sure your structure is anchored deep enough to handle the extra weight once those vines start getting serious.
- Think about access. I’ve made the mistake of building a beautiful trellis only to realize I can’t reach the back of it to prune or harvest without stepping all over my flower beds. Leave yourself enough room to actually work around it.
- Use the right fasteners. Skip the cheap nails that’ll pop out the first time the wind kicks up. Use exterior-grade screws instead; they hold much better and won’t rust out and leave ugly orange streaks on your wood in six months.
- Plan for growth. It’s tempting to build something small and cute, but plants grow faster than you think. If you have the space, go a little bigger than you think you need. You don’t want to be rebuilding the whole thing next season because your jasmine took over the yard.
My Philosophy on Garden Projects
“A trellis shouldn’t be a complicated centerpiece that eats up your entire weekend; it’s just a simple, sturdy backbone meant to let your plants climb and your garden breathe. Build it to last, keep it functional, and then get out of the way so you can actually enjoy the view.”
Elena Vance
Final Thoughts Before You Get Planting
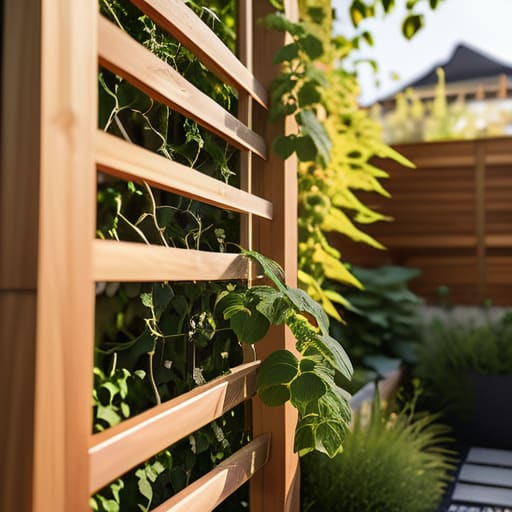
At the end of the day, building a trellis doesn’t have to be this massive, intimidating weekend project. We’ve covered the essentials: picking the right wood that won’t rot in a month, gathering a few basic tools, and choosing a design that actually fits your specific space. Whether you went with a simple ladder style or something a bit more decorative, the goal was to create a sturdy foundation for your climbing plants without overcomplicating the process. Remember, it’s much easier to tighten a screw or add a support wire later than it is to rebuild a collapsed structure because you cut corners on the initial build.
Once that trellis is standing, the real magic starts when the first green shoots begin to wrap themselves around the wood. There is something incredibly grounding about watching a tiny vine transform a bare corner of your yard into a lush, living wall. Don’t worry if your first attempt isn’t a masterpiece worthy of a garden magazine; what matters is that it’s functional and yours. You’ve done the hard part of setting the stage, so now just step back, grab a coffee, and let nature take it from here. Happy gardening!


I believe that a well-run home shouldn't require a PhD or a massive budget. My goal is to strip away the complexity so you can focus on actually living in your space. Let's keep things practical, efficient, and genuinely useful.
View All Articles