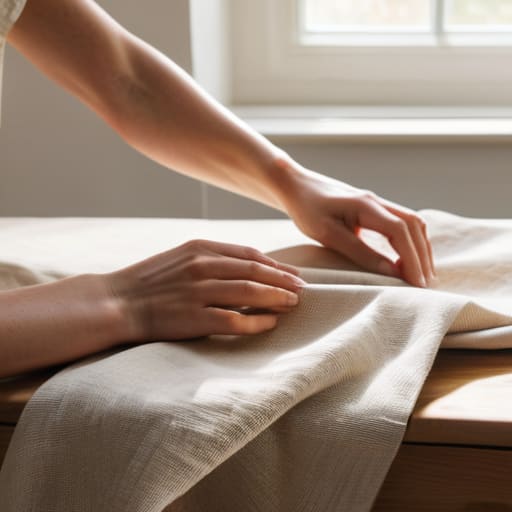

I was standing on a shaky step stool last Tuesday, staring at a pile of expensive, heavy linen that looked more like a laundry disaster than window treatments, wondering why I’d even bothered. We’ve been told that creating custom window dressings requires a high-end sewing machine and a degree in textile design, but that’s just not true. You don’t need a professional studio to master diy curtains; you just need a clear plan and the right approach to avoid that dreaded “homemade” look that feels more cluttered than cozy. I’ve spent years restoring furniture and tinkering with home projects, and I’ve learned that simplicity is actually your best friend when it comes to fabric.
In this guide, I’m stripping away the intimidating jargon and the complex sewing techniques that usually make people give up before they even start. I’ll show you how to select fabrics that hang beautifully and how to execute a few clever shortcuts that make your diy curtains look like they were professionally installed. My goal is to give you a straightforward, no-nonsense roadmap so you can upgrade your space without the headache or the massive price tag. Let’s get to work.
Guide Overview
Tools & Supplies
- Fabric scissors for clean cuts
- Sewing machine for stitching hems
- Measuring tape for accurate dimensions
- Pins or clips to hold fabric in place
- Iron and ironing board to press seams
- Fabric (2-3 yards depending on window size)
- Thread (1 spool matching fabric color)
- Curtain tape or header tape (1 roll)
- Sewing pins (1 pack)
Step-by-Step Instructions
- 1. First things first, you need to grab your measuring tape and actually measure your window. Don’t just eyeball it. I like to measure the width of the rod rather than the window frame itself; this ensures the curtains look lush and full rather than stretched thin. For the length, decide if you want them to just kiss the floor or puddle slightly for a more relaxed, bohemian feel. Write these numbers down in your notebook immediately so you aren’t guessing later.
- 2. Next, head to the fabric store and pick something that won’t make your life difficult. If you’re new to this, stay away from anything slippery like silk or overly textured linens that fray easily. I usually lean toward a sturdy cotton blend because it holds its shape well and is much more forgiving if your stitching isn’t perfectly straight. Just make sure you buy about an extra half-yard more than your math suggests—you’ll thank me when you’re cutting the hems.
- 3. Once you’re home, lay your fabric out on a large, flat surface like a dining table or even a clean floor. Wash and dry your fabric according to the care label before you cut a single thing. This is the step most people skip, but if you don’t pre-wash, your beautiful new curtains might shrink into dollhouse decor after the first time you wash them. Once it’s dry, iron it flat to get rid of any stubborn creases.
- 4. Now it’s time for the cutting phase. Using your measurements from step one, mark out your fabric pieces with tailor’s chalk or a washable marker. Remember to add an extra inch or two to your length and width for the hem and the top casing. If you don’t account for the extra fabric needed to fold the edges over, your curtains are going to end up much shorter than you intended. Take a deep breath and try to keep your lines as straight as possible.
- 5. Let’s get to the sewing. If you’re using a rod pocket style, fold the top edge of the fabric down to the width of your curtain rod and pin it in place. Then, fold the bottom edge up for a clean hem. I find it helpful to use lots of sewing pins to keep everything from shifting while I work. Start sewing a straight line along the folded edges using a standard machine stitch. If you’re feeling nervous, do a test run on a scrap piece of the same fabric first.
- 6. If you want a more “pro” look without the hassle of sewing individual pleats, I highly recommend using clip-on curtain rings. Once your panels are sewn and the hems are secure, simply clip the rings onto the top edge of your fabric. It’s a total lifesaver for anyone who wants that high-end, draped look but doesn’t want to spend three hours struggling with a sewing machine.
- 7. Finally, hang them up and take a moment to appreciate the work you’ve done. If the fabric looks a little wrinkled from the process, give them a quick steam or a light spray with water while they are hanging. Adjust the placement until they hang just right, and suddenly, your room will feel completely transformed without you having to spend a fortune at a boutique home store.
Mastering Fabric Selection for Curtains That Last
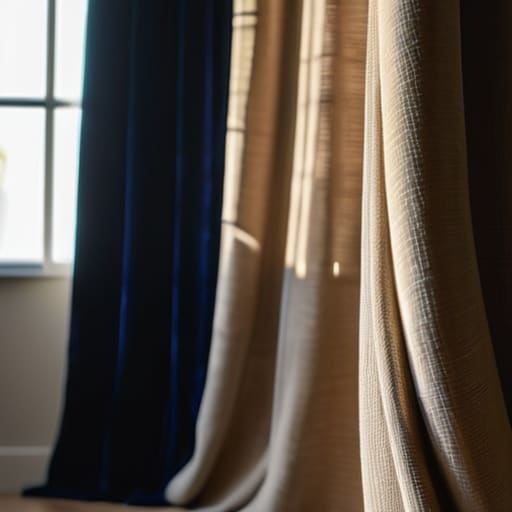
Before you even touch a pair of scissors, you need to get serious about your fabric selection for curtains. I’ve learned the hard way that what looks beautiful on a small swatch in the store can behave very differently once it’s hanging across a whole window. If you’re looking to create room darkening diy curtains for a bedroom, you’ll want something with a tighter weave or perhaps a heavier weight to block out that morning sun. On the flip side, if you’re working on a living area, a light linen blend offers that breezy, effortless look without making the room feel heavy.
Don’t forget to consider how the fabric will hang. Some materials are prone to stretching or sagging over time, especially if you aren’t using a liner. If you want that high-end, structured look typical of expensive custom window treatments, I always suggest choosing a fabric with a bit of “body.” It’s much more forgiving during the assembly process and will hold its shape long after you’ve finished your project. Just remember: always check the drape before you commit to a large yardage purchase.
The Cheat Code Using Hem Tape for Curtains
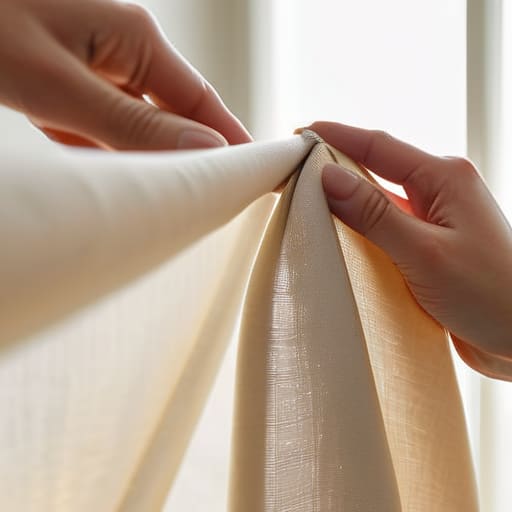
If you aren’t exactly a sewing pro (and let’s be honest, most of us aren’t), then hem tape for curtains is going to be your new best friend. I used to think that getting those clean, crisp edges meant sitting behind a sewing machine for hours, but that’s just not practical when you have a life to lead. Hem tape is essentially a “no-sew” shortcut that uses heat to bond the fabric edges together. It’s perfect for when you want that polished look without the headache of dealing with needles and thread.
The trick is to be patient with the iron. You want to apply steady, even pressure to ensure the bond is permanent, especially if you’re working with heavier materials for room darkening diy curtains. If the bond isn’t secure, you’ll end up with a messy, drooping hem that looks more “frankenstein” than “designer.” Just a quick tip from my own workshop: always do a tiny test scrap first to make sure the heat won’t damage your chosen fabric. It’s a total game-changer for achieving a professional finish in half the time.
A Few Pro Moves to Keep Your Windows Looking Sharp
- Measure twice, cut once, and then measure one more time. It sounds cliché, but there is nothing more frustrating than finishing a project only to realize your panels are two inches too short to hit the floor.
- Don’t skip the steam. Even if you aren’t a pro at sewing, a quick pass with a handheld steamer once the curtains are hung will hide those stubborn fold lines and make them look like they actually belong in the room.
- Think about your hardware before you buy the fabric. If you’re using a thin, breezy linen, you’ll want a rod that isn’t overly heavy or chunky so the whole look stays balanced and intentional.
- Test your light levels. If you’re hanging these in a bedroom, grab a scrap of your chosen fabric and hold it up against the window at noon. You don’t want to realize too late that your “privacy” curtains are basically see-through.
- Aim for extra width. For a high-end, custom look, make sure your curtain panels are wide enough to create soft folds when closed, rather than pulling them tight like a flat sheet across the window.
## A Note on the Finished Product
“Don’t get hung up on perfection; if the hem is a little crooked or the fabric isn’t exactly what you saw in a showroom, it doesn’t matter. What matters is that you looked at a bare window, decided it needed something better, and actually made it happen yourself.”
Elena Vance
Final Thoughts Before You Hang Them Up
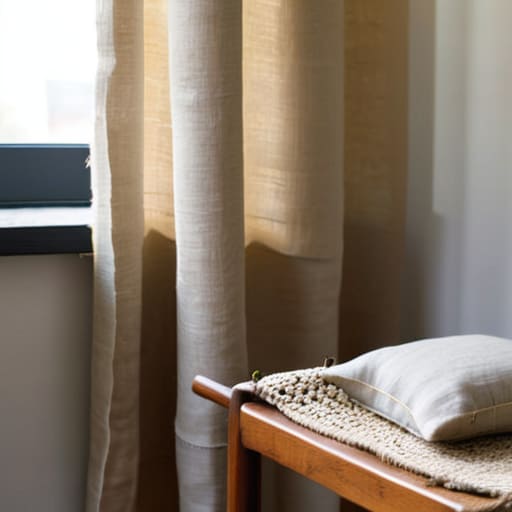
At the end of the day, making your own curtains is really just about finding the balance between what looks good and what actually fits your lifestyle. We’ve covered a lot of ground—from picking out a durable fabric that won’t fall apart after three washes to using that hem tape shortcut when you just don’t have the energy for a sewing machine. Whether you went the full route with a needle and thread or kept it simple with a few clever hacks, the goal was to get rid of that “unfinished” feeling in your room. Just remember that the most important part is that the finished product is functional and fits your space, rather than being a perfect replica of something from a high-end catalog.
I know that starting a new DIY project can feel a bit daunting when your to-do list is already a mile long, but I promise you that the payoff is worth the effort. There is something incredibly grounding about looking around your living room and knowing that you actually made something that improves your daily life. Don’t sweat the tiny imperfections; those little quirks are just proof that a human being—not a factory—put them there. Now, take a breath, hang those curtains up, and go enjoy the view. You’ve earned it.


I believe that a well-run home shouldn't require a PhD or a massive budget. My goal is to strip away the complexity so you can focus on actually living in your space. Let's keep things practical, efficient, and genuinely useful.
View All Articles