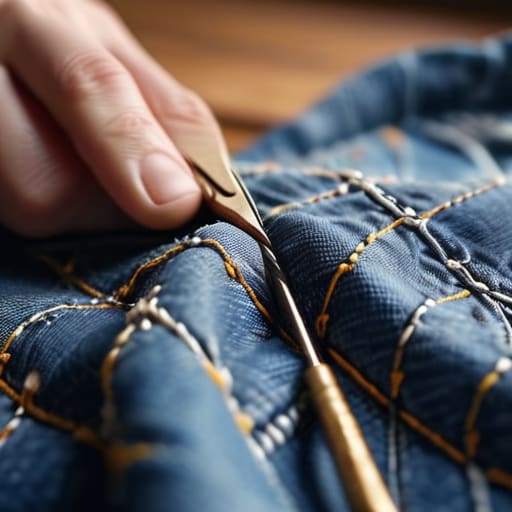

I was staring at my favorite linen trousers last Tuesday, a tiny, jagged tear right near the pocket, and my first instinct was to sigh and toss them into the “donate” pile. We’ve been conditioned to believe that once a garment has a flaw, its life is effectively over, but that is such a waste of good fabric. Learning how to mend clothes isn’t about becoming a master seamstress or spending hours hunched over a complicated sewing machine; it’s actually about reclaiming your wardrobe from the cycle of “buy, break, discard.”
I’m not here to teach you how to embroider intricate floral patterns or run a boutique tailoring shop. Instead, I want to show you the practical, low-stress fixes that actually work for busy people. We’re going to cover the essential, no-nonsense repairs—like securing a loose hem or fixing a pesky hole—using basic tools you likely already have in a junk drawer. My goal is to give you the confidence to grab a needle and thread, fix the problem in ten minutes, and get back to actually living your life.
Guide Overview
Tools & Supplies
- Hand sewing needles (various sizes)
- Fabric scissors (sharp blades for clean cuts)
- Seam ripper (to remove unwanted old stitching)
- All-purpose thread (matching colors of your garments)
- Sewing kit (assorted needles and pins)
Step-by-Step Instructions
- 1. First, grab your supplies. You don’t need a massive sewing kit, but you should have a few essential tools on hand: a needle (a variety pack is best), some high-quality thread that matches your fabric, and a pair of sharp scissors. If you’re fixing a heavier item like denim, grab a slightly thicker thread so it actually holds up to daily wear.
- 2. Inspect the damage closely. Before you start stitching, turn the garment inside out to see exactly where the thread has snapped or the fabric has frayed. I always find it helpful to trim away any loose, messy threads first; it makes the actual repair much cleaner and prevents the new stitches from getting tangled in the old mess.
- 3. Thread your needle and knot it. This is the part most people skip, but it’s the most important for longevity. Pull about eighteen inches of thread through the eye, then tie a sturdy knot at the very end. If you’re working with a slippery fabric, a double knot can give you that extra bit of security you need.
- 4. Start your repair from the “safe” side. Don’t start stitching right in the middle of the hole; instead, anchor your thread about a quarter-inch away from the edge of the tear. This ensures your stitches are anchored in healthy fabric, which prevents the repair from unravelling the moment you put the garment on.
- 5. Use a simple running stitch or a whipstitch. For small holes, a basic running stitch (up and down through the fabric) works wonders. If you’re dealing with a seam that has come undone, use a whipstitch to loop the edges together. Keep your stitches small and close together—it might take an extra minute, but it looks much more professional and stays put longer.
- 6. Tighten as you go, but don’t pull too hard. You want the fabric to sit flat, not pucker or bunch up like an accordion. If you see the fabric starting to gather awkwardly, loosen your tension slightly. The goal is for the mend to be functional and strong, not to turn your shirt into a piece of textured art.
- 7. Secure the end and trim. Once you’ve reached the other side of the tear, take a tiny stitch through the fabric and the thread, then pull it tight to create a knot. To make sure it stays, I like to do a quick “backstitch”—essentially sewing backward over your last two stitches—before cutting the thread. Snip the excess, and you’re done.
The Only Sewing Kit Essentials You Actually Need
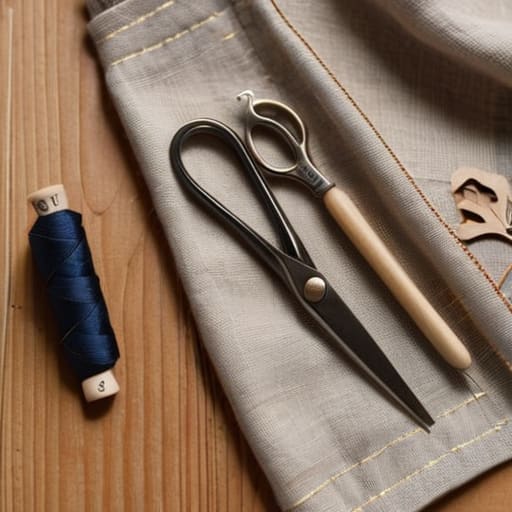
Look, you don’t need to go out and buy one of those massive, velvet-lined sewing chests that takes up half your linen closet. Honestly, most of those pre-packaged sets are filled with junk you’ll never touch. To get started with hand sewing basics, I keep it lean. All you really need is a decent pair of small embroidery scissors, a handful of versatile needles, and a small assortment of high-quality thread in neutral tones like black, navy, and grey. If you have those, you’re already ahead of the game.
I also swear by a small pack of safety pins and a few sturdy buttons. If you’re looking to get a bit more serious—maybe you’re tackling a darning socks tutorial or trying to stabilize a thinning elbow patch—grab a thimble and some embroidery floss. The floss is a lifesaver for adding texture when you’re patching denim holes, making the repair look intentional rather than accidental. Keep these few sewing kit essentials in a small, zippered pouch that fits easily in a drawer. It’s about having the right tools on hand without the clutter.
Mastering Hand Sewing Basics for Quick Fixes
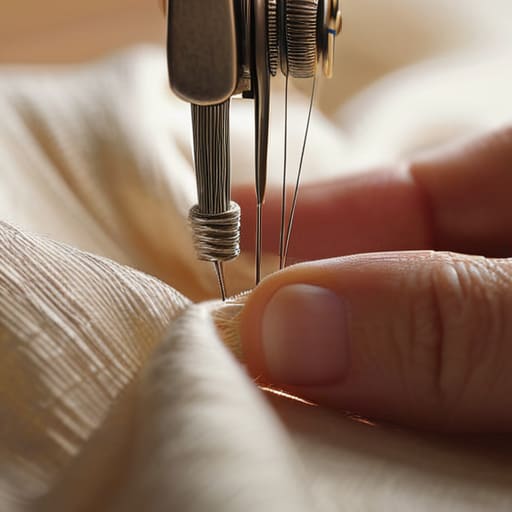
Once you’ve got your kit ready, the real magic happens when you actually sit down with a needle and thread. I used to think you needed a fancy machine to make anything look professional, but honestly, mastering a few hand sewing basics is often faster and much more precise for those tiny, annoying repairs. When I’m working on a delicate silk blouse or a thin cotton shirt, I focus on keeping my tension even. If you pull the thread too tight, you’ll end up with puckered fabric that looks more like a mistake than a fix.
For more substantial damage, like those pesky holes in your favorite jeans, I recommend looking into patching denim holes from the inside. It keeps the repair looking intentional rather than messy. If you’re dealing with something more structural, like a thinning heel in a wool pair, a simple darning technique works wonders to reinforce the area without adding bulk. The trick is to work in small, consistent increments. Don’t rush it; treat it like a little moment of mindfulness rather than another chore on your to-do list.
Five Pro-Tips to Keep Your Mending Looking Professional
- Match your thread to the fabric, not the needle. I’ve learned the hard way that if the thread color is even slightly off, it stands out like a sore thumb. Grab a few shades of navy, black, and grey to cover most bases.
- Don’t overdo the tension. If you pull your stitches too tight, the fabric will pucker and look wonky. Keep it loose enough to move naturally with your body, but tight enough to hold the seam.
- Always knot your thread twice. It sounds overkill, but nothing is more frustrating than spending ten minutes on a repair only for it to unravel the second you put the garment on.
- Use a needle that fits the weight of the cloth. Using a heavy denim needle on a delicate silk blouse is a recipe for disaster. Check the fabric weight before you start so you don’t leave permanent holes.
- Embrace the “invisible” stitch for seams, but don’t be afraid of decorative mending for holes. If a patch is going to be visible, make it look intentional—like a little bit of embroidery—rather than a rushed attempt to hide a mistake.
## A Shift in Perspective
“Mending isn’t about being a master seamstress; it’s about reclaiming your stuff from the landfill and realizing that a little bit of thread can save a lot of frustration.”
Elena Vance
Making It Last
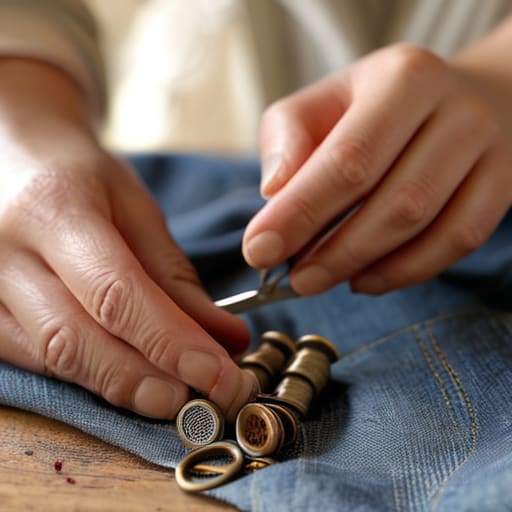
At the end of the day, mending isn’t about becoming a master tailor or spending hours hunched over a sewing machine. It’s really just about having the right tools on hand—like that small, curated kit we talked about—and knowing a few essential stitches to handle life’s little accidents. Whether you’re securing a loose button, patching a small tear, or reinforcing a seam that’s seen better days, the goal is simply to stop the damage before it turns into a reason to throw something away. Once you get the hang of these basics, you’ll realize that most wardrobe mishaps are actually completely manageable with just a little bit of patience and the right approach.
I know it can feel a bit daunting to pick up a needle when you haven’t done it since high school home ec, but I promise you can do this. Every time you choose to fix a garment instead of replacing it, you’re making a conscious decision to live more intentionally and reduce the clutter in your life. There is a quiet, immense satisfaction that comes from looking at a piece of clothing and knowing you gave it a second life. So, don’t let a tiny hole hold you hostage; grab your kit, take a breath, and just start small. You’ve got this.


I believe that a well-run home shouldn't require a PhD or a massive budget. My goal is to strip away the complexity so you can focus on actually living in your space. Let's keep things practical, efficient, and genuinely useful.
View All Articles