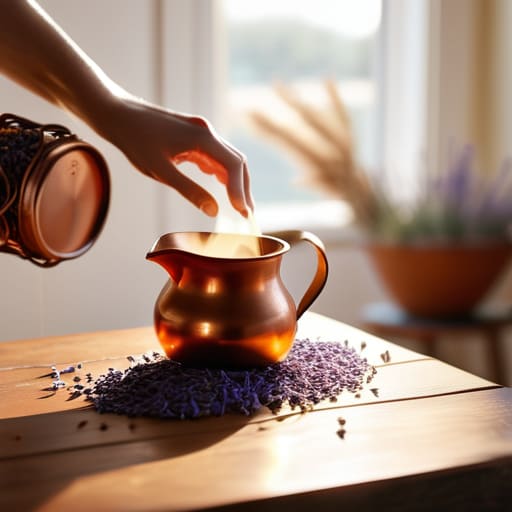

I used to stare at those massive, expensive candle-making kits online and think, “There is no way I’m turning my kitchen into a chemistry lab for this.” Most of the tutorials out there make it seem like you need a thermometer for every single degree and a mountain of specialized equipment just to get a decent scent throw. But here’s the truth: you don’t need a degree in fragrance science to learn how to make candles that actually smell good and burn clean. I learned that the hard way after a particularly messy attempt involving far too many “essential” gadgets and a very singed countertop, but once I stripped away the fluff, I found the real rhythm of the process.
In this guide, I’m skipping the complicated jargon and the high-priced fluff. I’m going to show you a streamlined, practical way to craft beautiful candles using basic supplies you likely already have or can grab at a local shop without breaking the bank. We’ll focus on the essential steps—from choosing the right wax to mastering the pour—so you can create a cozy atmosphere in your own home without the stress. Let’s get to work.
Guide Overview
Tools & Supplies
- Double boiler or heat-proof bowl for melting wax
- Thermometer to monitor wax temperature
- Pouring pitcher for controlled pouring
- Digital scale for precise measurements
- Soy or paraffin wax (1-2 lbs)
- Candle wicks with metal bases
- Fragrance oils (1 oz)
- Candle jars or tins (set of 4-6)
- Wick centering tools or clothespins
Step-by-Step Instructions
- 1. First things first, let’s get your workspace ready. You don’t need a dedicated studio, but you do need a flat surface that you aren’t precious about—wax spills happen. Grab a few old newspapers or a cheap silicone mat to protect your table, and gather your supplies: soy wax flakes, wicks, some glass jars (thrifted ones work beautifully), and a thermometer. I always keep a dedicated pouring pitcher nearby so I’m not scrubbing wax out of my favorite coffee mug later.
- 2. Once you’re set up, it’s time to melt the wax. Use a double boiler method to keep things safe; if you don’t have one, just place a heat-proof glass bowl over a pot of simmering water. Slowly heat your wax flakes, and don’t rush this part. Use your thermometer to keep an eye on the temperature. If you go too hot too fast, you risk ruining the texture of the wax, and we want a smooth finish, not a cracked mess.
- 3. While the wax is melting, prep your containers. This is the part people usually skip, but it’s the secret to a professional look. Take your wick and use a tiny bit of melted wax or a glue dot to secure the metal base to the bottom center of your jar. To keep the wick from leaning or sliding while the wax sets, I use a simple clothespin or even a popsicle stick with a hole in it to hold it perfectly upright.
- 4. Now, let’s talk scent. Once your wax has reached the temperature recommended on your specific wax bag (usually around 185°F for soy), take it off the heat and add your essential oils or fragrance oils. Give it a gentle, steady stir for about two minutes. It might feel like overkill, but thorough mixing ensures that every single inch of that candle actually smells good when you finally light it.
- 5. This is the most satisfying part: the pour. Slowly pour the liquid wax into your prepared jars. Leave about half an inch of space at the top so you don’t have a massive overflow. Try to pour as steadily as possible to avoid creating air bubbles. If you see a few, don’t panic—you can usually smooth them out with a hairdryer later, but a steady hand makes the job much easier.
- 6. Now comes the hardest part for someone like me: waiting. Set your candles on a level surface in a room without any heavy drafts. You want them to cool down slowly and naturally. If they cool too fast, they might sink or develop “wet spots” against the glass. Let them sit undisturbed for at least 24 hours. I usually find that patience pays off when the wax settles into a perfectly flat, creamy surface.
- 7. Finally, it’s time for the trim. Once the wax is completely solid and cool to the touch, grab a pair of scissors and snip the wick so it sits about a quarter-inch above the wax. Don’t leave it too long, or you’ll get a massive, smoky flame that’s hard to control. Now, grab your notebook, jot down what scents you used, and get ready to enjoy the glow of something you made with your own two hands.
Smart Shopping Essential Soy Wax Candle Making Supplies
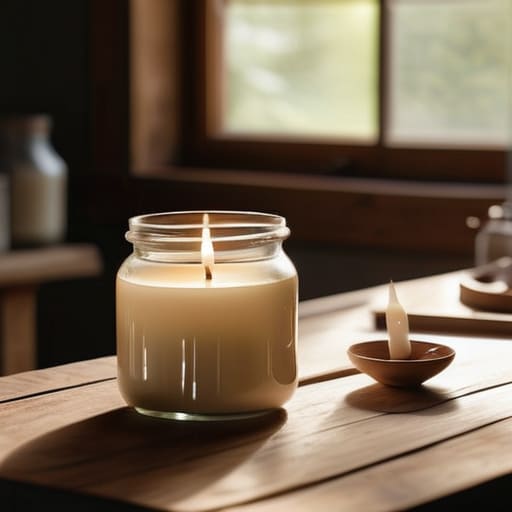
When you’re first starting out, it’s incredibly tempting to dive headfirst into those massive, glittery “all-in-one” kits you see online. Trust me, I’ve been there, and most of the time, you’re paying for a lot of filler you’ll never actually use. Instead, I recommend focusing on high-quality natural candle making materials that actually perform. Start with a solid block of soy wax; it’s forgiving, burns cleanly, and is much easier to work with than paraffin if you’re just learning the ropes.
Don’t go overboard on the scents, either. If you want that calming, spa-like vibe without the headache, stick to pure essential oils for scented candles rather than synthetic fragrances that can feel a bit overwhelming in a small room. Also, pay close attention to your wicks. Choosing the best wick types for candles based on the diameter of your jar is the difference between a beautiful, even burn and a candle that tunnels straight down the middle. Keep your initial shopping list lean, functional, and focused on quality over quantity.
Mastering the Pour a Simple Candle Pouring Temperature Guide
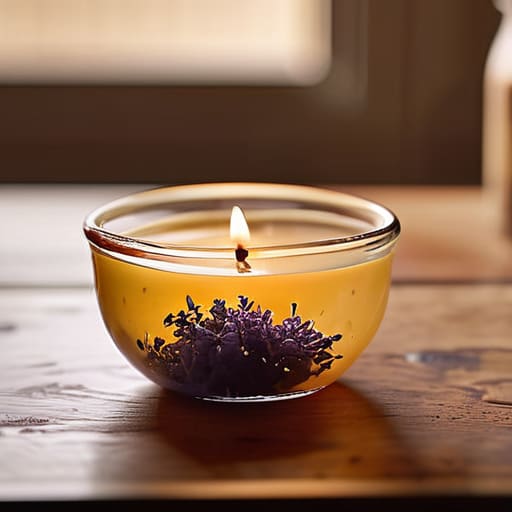
This is usually where people start to get a little nervous, but I promise, it’s much more about intuition than math. If you’ve been following my guide on candle making for beginners, you know I’m all about stripping away the unnecessary stress. The secret isn’t a fancy thermometer—though they do help—it’s about watching how the wax behaves. If you pour while the wax is too hot, you might end up with “wet spots” where the wax pulls away from the glass, leaving those unsightly gaps. On the flip side, if you wait too long and it starts to look cloudy or thick, you’ll likely see unattractive sinkholes around your wick.
I’ve found that for most soy waxes, aiming for a pour temperature between 135°F and 145°F is the sweet spot. If you’re adding essential oils for scented candles, this is also the critical moment to stir them in gently but thoroughly before the temperature drops too low. You want that scent to bind perfectly with the wax so it actually throws a lovely aroma when lit. Just take a breath, watch the consistency, and trust your eyes. It’s all part of the process.
Pro Tips to Keep Your Candle Making Stress-Free
- Don’t go overboard with the fragrance. It’s tempting to pour in half a bottle to make it smell like a dream, but too much oil can actually mess with the burn and make your candle “sweat” unappealingly. Stick to the recommended percentages.
- Patience is your best friend during the cooling phase. I know it’s hard to wait, but if you move the candles or try to wick them too early, you might end up with surface cracks or an uneven top. Let them sit undisturbed.
- Test your wicks before you commit. Not every wick works with every wax type or jar size. I always burn a test candle from a small batch first to make sure it doesn’t tunnel or create a flame that’s way too aggressive.
- Keep a clean workspace. Wax spills are a nightmare to clean once they harden, so lay down some newspaper or a silicone mat. A tidy station means you won’t be spending your whole evening scrubbing melted soy off your counter.
- Use a thermometer, even if you think you have a “feel” for it. Temperature is everything in candle making. Relying on guesswork is how you end up with wasted wax and disappointing results, so just grab a cheap kitchen thermometer and trust the numbers.
## The Heart of the Process
“At the end of the day, candle making isn’t about achieving some flawless, factory-made perfection; it’s about the quiet satisfaction of creating something functional and beautiful with your own two hands.”
Elena Vance
Bringing It All Together
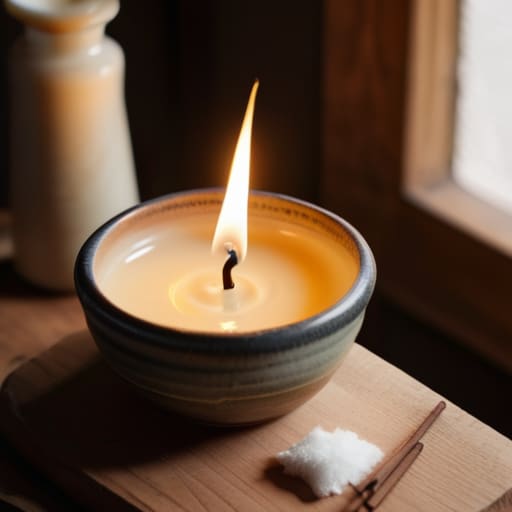
At the end of the day, making your own candles doesn’t have to be some high-stakes chemistry experiment. We’ve covered the essentials: grabbing quality soy wax, getting your supplies sorted without breaking the bank, and hitting that crucial pouring temperature to ensure a smooth finish. It’s really just about finding a rhythm that works for you. If your first batch has a few little imperfections or the wick isn’t perfectly centered, don’t sweat it. That’s just part of the process, and it certainly doesn’t mean you’ve failed. The goal was to simplify the craft, and I think you’ve already done the hardest part by just getting started.
Once you light that first candle and see the glow reflecting off your walls, you’ll realize why this is so much more rewarding than grabbing a generic jar from a big-box store. You aren’t just making a scent; you’re creating a bit of intentionality in your home. My advice? Don’t get caught up in trying to make them “perfect” for social media. Instead, focus on how they make your space feel. Use these skills to build a home that smells like you and moves at your pace. You’ve got the tools and the knowledge now—so go ahead and make something beautiful.


I believe that a well-run home shouldn't require a PhD or a massive budget. My goal is to strip away the complexity so you can focus on actually living in your space. Let's keep things practical, efficient, and genuinely useful.
View All Articles