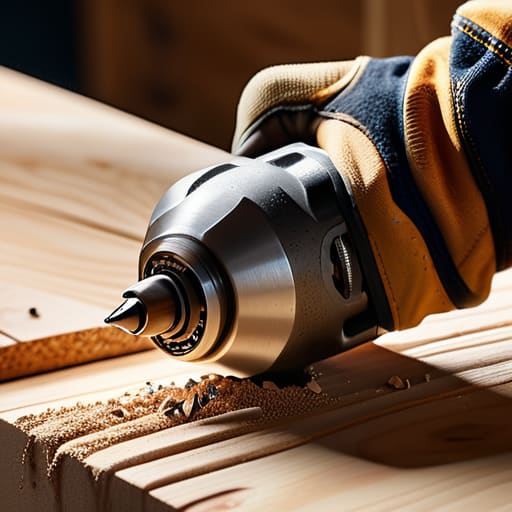

I was standing in my hallway last Tuesday, staring at a beautiful, vintage walnut credenza I’d just rescued, feeling completely defeated because I couldn’t figure out how to use a drill to attach the new legs without splitting the wood. I had all the fancy tools laid out, but I was paralyzed by the fear of making a permanent, expensive mistake. Most people think you need a workshop full of specialized gear and a degree in engineering to tackle basic home repairs, but that’s just not true. In reality, you only need a bit of confidence and a few fundamental techniques to stop feeling intimidated by your own toolbox.
In this guide, I’m stripping away the technical jargon and the overwhelming manuals to give you the actual, hands-on basics. I’ll walk you through selecting the right bits, controlling the pressure, and avoiding those common rookie blunders that turn a quick fix into a disaster. My goal is to help you master the essentials so you can move through your home projects with total efficiency and zero stress. Let’s get you comfortable with that power tool so you can get back to actually enjoying your space.
Guide Overview
Tools & Supplies
- Power drill (Cordless or corded)
- Drill bits (Set matching material type)
- Workpiece (Wood, metal, or plastic)
- Safety glasses (1 pair)
Step-by-Step Instructions
- 1. First things first, you need to pick the right bit. I know it can feel a bit overwhelming when you’re staring at that massive wall of tiny metal pieces, but it’s actually pretty logical. If you’re drilling into wood, grab a standard wood bit; if you’re hitting a wall, you’ll want a masonry bit. Just remember, using the wrong bit is the fastest way to ruin your project (and your mood).
- 2. Once you’ve got your bit, it’s time to get it into the drill. Most modern drills have a “keyless chuck,” which means you just twist the front part of the drill by hand to open the jaws. Slide your bit in there, making sure it’s centered, and then twist it tight until it won’t budge. If it feels loose, it’s going to wobble, and nobody wants a crooked hole.
- 3. Before you even touch the trigger, mark your spot. I always keep a small pencil handy for this. Don’t just eyeball it; draw a tiny “X” or a little dot exactly where you want the hole to go. If you want to be extra precise, you can use a nail to make a tiny indentation first, which helps the bit stay on track instead of skidding across your surface.
- 4. Get a firm grip and find your stance. Hold the drill with both hands if you can—one on the handle and one on the back or the side grip. You want to feel grounded and steady. If you’re drilling into a wall, make sure your body is positioned so you aren’t leaning directly into the path of the bit, just in case it slips.
- 5. Now, the actual drilling. Place the tip of the bit against your mark and apply a gentle, even pressure. You don’t need to muscle it; let the tool do the heavy lifting. Start slow with a light squeeze on the trigger to get the hole started, then gradually increase the speed once you feel the bit has “bitten” into the material.
- 6. Once you’re through, don’t just yank the drill away. Slowly ease off the trigger to stop the rotation before you pull the bit out of the hole. This prevents the bit from catching on the edge of the material and leaving a jagged, messy exit wound.
- 7. Finally, take a quick second to check your work. If there’s any dust or debris, just wipe it away with a cloth. If the hole looks good, you’re all set to move on to the next step of your project. Keep it simple, and don’t be afraid to take a breather if you feel yourself getting frustrated.
Choosing Your Tool Cordless vs Corded Drill Realities
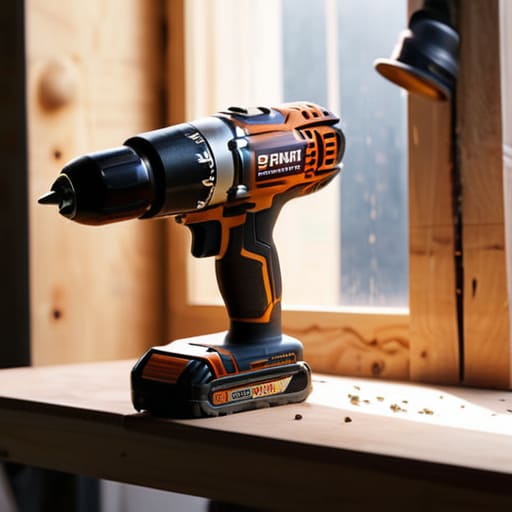
Now, before you go grabbing whatever is sitting in the garage, let’s talk about the big debate: cordless vs corded drill. If you’re like me and tend to jump from one project to another—say, fixing a loose cabinet hinge one minute and then moving to the patio the next—cordless is going to be your best friend. The freedom to move around without tripping over a heavy-duty extension cord is a total game-changer for staying focused. However, if you’re planning a massive weekend project that involves heavy-duty drilling into wood and metal all day long, a corded model offers that consistent, unrelenting power that batteries sometimes struggle to maintain once they start running low.
Honestly, though, for most of the small repairs and furniture restorations I tackle, a decent cordless drill is more than enough. My only real advice is to invest in a mid-range model with a decent battery life so you aren’t stuck halfway through a task waiting for a charge. Just remember that power isn’t everything; knowing how to manage your tool is what actually gets the job done without making a mess.
Mastering the Basics Proper Drill Grip and Stance
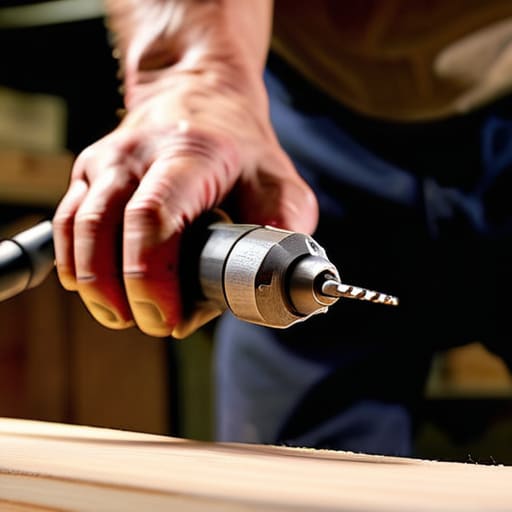
Before you even pull the trigger, let’s talk about how you actually hold the thing. It sounds simple, but your body position makes all the difference between a clean hole and a slipped bit that scuffs your project. I like to stand with my feet shoulder-width apart, creating a solid base. When it comes to proper drill grip and stance, you want to wrap your dominant hand firmly around the handle while using your other hand to steady the back of the drill. This gives you much better control, especially if you’re drilling into wood and metal where the resistance can change in a split second.
Think of your body as a stabilizer. If you’re leaning too far back or standing on one leg, you’re going to lose that precision. Keep your elbow tucked in close to your side to help manage the kickback. It’s all about minimizing the wobble. If you feel the drill start to fight you, don’t just squeeze harder—adjust your stance and reset. Taking that extra second to get comfortable ensures you aren’t fighting the tool, but working with it.
Five Pro Tips to Keep Your Project (and Yourself) on Track
- Mark your spot twice, drill once. Use a pencil to mark exactly where you want the hole, then use a nail or a center punch to make a tiny indentation. It prevents the drill bit from skating across your surface and ruining your hard work.
- Don’t fight the machine. Let the drill do the heavy lifting. If you find yourself leaning your entire body weight into it just to make progress, you’re likely using the wrong bit or pushing too hard. A steady, consistent pressure is much more effective.
- Mind the “kickback.” If your bit catches on a knot in the wood or hits a metal stud, the drill might jerk in your hands. Keep a firm, two-handed grip whenever possible so a little snag doesn’t turn into a bruised wrist.
- Watch your depth. There is nothing more frustrating than drilling a hole deeper than you intended. If you’re working on something precise, wrap a piece of painter’s tape around your drill bit at the desired depth—it acts as a built-in visual guide.
- Clean up as you go. Sawdust and wood chips can get stuck in the drill’s chuck or make your workspace slippery. A quick wipe down or a blast of compressed air keeps your tool running smoothly and your project area manageable.
My Golden Rule for DIY
“A drill isn’t a magic wand that solves everything; it’s just a tool. If you respect the bit, steady your hand, and don’t rush the process, you’ll find that even the most intimidating projects start to feel a lot more manageable.”
Elena Vance
Getting It Done
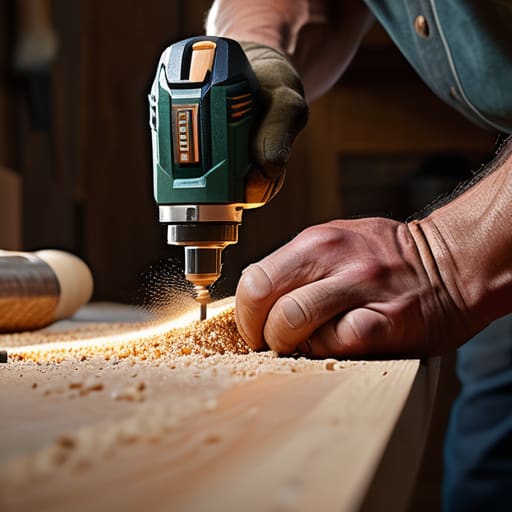
At the end of the day, using a drill is really just about combining the right gear with a bit of steady intention. We’ve covered the essentials: picking between the freedom of cordless or the raw power of corded, getting your grip and stance dialed in, and making sure you aren’t fighting your materials. Remember, the most important part isn’t having the most expensive toolset in the shed; it’s about understanding the basics so you can work with confidence rather than hesitation. Once you stop worrying about the mechanics and start focusing on the task, the tool becomes an extension of your hands rather than a source of stress.
I know that staring down a power tool can feel a little intimidating if you didn’t grow up with a toolbox in your hand, but I promise you can do this. Don’t let the fear of making a mistake stop you from starting that project you’ve been eyeing for months. Whether you’re hanging a heavy mirror or finally tackling that mid-century sideboard restoration, just take it one hole at a time. The goal isn’t perfection; it’s functional progress. So, grab your gear, keep your workspace clear, and go make something happen. You’ve totally got this.


I believe that a well-run home shouldn't require a PhD or a massive budget. My goal is to strip away the complexity so you can focus on actually living in your space. Let's keep things practical, efficient, and genuinely useful.
View All Articles