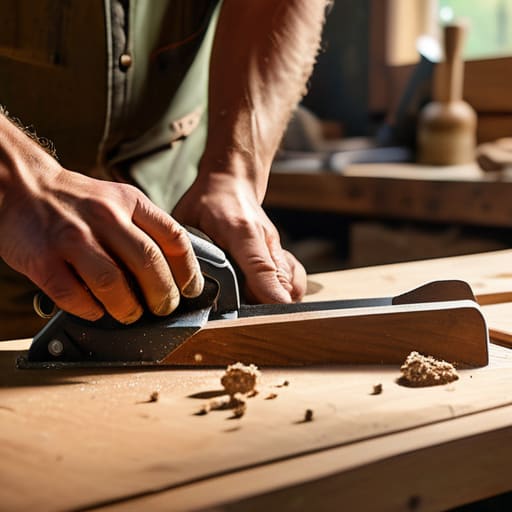

I was staring at a pile of particle board and a set of instructions that looked more like a calculus textbook than a guide for a simple piece of furniture. It’s a common lie in the DIY world: that you need a massive workshop and a degree in carpentry just to figure out how to build a desk that doesn’t wobble every time you type. My dad, who could fix just about anything with a screwdriver and some grit, always told me that the fanciest tools don’t make the craftsman—it’s just about knowing where to start.
I’m not here to sell you on some complicated, expensive woodworking hobby that eats up your entire weekend. Instead, I’m going to show you how to piece together a sturdy, beautiful workspace using basic materials and a few smart shortcuts. We’re going to focus on a design that is actually functional for a busy home office without requiring you to spend a fortune at the lumber yard. By the time we’re done, you’ll have a custom desk that fits your space perfectly and, more importantly, won’t break the bank or your spirit.
Guide Overview
Tools & Supplies
- Drill/Driver for assembly and pilot holes
- Measuring Tape for precise dimensions
- Sandpaper for smoothing surfaces
- Level to ensure a flat workspace
- Wood Desktop (1)
- Table Legs (4)
- Wood Screws (1 pack)
- Wood Glue (1 bottle)
Step-by-Step Instructions
- 1. First things first, you need to pick your surface. Since I’m not a fan of spending a fortune on custom-cut hardwood, I usually go for a solid wood butcher block or even a thick piece of plywood from the local hardware store. Once you have your top, grab a tape measure and a pencil to mark your placement for the legs. I like to leave about an inch of overhang on all sides so it doesn’t look clunky, but don’t sweat the small stuff too much—it just needs to be even.
- 2. Now, let’s talk legs. You can get fancy with hand-turned wooden legs, but if you want to save your sanity (and your budget), I highly recommend buying some pre-made metal hairpin legs or sturdy trestle legs online. Once they arrive, flip your desktop upside down on a soft surface—like a rug or a towel—so you don’t scratch the finish. Line the legs up with your marks and use a carpenter’s square to make sure they are perfectly perpendicular to the edge.
- 3. Before you start driving screws into your beautiful new wood, do a quick “dry fit.” Place the legs where they belong and look at them from different angles to ensure everything looks visually balanced. If you’re using a butcher block, make sure you aren’t placing a screw too close to the edge, or you might split the wood. Once you’re happy with the placement, it’s time to pre-drill your pilot holes. This is a non-negotiable step if you want to avoid any nasty cracks.
- 4. Grab your drill and start securing those legs. I usually use wood screws that are just a bit shorter than the thickness of my desktop—you don’t want a screw tip poking through the top where your coffee mug sits! Drive them in slowly and steadily. If you feel the drill start to struggle, back off and try again rather than forcing it. You want those legs to feel rock-solid when you eventually flip the desk over.
- 5. Once the legs are tight, flip the desk back onto its feet. Give it a little shake to make sure there isn’t any wobbling. If one leg is slightly off, don’t panic; you can usually fix this by adding a small felt pad or a bit of shim under the offending leg. It’s much easier to level a desk now than it is to try and fix a shaky workspace once you’ve already set up your computer and lamp.
- 6. The final step is the part that actually makes it feel like a piece of furniture: the finish. If you used raw wood, give it a quick sand with a medium-grit sandpaper to smooth out any rough patches. I’m a big fan of a simple matte polyurethane or a natural wax—it protects the wood without making it look like it’s coated in plastic. Wipe away the dust with a damp cloth, let it dry, and you’re officially done. No PhD required.
Smart Custom Desk Design Ideas for Small Spaces
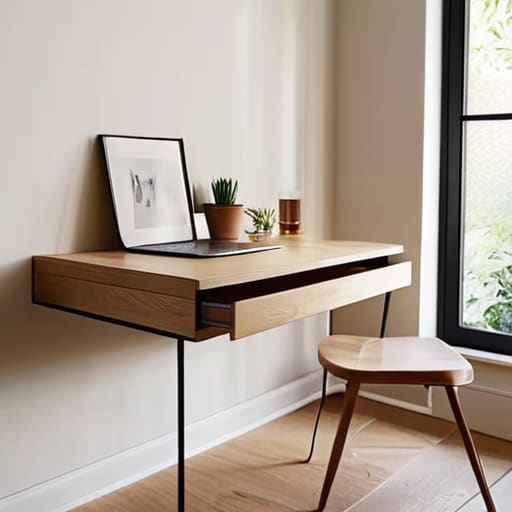
If you’re working with a tight corner or a narrow hallway, don’t let the lack of square footage stop you. One of my favorite custom desk design ideas for small apartments is the “floating” concept. Instead of a heavy base that eats up floor space, you can mount a sturdy tabletop directly to the wall using heavy-duty brackets. It keeps the area underneath clear for a small rolling bin or your feet, making the room feel much less cramped.
Another way to maximize a tiny footprint is to think vertically. If you’re building a computer workstation in a nook, consider adding a shelf directly above the desktop for your printer or books. This keeps your primary workspace clear of clutter, which is a lifesaver for my focus. Just make sure your support structure is solid; I always tell people that stability is more important than aesthetics when you’re working in tight quarters. Whether you go with a wall-mounted setup or a slim-profile frame, the goal is to make the piece work for your specific corner, not the other way around.
The Essential Desk Assembly Materials List You Actually Need
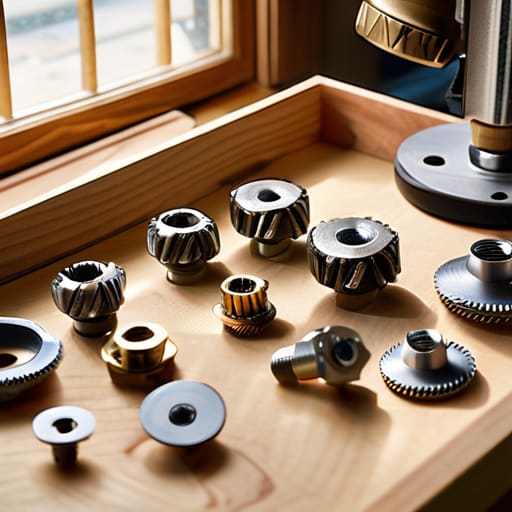
Look, I’ve seen too many people get halfway through a project only to realize they’re missing a specific screw or a piece of sandpaper. It’s frustrating and, frankly, a waste of your time. When you’re putting together your desk assembly materials list, my rule of thumb is to buy about 10% more hardware than you think you’ll need. You don’t want to be driving back to the hardware store mid-project just because a single washer went rogue.
If you’re tackling this as one of your first easy woodworking projects for home office use, don’t feel like you need to invest in a professional workshop. You really just need the basics: a reliable drill, a level, and some quality wood glue. I always keep my multi-tool handy for those little adjustments that a heavy power tool just can’t handle. Focus on the quality of your fasteners and your tabletop surface; those are the two things that will actually determine if your new setup feels sturdy or like a wobbly afterthought.
A Few Pro-Tips to Save Your Sanity (and Your Back)
- Don’t skip the sanding phase. I know, it’s tedious, but if you don’t sand the wood smooth before you start assembly, you’ll be fighting splinters and uneven finishes for the rest of the project.
- Measure twice, cut once, and then measure a third time. It sounds like a cliché for a reason—there is nothing more frustrating than realizing you’re off by a quarter-inch after you’ve already made the cut.
- Invest in a decent drill, not the cheapest one you can find. A weak drill will just make you work harder and leave you feeling more frustrated than accomplished.
- Check your level constantly. Even if your floor looks flat, it probably isn’t. Using a level during assembly ensures your coffee doesn’t slide right off the edge of your hard work.
- Leave yourself some breathing room. If a piece isn’t fitting quite right, walk away for ten minutes. Most DIY mistakes happen when you’re trying to force something that just isn’t cooperating.
## A Final Thought on the Process
“At the end of the day, your desk doesn’t need to be a museum piece or a feat of engineering; it just needs to be a solid, reliable place where you can actually get things done without the clutter getting in your way.”
Elena Vance
Final Thoughts Before You Get To Work
At the end of the day, building your own desk isn’t about achieving some kind of woodworking perfection or having a workshop full of expensive machinery. It’s really just about gathering the right materials, following a logical plan, and making decisions that work for your specific space. Whether you went with a minimalist floating design to save floor space or a heavy-duty setup for a multi-monitor workstation, you’ve successfully taken a complex project and broken it down into something manageable. You’ve got your measurements, you’ve got your tools, and most importantly, you have a functional piece of furniture that actually fits your life rather than forcing your life to fit around a pre-made desk.
I know that starting a DIY project can feel a little daunting when you’re staring at a pile of raw wood or a long list of hardware, but I promise the payoff is worth the initial mental hurdle. There is something incredibly grounding about sitting down at a surface that you built with your own two hands. It turns a house into a home and a workspace into a sanctuary of productivity. So, take a breath, clear off your workspace, and just start with that first measurement. You’ve totally got this, and I can’t wait to see how your new setup turns out.


I believe that a well-run home shouldn't require a PhD or a massive budget. My goal is to strip away the complexity so you can focus on actually living in your space. Let's keep things practical, efficient, and genuinely useful.
View All Articles