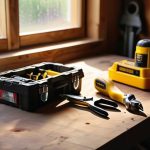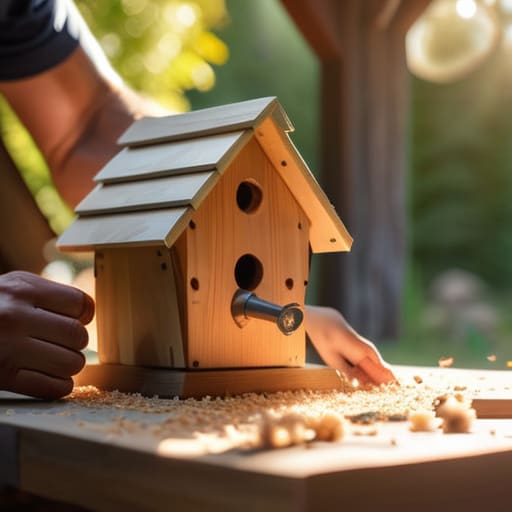

I was standing in my garage last weekend, staring at a pile of cedar scraps and a set of overly complicated blueprints I’d found online, feeling that familiar wave of overwhelm. Most guides make you feel like you need a professional-grade workshop and a degree in carpentry just to get started, but here is the truth: you don’t. Learning how to build a birdhouse shouldn’t feel like a high-stakes construction project; it should be a relaxing way to spend a Saturday afternoon. I’ve spent years restoring old furniture, and if there is one thing I’ve learned, it’s that simplicity always wins when you’re working with your hands.
In this guide, I’m stripping away the technical jargon and the expensive, unnecessary gadgets. I’ll walk you through a straightforward, functional design that uses basic tools you likely already have tucked away in a kitchen drawer or a junk closet. My goal is to show you how to create a sturdy, charming little home for your backyard visitors without the unnecessary headache. We’re going to keep this project practical, efficient, and—most importantly—actually fun.
Guide Overview
Tools & Supplies
- Handsaw or miter saw for cutting wood pieces
- Hammer for assembling the structure
- Drill with various bits for entrance holes and pilot holes
- Measuring tape for precise dimensions
- Sandpaper to smooth rough edges
- Untreated cedar or pine board (approx. 1x6x4 feet)
- Galvanized nails or exterior screws (small box)
- Wood glue (waterproof)
- Eye hooks for hanging (2 units)
Step-by-Step Instructions
- 1. First things first, let’s talk about your materials. You don’t need anything fancy here—just a single piece of untreated cedar or pine about 1×6 inches wide and roughly five feet long. Avoid anything treated with chemicals, because we don’t want to poison the birds we’re trying to welcome. Grab a saw, some exterior-grade wood glue, and a box of 1.5-inch galvanized nails.
- 2. Now, let’s get to the cutting. You’ll need to measure and cut your wood into six specific pieces: a base, a roof, a back, a front, and two sides. I usually find it easiest to mark everything out with a pencil first to avoid any costly measurement mistakes. If your lines aren’t perfectly straight, don’t sweat it too much; the birds won’t care about your craftsmanship as long as the house is sturdy.
- 3. Once you have your pieces, it’s time to prep the front panel. You’ll need to drill an entrance hole, but the size matters immensely depending on who you want moving in. For most common backyard birds, a 1.5-inch hole is the sweet spot. Use a spade bit if you have one, and just take your time so you don’t splinter the wood.
- 4. Time to start the assembly. Apply a thin bead of wood glue to the edges of your side pieces and press them against the back panel. Secure them with your nails, then attach the floor. I always recommend drilling a few small drainage holes in the bottom piece just in case rain gets in; a dry house is a happy house.
- 5. Next, attach the front panel to the sides. If you want to make cleaning easier in the future—and trust me, you will—only nail the front panel at the top. This allows you to pivot the front up like a door so you can clear out old nesting material once a year without tearing the whole thing apart.
- 6. Finally, attach the roof. Make sure it has a slight overhang in the front to act as a little porch; this keeps the rain from splashing directly into the entrance hole. Once the roof is nailed down tight, give the whole thing a quick sand to get rid of any rough edges that might snag a bird’s wing.
- 7. Now that it’s built, find a spot to hang it. Look for a place that’s about five to ten feet off the ground, ideally in a spot that isn’t constantly blasted by direct sunlight or heavy wind. Mount it to a post or a tree, and then you can just sit back with a coffee and wait for your new neighbors to move in.
Choosing the Best Wood for Birdhouses and Weather Protection
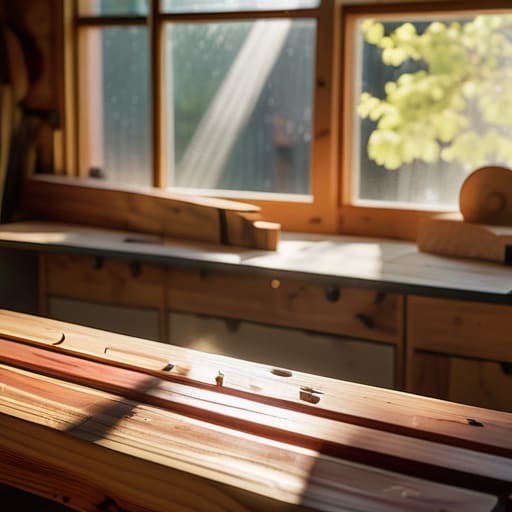
When you’re standing in the lumber aisle, don’t let the overwhelming options paralyze you. You aren’t building a fine dining table here; you need something that can handle the elements without falling apart after one rainy season. In my experience, the best wood for birdhouses is almost always cedar or redwood. They have a natural resistance to rot and insects, which means you won’t have to spend your weekends constantly repairing the structure. Avoid using pressure-treated lumber or anything with heavy chemical stains; we want to keep the environment safe for the birds, not toxic.
Once you’ve picked your wood, think about the finishing touches. While I love a good DIY project, I’m a big believer in keeping things simple to avoid extra work later. If you use cedar, you don’t even need to paint it. If you do decide to add a finish, stick to non-toxic, water-based products on the exterior only. Whatever you do, leave the inside raw. This ensures that protecting birdhouses from weather doesn’t come at the cost of the hatchlings’ health.
Essential Woodworking Tools for Birdhouses and Proper Dimensions
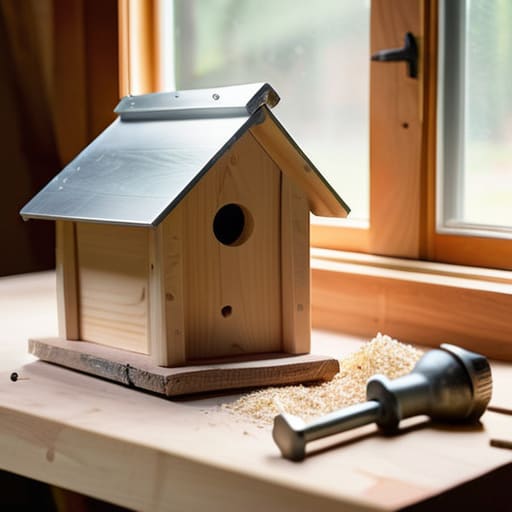
Now, let’s talk gear. You don’t need to go out and buy a professional-grade workshop to get this done. For most of us, a decent hand saw, a hammer, and a handful of galvanized nails are plenty. If you want to make things a little easier, a cordless drill is a lifesaver, especially when you’re attaching a birdhouse roof or drilling out the entrance. I always keep my multi-tool handy for those quick, unexpected adjustments, but for the heavy lifting, just stick to the basics. The goal here is functionality, not a showroom-quality finish.
When it comes to the actual build, precision matters—but don’t overthink it. You need to be mindful of the safe birdhouse entrance hole size depending on who you want moving in. A hole that’s too big might invite unwanted guests like starlings, while one that’s too small will keep the local songbirds away. I usually keep a small cheat sheet in my notebook with different birdhouse dimensions for specific species just so I don’t have to guess. Getting those measurements right is the difference between a hollow box and a real home.
Five Little Details That Make a Big Difference
- Skip the perch. I know it looks cute in the movies, but a little wooden peg outside the hole actually makes it easier for predators like cats or larger birds to hang on and reach the nestlings inside.
- Keep it natural. Avoid using bright, flashy paints on the exterior. You want the birdhouse to blend into the landscape, not look like a neon sign in your backyard.
- Drill some drainage holes. It sounds minor, but if rain manages to splash into the entrance, you’ll want those little holes in the bottom corners so the nest doesn’t turn into a swamp.
- Ventilation is key. Don’t seal the whole thing up airtight. Leaving a tiny gap just under the roof allows heat to escape so the birds don’t bake during a July afternoon.
- Mount it smart. Don’t just nail it to a tree and forget it. Try to mount it on a pole or a sturdy post about five to ten feet off the ground to keep it away from ground predators and out of the heavy wind.
The Heart of the Project
“At the end of the day, don’t get caught up in trying to make it look like a showroom piece; just focus on making it sturdy and safe. A bird doesn’t care if your sanding is perfect, they just care that they have a dry, solid place to call home.”
Elena Vance
Finishing Your Project
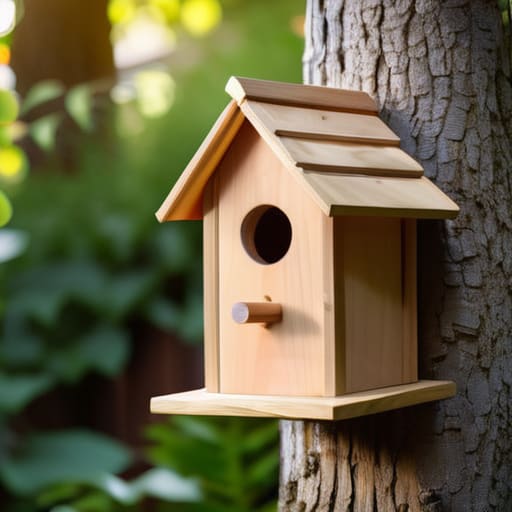
At the end of the day, building a birdhouse isn’t about achieving architectural perfection or owning every gadget in the hardware store. It’s about the fundamentals: picking a weather-resistant wood like cedar, getting your dimensions right so the birds actually feel safe, and using the basic tools you likely already have in your garage. Once you’ve sanded down those rough edges and mounted it in a spot that’s shielded from the worst of the wind, you’ve done the heavy lifting. You’ve taken a few raw materials and turned them into something that serves a real purpose in your backyard.
I know that starting a new DIY project can feel a little daunting when you’re staring at a pile of lumber, but I promise you that the payoff is worth the effort. There is something incredibly grounding about seeing a little creature move into a home you built with your own hands. It reminds us that we don’t need to overcomplicate our lives to make a meaningful impact on the world around us. So, grab your multi-tool, clear off your workspace, and just get started. You’ve got this, and your local birds will definitely thank you for it.


I believe that a well-run home shouldn't require a PhD or a massive budget. My goal is to strip away the complexity so you can focus on actually living in your space. Let's keep things practical, efficient, and genuinely useful.
View All Articles