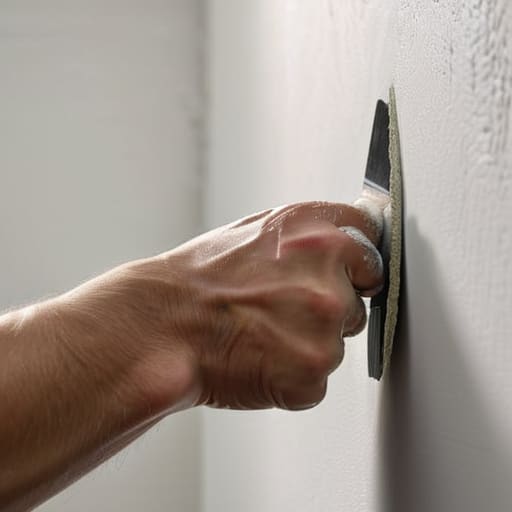

I was halfway through moving a heavy mid-century sideboard into place last Tuesday when I heard that dreaded, hollow thud—the sound of a fresh, jagged dent appearing right in the middle of my living room wall. My first instinct was to sigh and wonder if I needed to call a professional or spend my entire weekend at the hardware store. But here’s the truth: you don’t need a contractor or a massive toolkit to fix a mistake like that. Learning how to patch a hole in the wall is one of those small, empowering skills that makes a house actually feel like your home, rather than a place you’re constantly managing.
I’m not going to bore you with overly technical jargon or suggest you buy a dozen specialized gadgets you’ll never use again. Instead, I’m going to show you the most efficient, low-stress way to get a smooth finish using just a few basic supplies. We’ll walk through the process step-by-step so you can fix the damage quickly and get back to enjoying your space. Whether it’s a tiny nail hole or a larger dent from a rogue piece of furniture, we’re going to make it disappear without the headache.
Guide Overview
Tools & Supplies
- Putty knife for applying compound
- Sandpaper for smoothing surfaces
- Spackle knife for small repairs
- Sponge for cleaning dust
- Spackle or joint compound (1 small tub)
- Adhesive wall patch or mesh tape (1 pack)
- Sandpaper (medium and fine grit)
- Interior paint (small sample size)
Step-by-Step Instructions
- 1. First things first, grab your multi-tool or a pair of pliers and clear out the debris. If there are any loose bits of drywall or jagged edges sticking out around the hole, you’ll want to trim them away. I usually take a utility knife and gently scrape the edges so they’re relatively flush with the wall; if you leave those chunky bits, your patch is going to look like a mountain range instead of a smooth surface.
- 2. Next, you need to decide if you’re dealing with a tiny nail hole or something more substantial. For small stuff, a little bit of spackle is all you need, but if it’s a real crater, you’ll want to grab a self-adhesive mesh patch. Center it over the hole and press it firmly into place. It’s a bit like applying a bandage—you just want it to stay put without any air bubbles underneath.
- 3. Now, grab your putty knife and some lightweight joint compound. Start applying the compound over the patch in thin, even layers. Don’t try to be a hero and fill the whole thing in one massive glob; that just leads to more sanding later. Instead, aim for a smooth, sweeping motion that spreads the compound slightly beyond the edges of the hole. You want to feather the edges so the transition from the patch to the wall is almost invisible.
- 4. Once that first layer is on, you have to be patient and let it dry completely. I know, I know—we’re all busy—but trying to work on wet compound is a recipe for a mess. Depending on the humidity in your house, this could take anywhere from thirty minutes to a few hours. I usually check it by lightly touching the center; if it feels firm and cool, you’re good to go.
- 5. If the patch looks a little uneven after drying (and let’s be honest, it usually does), apply a second, even thinner layer of compound. This is the secret to getting that professional, seamless finish. Once this second layer is dry, grab a fine-grit sanding sponge and lightly buff the area. You aren’t trying to sand the wall down, just smooth out the bumps until it feels level under your fingertips.
- 6. Before you even think about touching a paintbrush, take a clean, dry cloth and wipe away the dust. If you leave that fine white powder on the wall, your paint won’t stick properly and you’ll end up with a textured mess. I always keep a small handheld brush or a microfiber cloth handy for this—it’s a five-second job that makes a huge difference in the final result.
- 7. Finally, it’s time to prime and paint. Don’t skip the primer! If you go straight in with color, the patch might soak up the paint differently than the rest of the wall, leaving a “ghost” spot that’s visible in the light. Apply a quick coat of primer, let it dry, and then dab on your paint using a small brush or a mini-roller. Try to mimic the texture of the surrounding wall for the most natural look possible.
The Essential Drywall Patch Kit for Small Holes
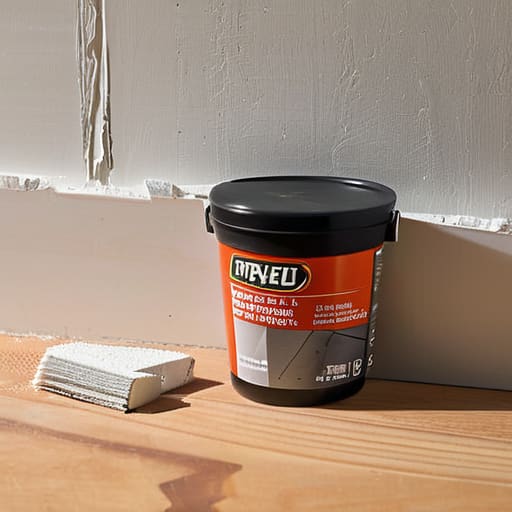
Now, if you’re looking at a tiny puncture or a little nick from moving furniture, don’t go buying a massive tub of joint compound and a professional trowel. You’ll just end up with more mess than you can handle. For these minor annoyances, I always recommend grabbing a dedicated drywall patch kit for small holes. Most of these kits come with everything you need in a manageable size, which saves you from cluttering your utility closet with half-used buckets of mud that eventually dry out and go to waste.
When you’re working with these smaller kits, pay close attention to the spackling compound application. You want to aim for a thin, even layer rather than trying to glob it all on at once. If you overdo it, you’ll spend way too much time trying to sand it down later. If the hole is slightly larger or feels a bit deeper, a bit of wall repair mesh tape can act as a great bridge to keep the patch from sagging. It’s all about building a solid foundation so the final finish looks seamless.
Mastering Spackling Compound Application Without the Mess
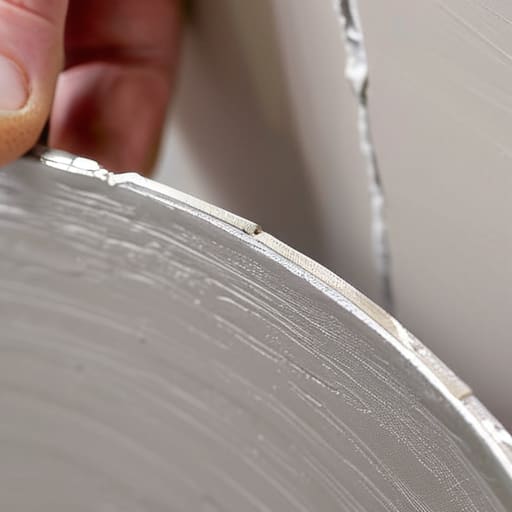
Now, let’s talk about the part that usually makes people hesitate: the actual spackling compound application. I used to dread this step because I’d end up with white goop all over my floor and my favorite sweater. The trick is to work in small, controlled movements. Instead of trying to glob it all on at once, use your putty knife to press the compound firmly into the hole, then swipe across it with a light touch. You aren’t trying to build a mountain; you’re just trying to level the playing field.
If you’re dealing with something a bit deeper, like fixing dents in plaster or larger gouges, don’t try to do it in one single pass. It’s much better to apply a thin layer, let it dry completely, and then add a second one. This prevents that annoying cracking that happens when the center stays wet while the edges harden. Once it’s dry, you’ll need to sand the area smooth to get that seamless finish. I always keep a damp cloth nearby to wipe away the excess dust before it settles into your carpet—it’s a small habit that saves a massive amount of cleanup later.
Pro Tips to Keep Your Sanity (and Your Walls) Intact
- Don’t be a hero with the putty knife—if you’re filling a larger gap, apply the compound in thin, manageable layers rather than trying to shove it all in at once. It’ll dry faster and save you a massive sanding headache later.
- Sanding is where most people lose their patience, so do it in stages. Sand lightly after each layer dries; it’s much easier to fix a tiny imperfection now than to try and level out a mountain of dried spackle tomorrow.
- Keep a damp rag nearby. I’ve learned the hard way that wiping away excess compound from the surrounding paint before it fully cures is a total lifesaver for keeping the edges clean.
- Check your lighting. I always grab my work lamp and shine it across the wall at an angle; it makes the bumps and dips show up immediately so you aren’t flying blind.
- If you’re nervous about the color match, don’t just slap paint on it. Test a tiny bit of your touch-up paint on an inconspicuous area first—nothing ruins a “quick fix” like a bright white patch on a matte eggshell wall.
My Philosophy on Home Repairs
A little hole in the drywall isn’t a crisis; it’s just a tiny bit of maintenance that stands between you and a space that actually feels finished. Don’t let a dented wall make you feel like you don’t belong in your own home—grab a putty knife, take ten minutes, and get back to living.
Elena Vance
You’ve Got This
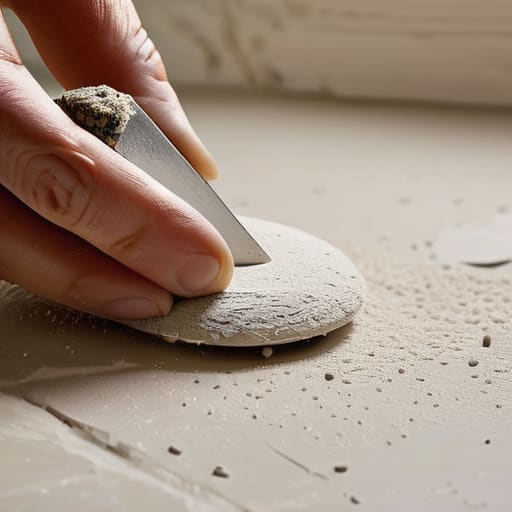
At the end of the day, patching a hole in your wall really boils down to three things: choosing the right kit, applying your spackle with a steady hand, and having the patience to let things dry properly. It’s easy to feel like you need a professional crew to handle even the smallest ding, but once you’ve mastered the basics of sanding and smoothing, you’ll realize it’s a task you can easily tackle yourself. Remember, the goal isn’t perfection on the first pass—it’s about getting the job done so you can move on with your life and stop staring at that annoying blemish every time you walk through the room.
I know that home maintenance can feel like a never-ending list of chores, but there is something incredibly satisfying about fixing something with your own two hands. It turns a house from a place that just “needs work” into a space that you are actively nurturing and maintaining. Don’t let a little bit of drywall dust intimidate you. Every small fix you complete builds your confidence and helps you reclaim your home from the clutter and chaos of constant repairs. Now, go grab that multi-tool, finish that patch, and get back to enjoying your space.


I believe that a well-run home shouldn't require a PhD or a massive budget. My goal is to strip away the complexity so you can focus on actually living in your space. Let's keep things practical, efficient, and genuinely useful.
View All Articles