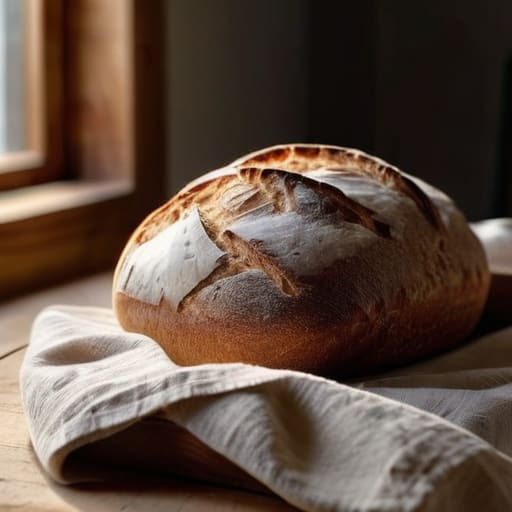

I used to stare at those intimidating, twelve-step sourdough recipes and feel like I needed a chemistry degree just to get a decent crust. I’d see people online using specialized proofing baskets, expensive Dutch ovens, and “artisan” flour that cost more than my lunch, and I’d just walk away from the kitchen entirely. But here’s the truth: you don’t need a mountain of expensive gear or a decade of training to master how to bake bread at home. I learned the hard way that most of those complex instructions are just noise designed to make a simple process feel out of reach.
In this guide, I’m stripping away the fluff and the pretension. I’ll show you how to make a reliable, delicious loaf using basic pantry staples and nothing more than a bit of patience. We’re going to focus on the actual mechanics—the feel of the dough and the timing of the rise—rather than getting lost in technical jargon. My goal is to give you a straightforward, repeatable method that fits into your busy life, so you can stop overthinking and start enjoying the smell of fresh bread filling your kitchen.
Guide Overview
Tools & Supplies
- Large mixing bowl for combining ingredients
- Measuring cups and spoons for precision
- Oven for baking the dough
- Cooling rack to prevent sogginess
- All-purpose or bread flour 500g
- Warm water 350ml
- Active dry yeast 7g
- Salt 10g
- Sugar 15g
Step-by-Step Instructions
- 1. First things first, clear some space on your counter and gather your supplies. You don’t need a professional kitchen; just a large mixing bowl, a sturdy spoon, some measuring cups, and a baking sheet. Grab your flour, yeast, salt, and warm water. I like to keep my ingredients in clear glass jars so I can see exactly how much I have left without digging through the pantry.
- 2. Let’s get the yeast moving. Pour your warm water into the bowl—make sure it’s warm to the touch, not hot, or you’ll kill the yeast—and stir in a pinch of sugar and your yeast packet. Let it sit for about five to ten minutes until it looks a little bit foamy on top. If it doesn’t bubble, don’t panic; it just means your yeast might be a bit old, and you’ll need to start over with a fresh packet.
- 3. Now, add your flour and salt. I usually add the flour a little bit at a time, stirring with a wooden spoon until a shaggy, messy dough forms. It’s going to look a bit unappealing at this stage, but trust the process. You aren’t looking for perfection yet; you’re just looking to get everything incorporated so there are no dry pockets of flour hiding in the mix.
- 4. It’s time to get your hands dirty and start kneading. Turn the dough out onto a lightly floured surface and push it away from you with the heels of your hands, fold it back, turn it slightly, and repeat. This part is actually quite therapeutic if you let it be. You’re looking for the dough to transform from a sticky, lumpy mess into something smooth and elastic. If it keeps sticking to your hands like glue, just sprinkle in a tiny bit more flour.
- 5. Once the dough feels right, lightly grease your bowl with a drop of oil, tuck the dough inside, and cover it with a clean kitchen towel. Now comes the hardest part for me: waiting. Find a warm, draft-free spot in your kitchen and let it rise for about an hour or until it has doubled in size. Use this time to tidy up the flour you spilled or maybe start a quick sketch in my notebook; it’s all about making the most of the downtime.
- 6. After the rise, gently punch the dough down to let the air out—it’s a satisfying little “thwack”—and shape it into a loaf. I usually just tuck the edges under to create a smooth top and place it onto your baking sheet. Let it rest one more time for about 30 minutes. This final rest is crucial for a good rise in the oven, so try to be patient.
- 7. Finally, preheat your oven to 400°F (200°C) and slide your loaf in. Bake it for about 30 to 35 minutes. You’ll know it’s done when the crust is a beautiful golden brown and the loaf sounds hollow when tapped on the bottom. As tempting as it is, let it cool on a rack for at least twenty minutes before slicing. I know, I know—waiting is hard—but cutting into it too early can make the inside gummy.
Essential Bread Making Equipment for Beginners
Look, I’ve seen enough “must-have” kitchen gadget lists to know they’re usually just a way to drain your bank account. When you’re just starting out, you don’t need a professional-grade stone hearth or a high-tech mixer. Honestly, the most important pieces of bread making equipment for beginners are things you probably already have in your pantry. A large glass mixing bowl, a sturdy spatula, and a simple digital scale are your best friends here. I always tell people to ditch the measuring cups; weighing your ingredients is the fastest way to ensure your dough actually turns out right every single time.
If you want to level up slightly without breaking the bank, invest in a decent Dutch oven. It’s a total game-changer for mimicking those fancy artisan bread baking methods by trapping steam right in the pot. You’ll also want a clean, lint-free kitchen towel for covering your dough while it rises. This helps manage the environment during the yeast fermentation process, keeping things consistent so your loaf doesn’t end up flat. Keep it simple, keep it functional, and don’t let the gear get in the way of the fun.
Mastering Flour Types for Bread Making
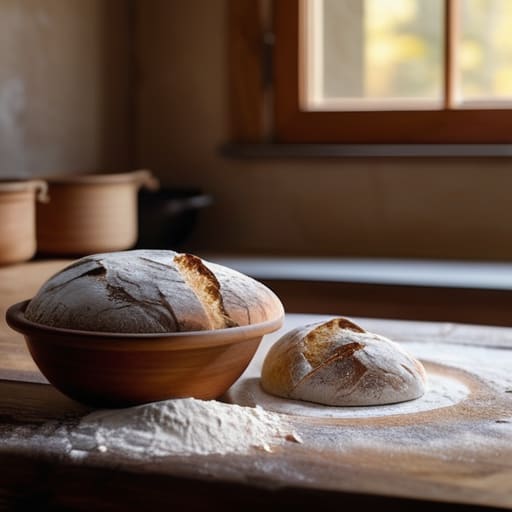
When you first start out, it’s tempting to think all white powder in the pantry is created equal, but understanding different flour types for bread making is a total game-changer. If you want that classic, chewy structure, you really want to look for bread flour. It has a higher protein content than the all-purpose stuff you probably use for cookies, which helps create the gluten network needed to hold those air bubbles. If you’re feeling adventurous and want to try artisan bread baking methods, you might experiment with whole wheat or rye, but just a heads-up: those can make your dough feel a bit heavier and more temperamental.
I’ve learned the hard way that using the wrong flour can throw off your entire rhythm. For instance, if you use a low-protein cake flour when you were expecting a sturdy sourdough, your dough won’t have the strength to rise properly during the yeast fermentation process. My advice? Start with a high-quality unbleached bread flour. It’s reliable, forgiving, and gives you a solid foundation while you’re still getting the hang of your kneading and shaping.
Five Little Things That Save My Sanity (and My Crust)
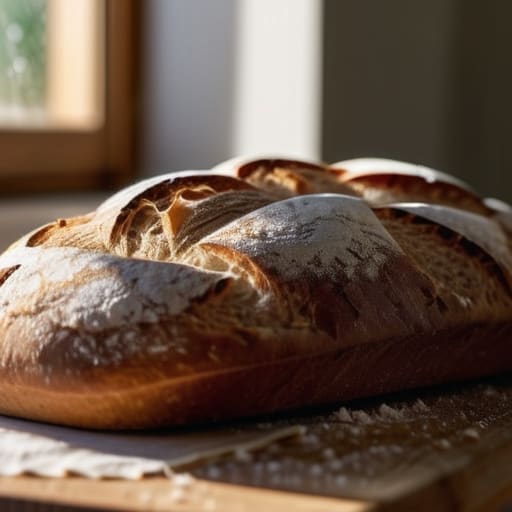
- Don’t rush the rise. I know it’s tempting to turn up the heat when you’re hungry, but yeast is a living thing, not a machine. If the dough looks sluggish, give it an extra thirty minutes in a warm, draft-free spot. Patience is the secret ingredient you can’t buy at the store.
- Get a digital scale. I used to swear by measuring cups, but flour is finicky—you can pack too much in or leave it too loose. Measuring by weight is a total game-changer; it takes the guesswork out of the hydration and ensures your loaf isn’t a brick every single time.
- Watch the dough, not the clock. Every kitchen has its own microclimate, so a recipe might say “rise for one hour,” but your kitchen might be ten degrees cooler than mine. Trust your eyes and touch; the dough should look puffy and feel slightly springy before you move to the next step.
- Use steam for that bakery-style crunch. If you want a crust that actually crackles, toss a few ice cubes into a hot pan at the bottom of your oven right when you slide the bread in. That burst of moisture keeps the surface supple longer, allowing the bread to expand before the crust sets.
- Let it cool before you slice. This is the hardest one for me, especially when the house smells like heaven, but slicing into a hot loaf ruins the internal structure. The bread is actually still “cooking” and setting its crumb while it sits on the counter. Give it at least an hour.
My Philosophy on the Perfect Loaf
“Don’t let a complicated recipe or a kitchen full of expensive gadgets intimidate you; at its heart, bread is just flour, water, and patience—everything else is just extra noise.”
Elena Vance
A Little Practice Goes a Long Way
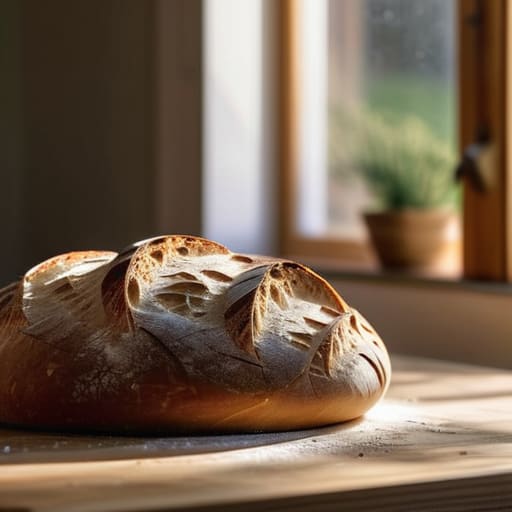
At the end of the day, baking bread is really just about getting comfortable with the basics. We’ve covered everything from picking the right flour to making sure you have the essential tools on hand, but don’t let the technicalities intimidate you. If your first loaf comes out a bit dense or looks more like a pancake than a professional boule, don’t sweat it. The most important thing is that you understood the process: the hydration, the kneading, and the patience required for that final rise. Once you master these core fundamentals, you’ll realize that you don’t need a high-tech kitchen to create something truly delicious from scratch.
I know how easy it is to feel like you need to be perfect at everything you try, especially when life feels like it’s moving at a hundred miles an hour. But there is something incredibly grounding about the smell of fresh bread filling your kitchen; it’s a small, quiet way to reclaim your time and your space. My advice? Stop worrying about the “perfect” bake and just start making mistakes. Each failed loaf is just a lesson that gets you closer to that perfect, golden crust. You’ve got this, and I promise, the first warm slice is worth every bit of the effort.


I believe that a well-run home shouldn't require a PhD or a massive budget. My goal is to strip away the complexity so you can focus on actually living in your space. Let's keep things practical, efficient, and genuinely useful.
View All Articles